Welcome to Stampin’ Annie’s!
Today’s project includes ‘how to create a cloudy background’ for all your cute rainbow cards.
The finished cards are made with the Catching Butterflies stamp set and the Sunshine & Rainbows 6″ x 6″ Designer Series Paper (DSP). Both of these are only available during this month, for FREE, during our Sale-a-Bration special!
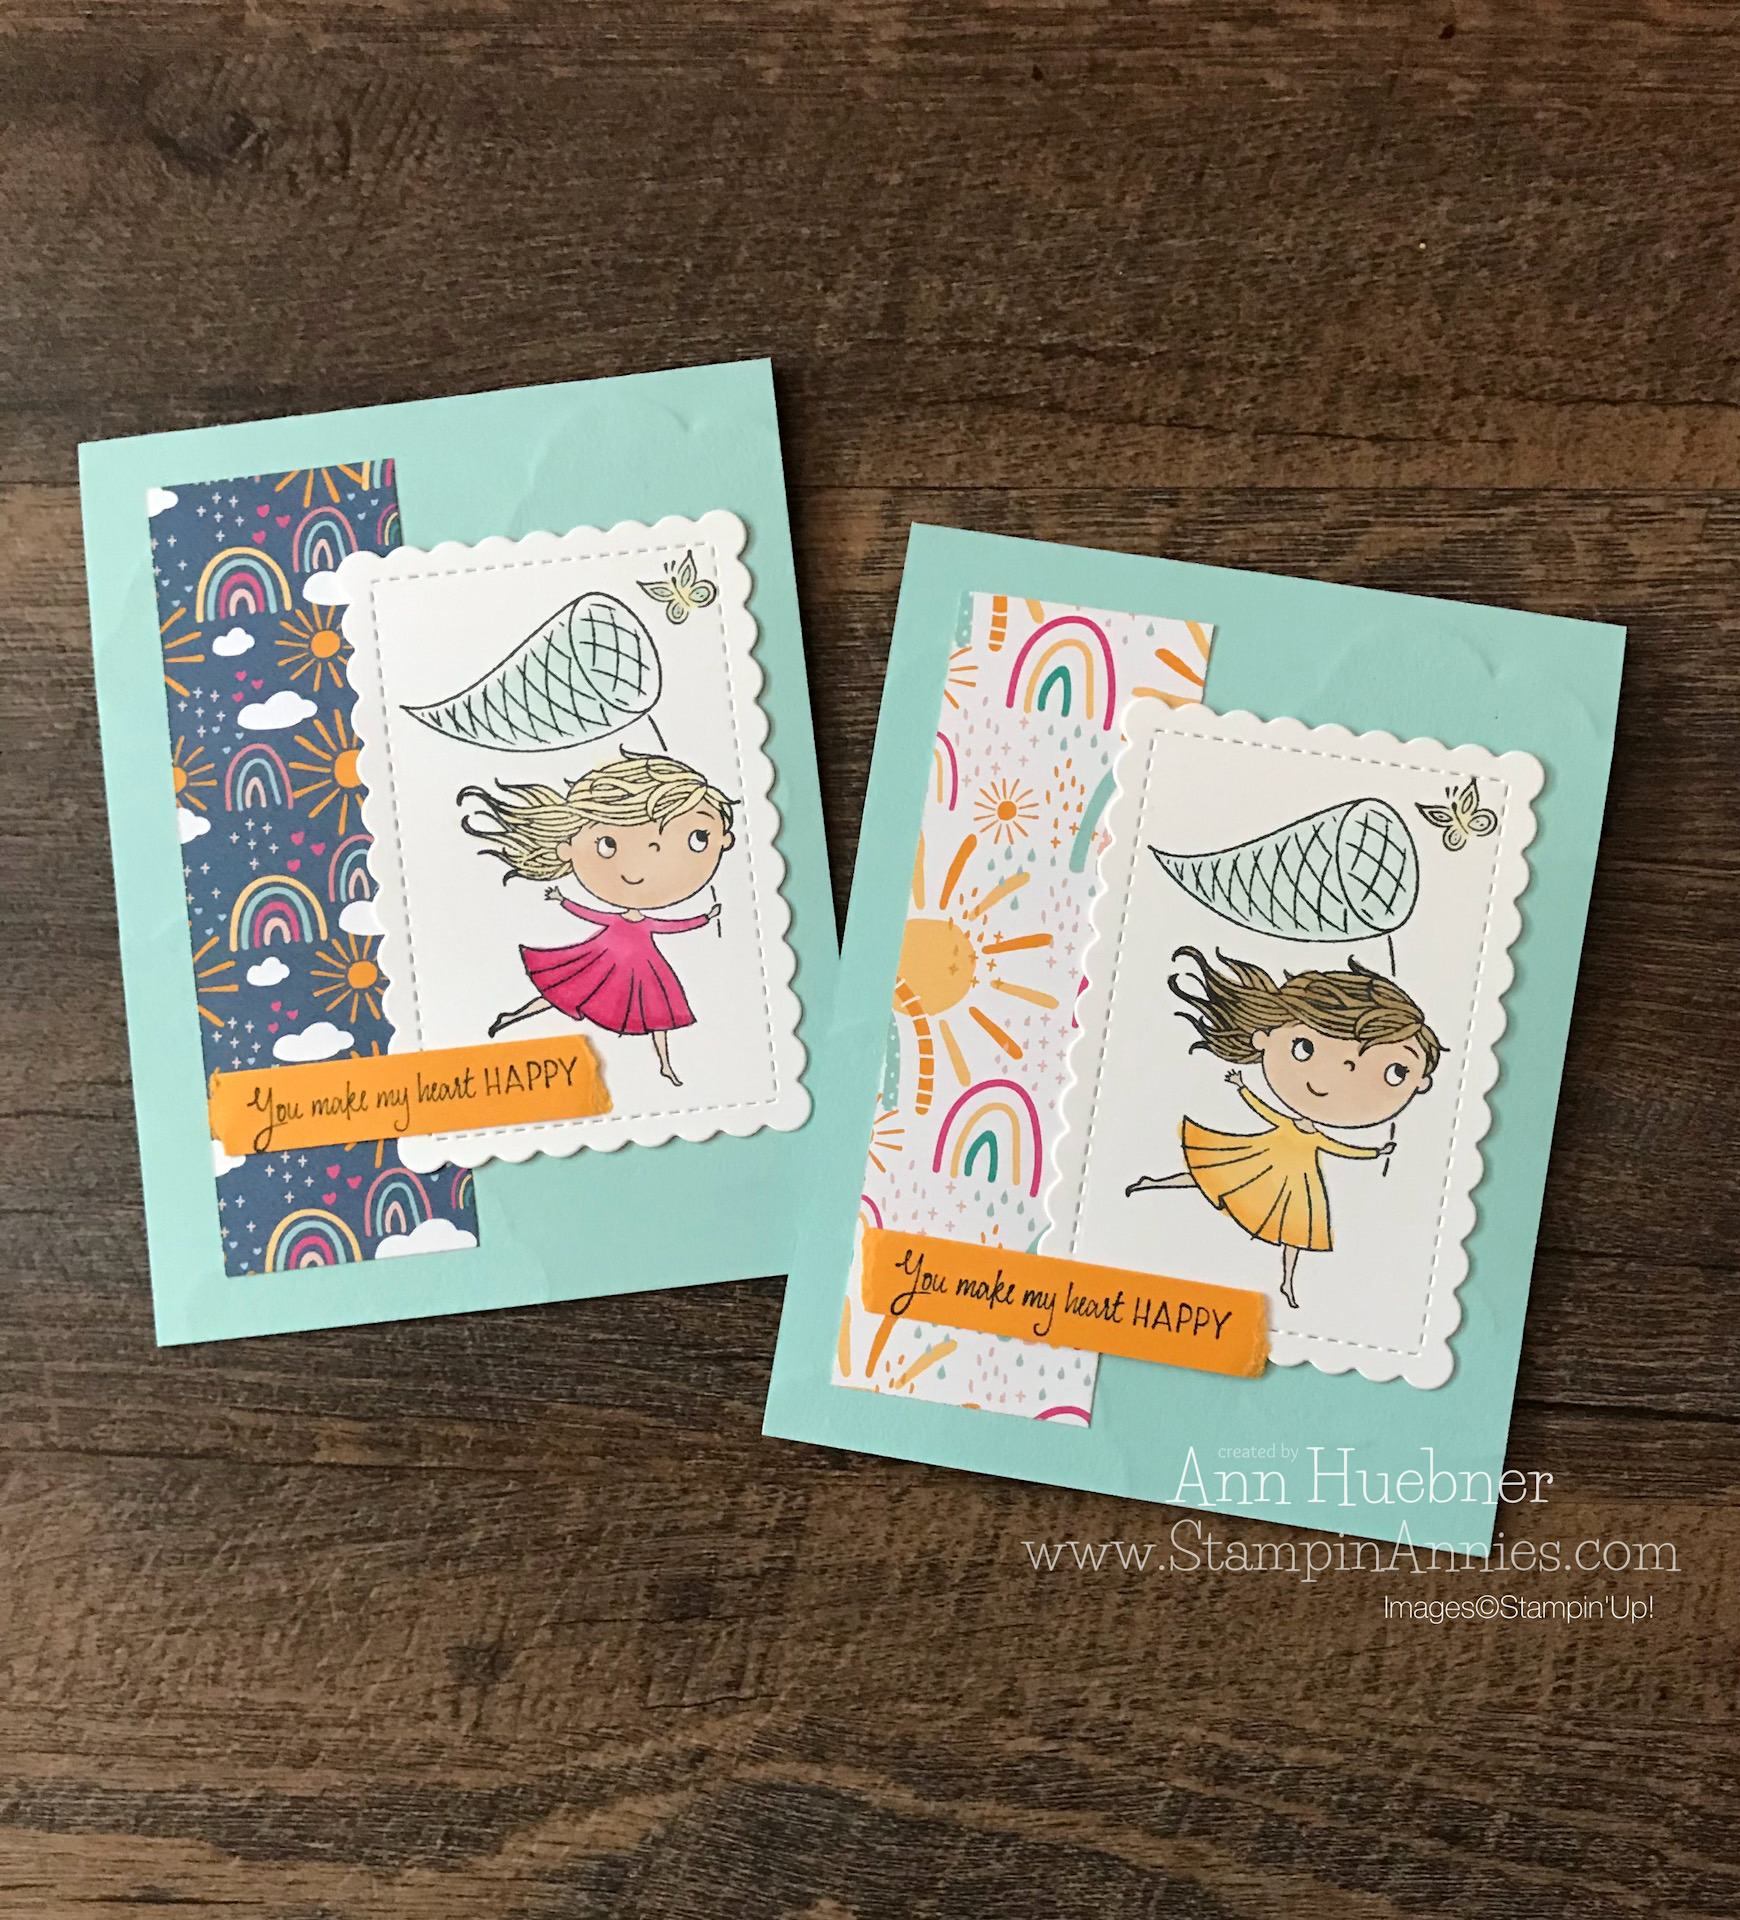
Let’t take a peek at how you can create your own Embossing Plate for a fun cloudy background.
To start, you will need a thin chipboard or thick cardstock that can be used in the Cloud Punch. Don’t force punch anything. If your punch isn’t cutting through your chipboard, just use a thinner material.
For the base plate, I used a solid, thick chipboard. This is the chipboard that comes with the magnetic sheets for vent covers, purchased at the home goods store, but any heavy chipboard will work. For the clouds, I used four layers. If you are using a thicker chipboard or cardstock for the clouds, three layers will work great. Liquid Glue works best to stack the clouds. You will need to play with the layering to see if you are happy with the impression of the cardstock.
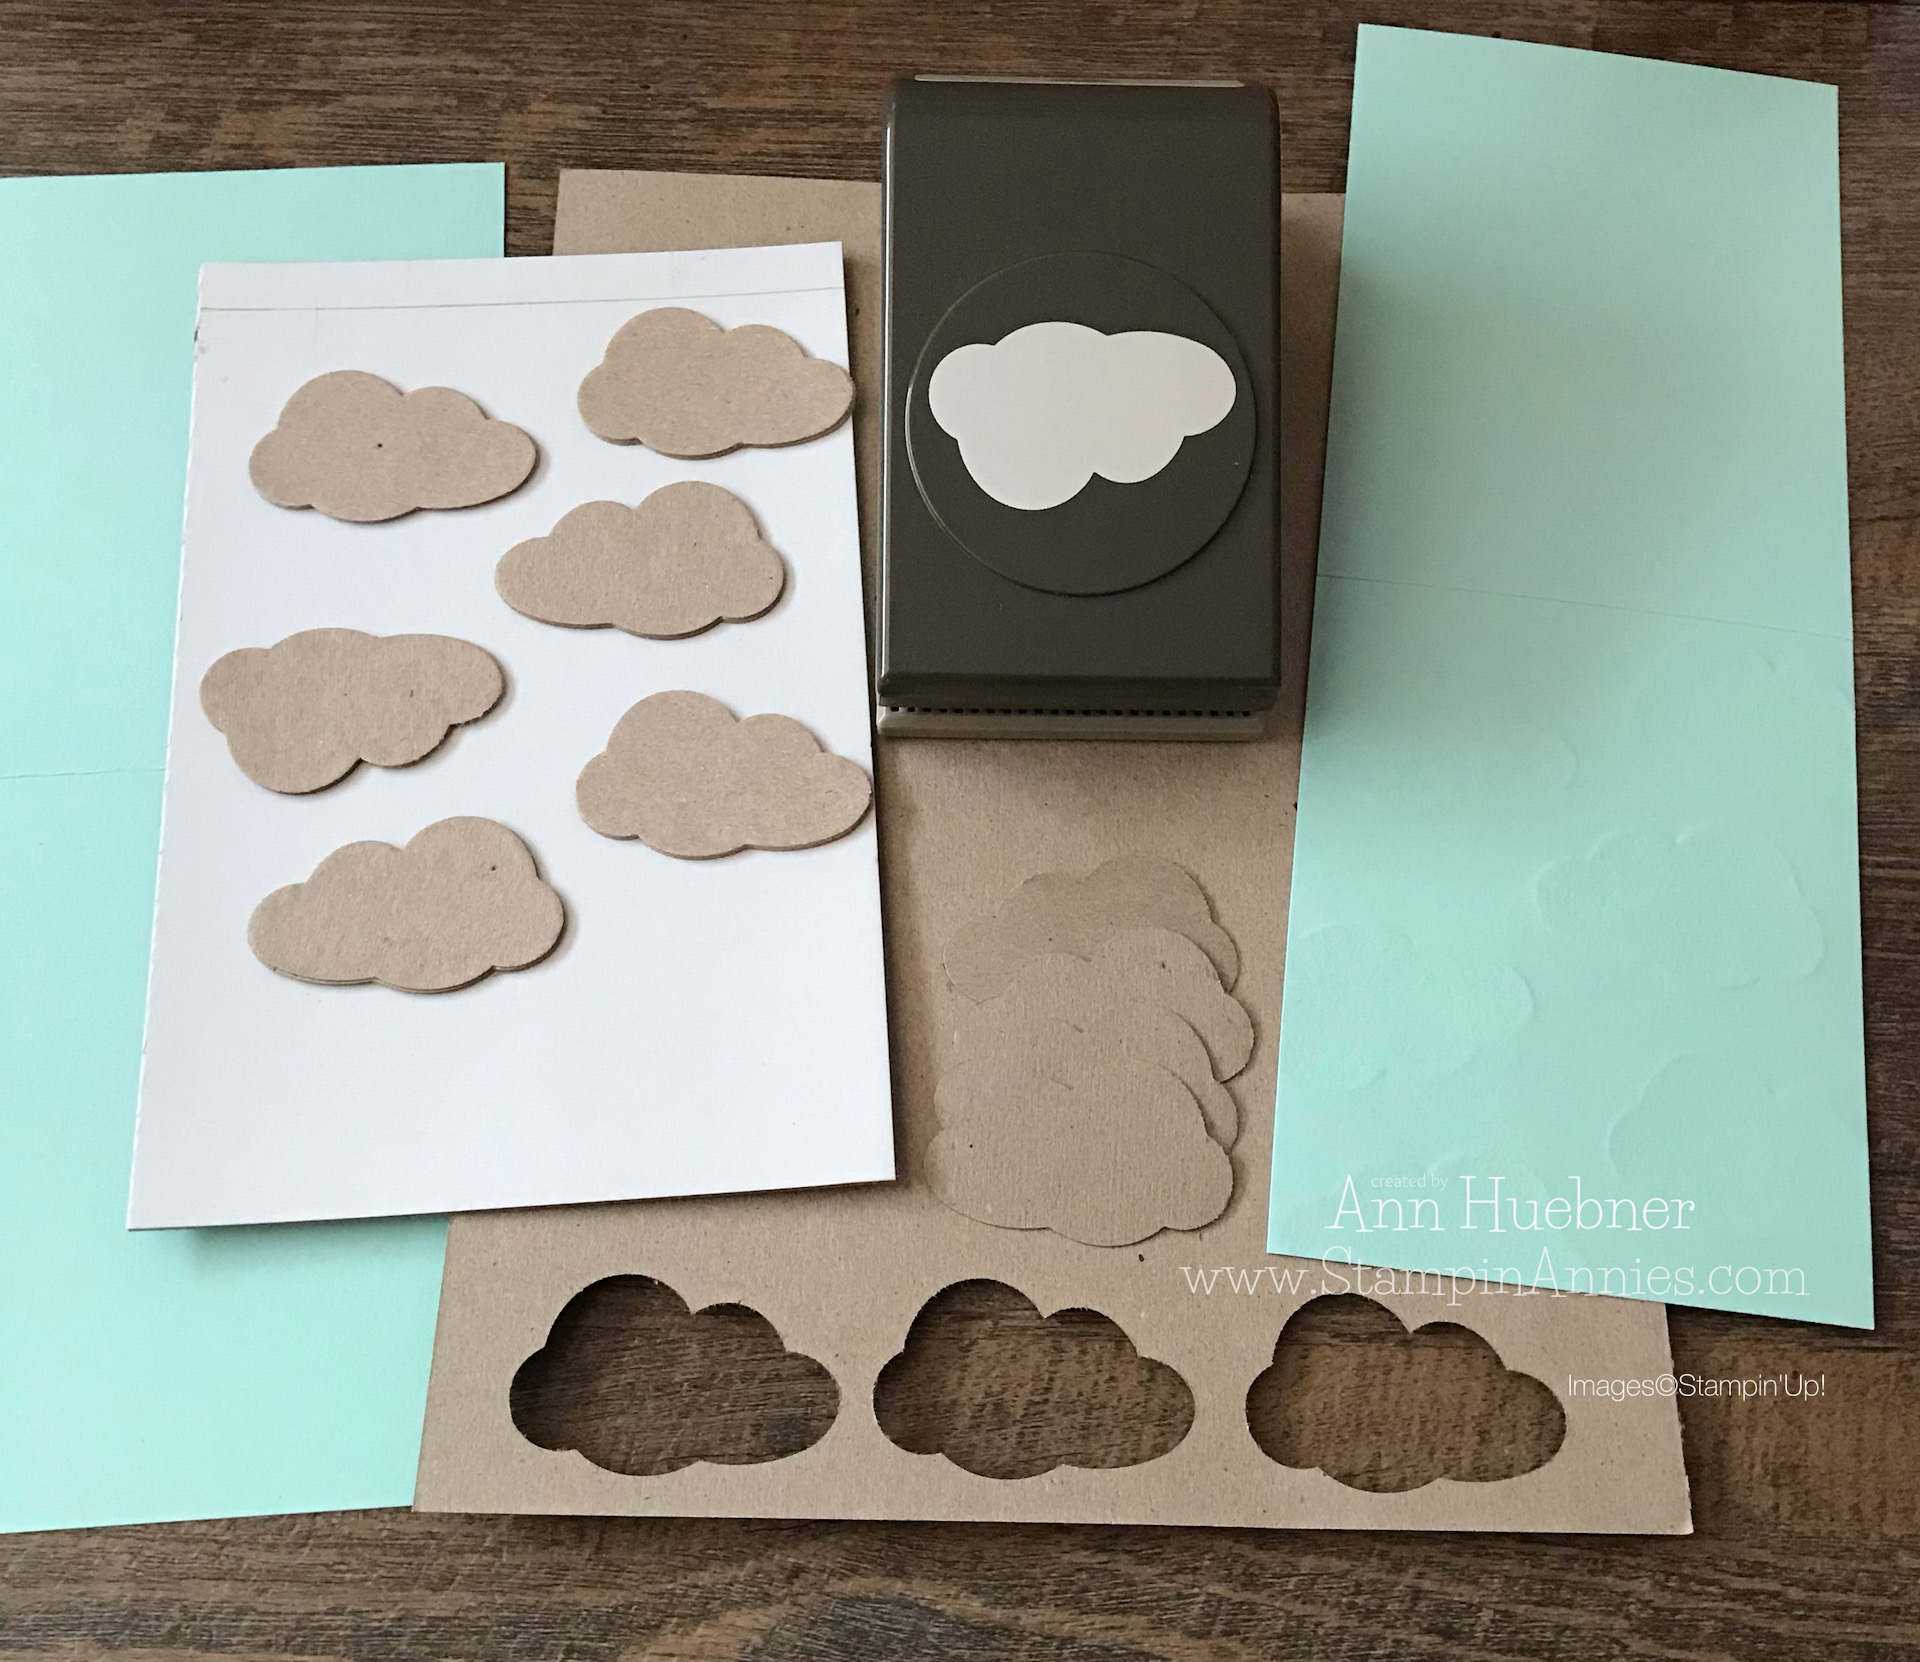
Before you start stacking the clouds on the base chipboard, make sure it’s cut to fit through the Die Cutting Machine. This one measures 5 1/4″ x 8″.
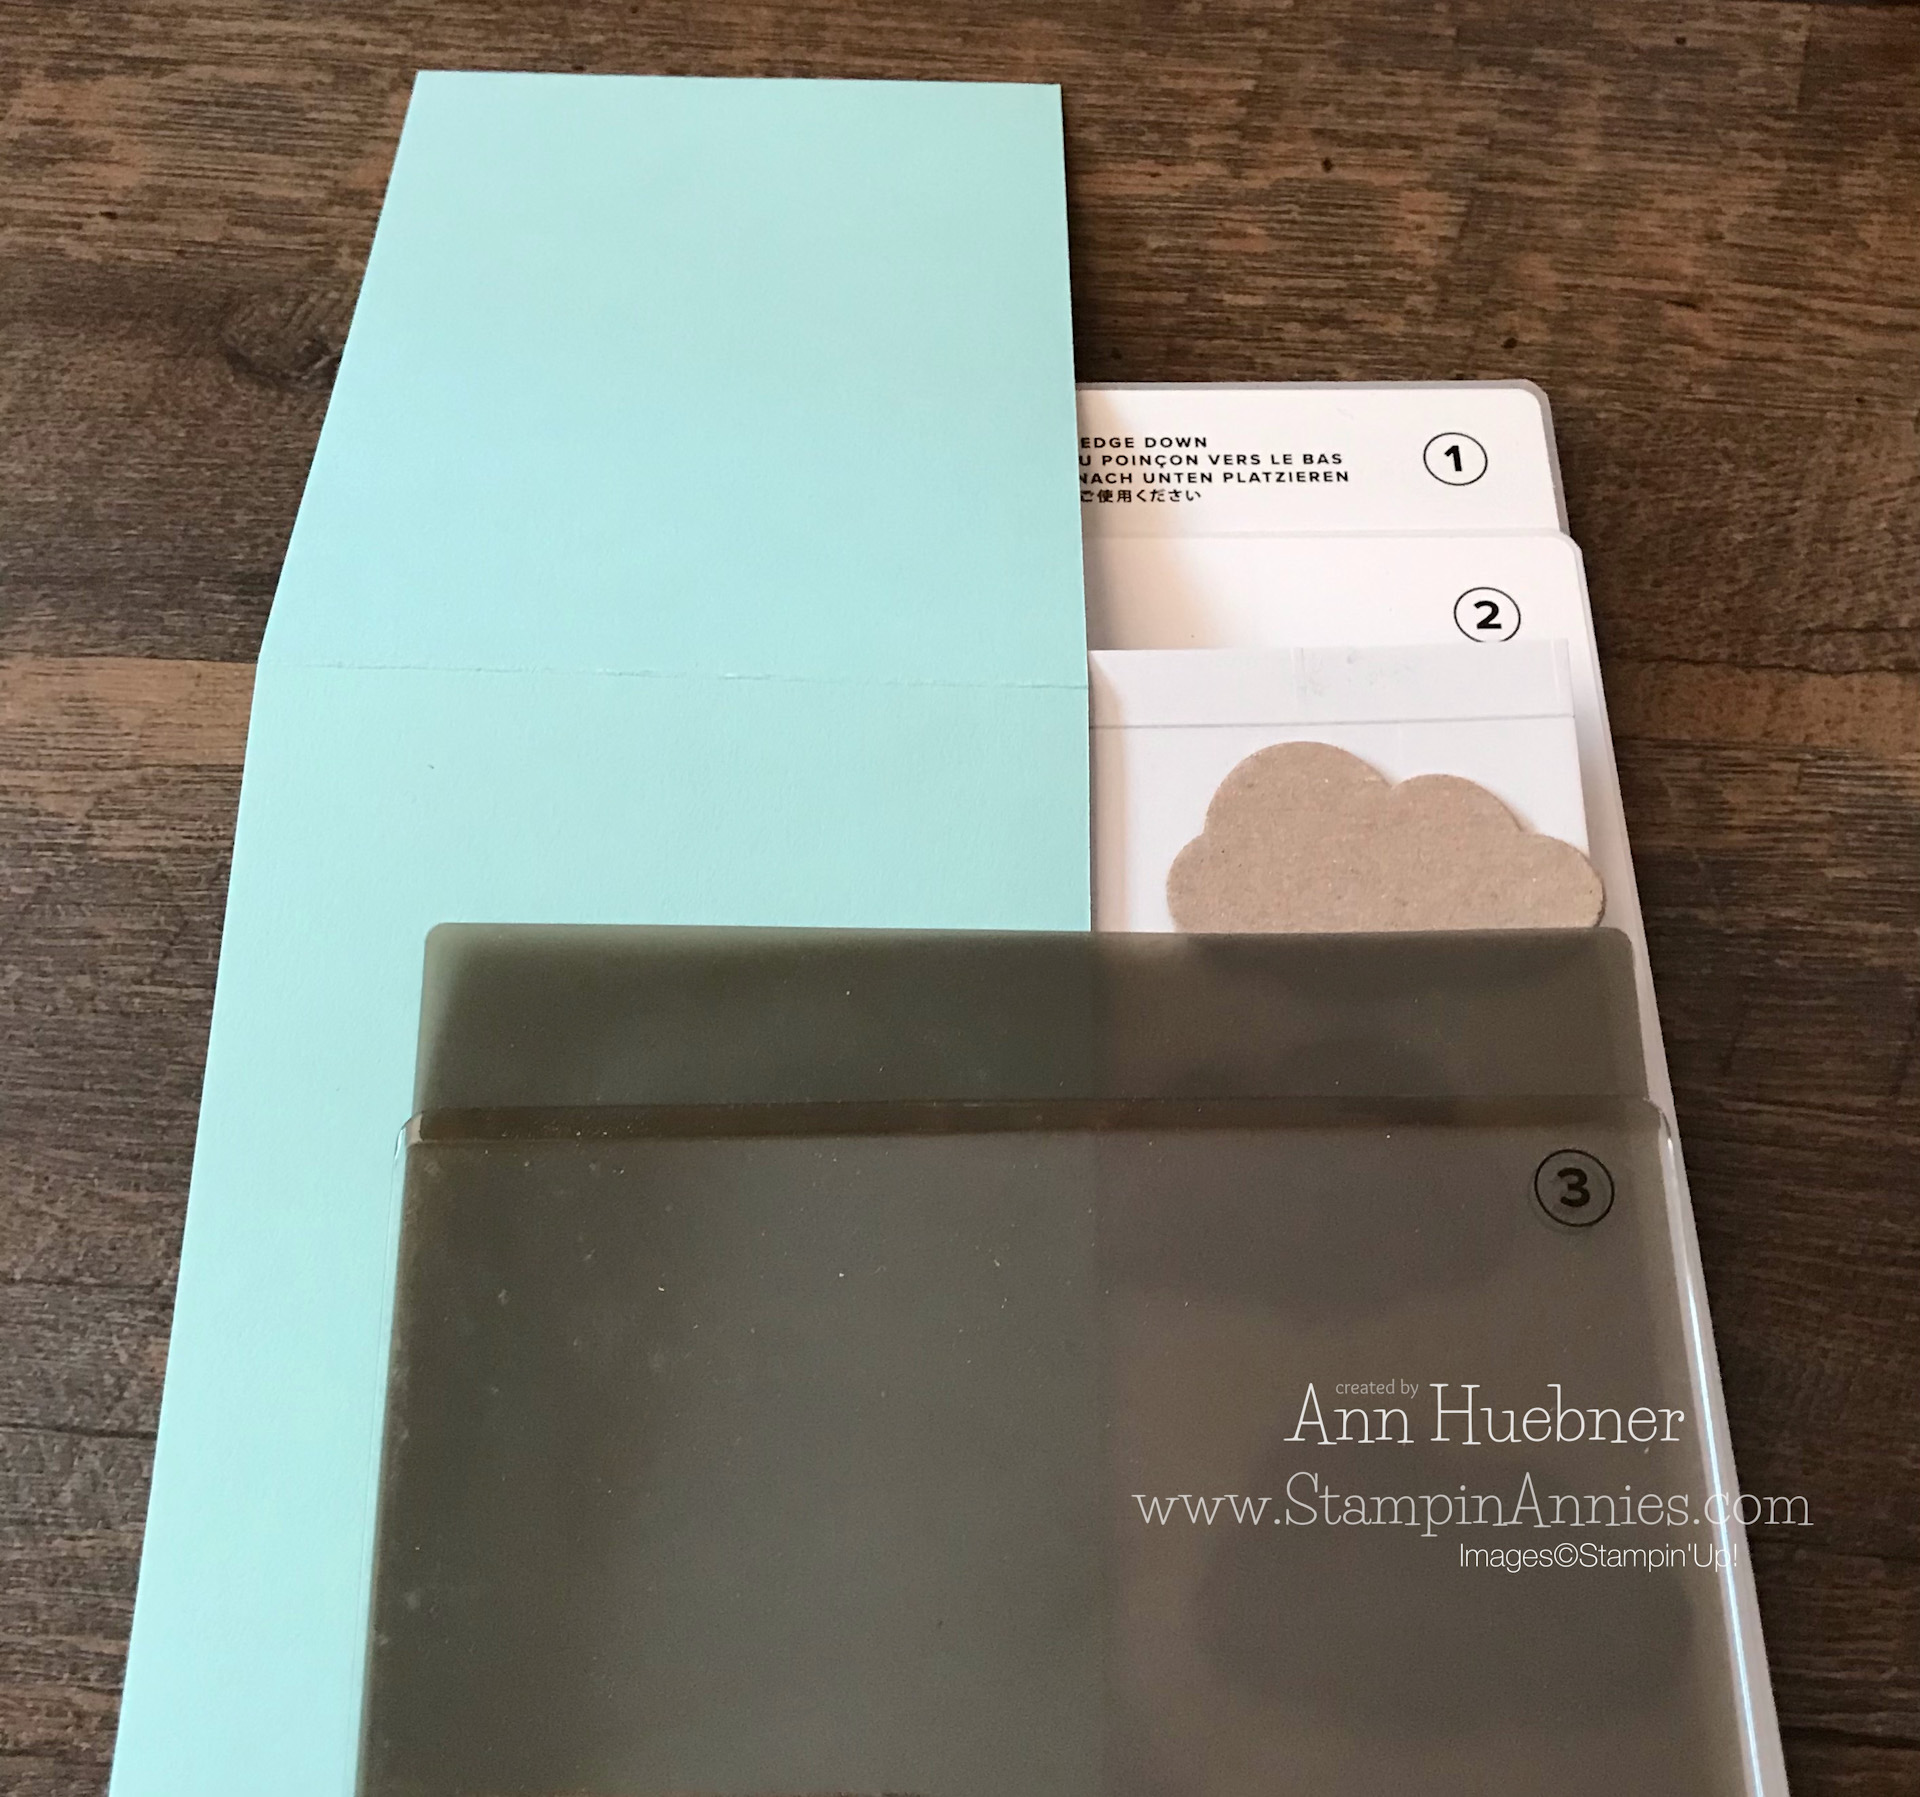
Once your clouds are in place. These are the layers you will need for the Die Cutting and Embossing Machine. I drew a line at the top of my cloud plate as a guide to place my cardstock before running through the machine.
Six layers to run through together:
1. #1 Base Plate
2. #2 Thin Die Plate
3. Cloud Embossing Plate
4. Cardstock
5. Silicone Craft Sheet
6. Clear #3 Plate
Couple tips: Make sure your score line on your cardstock lines up with the line on your Embossing Plate! Make sure the Silicone Sheet is covering the entire area that you want embossed! This should be a tight roll through. Don’t Force it!!! If it is too hard to roll through, remove the #2 plate and add a thinner layer of chip board.
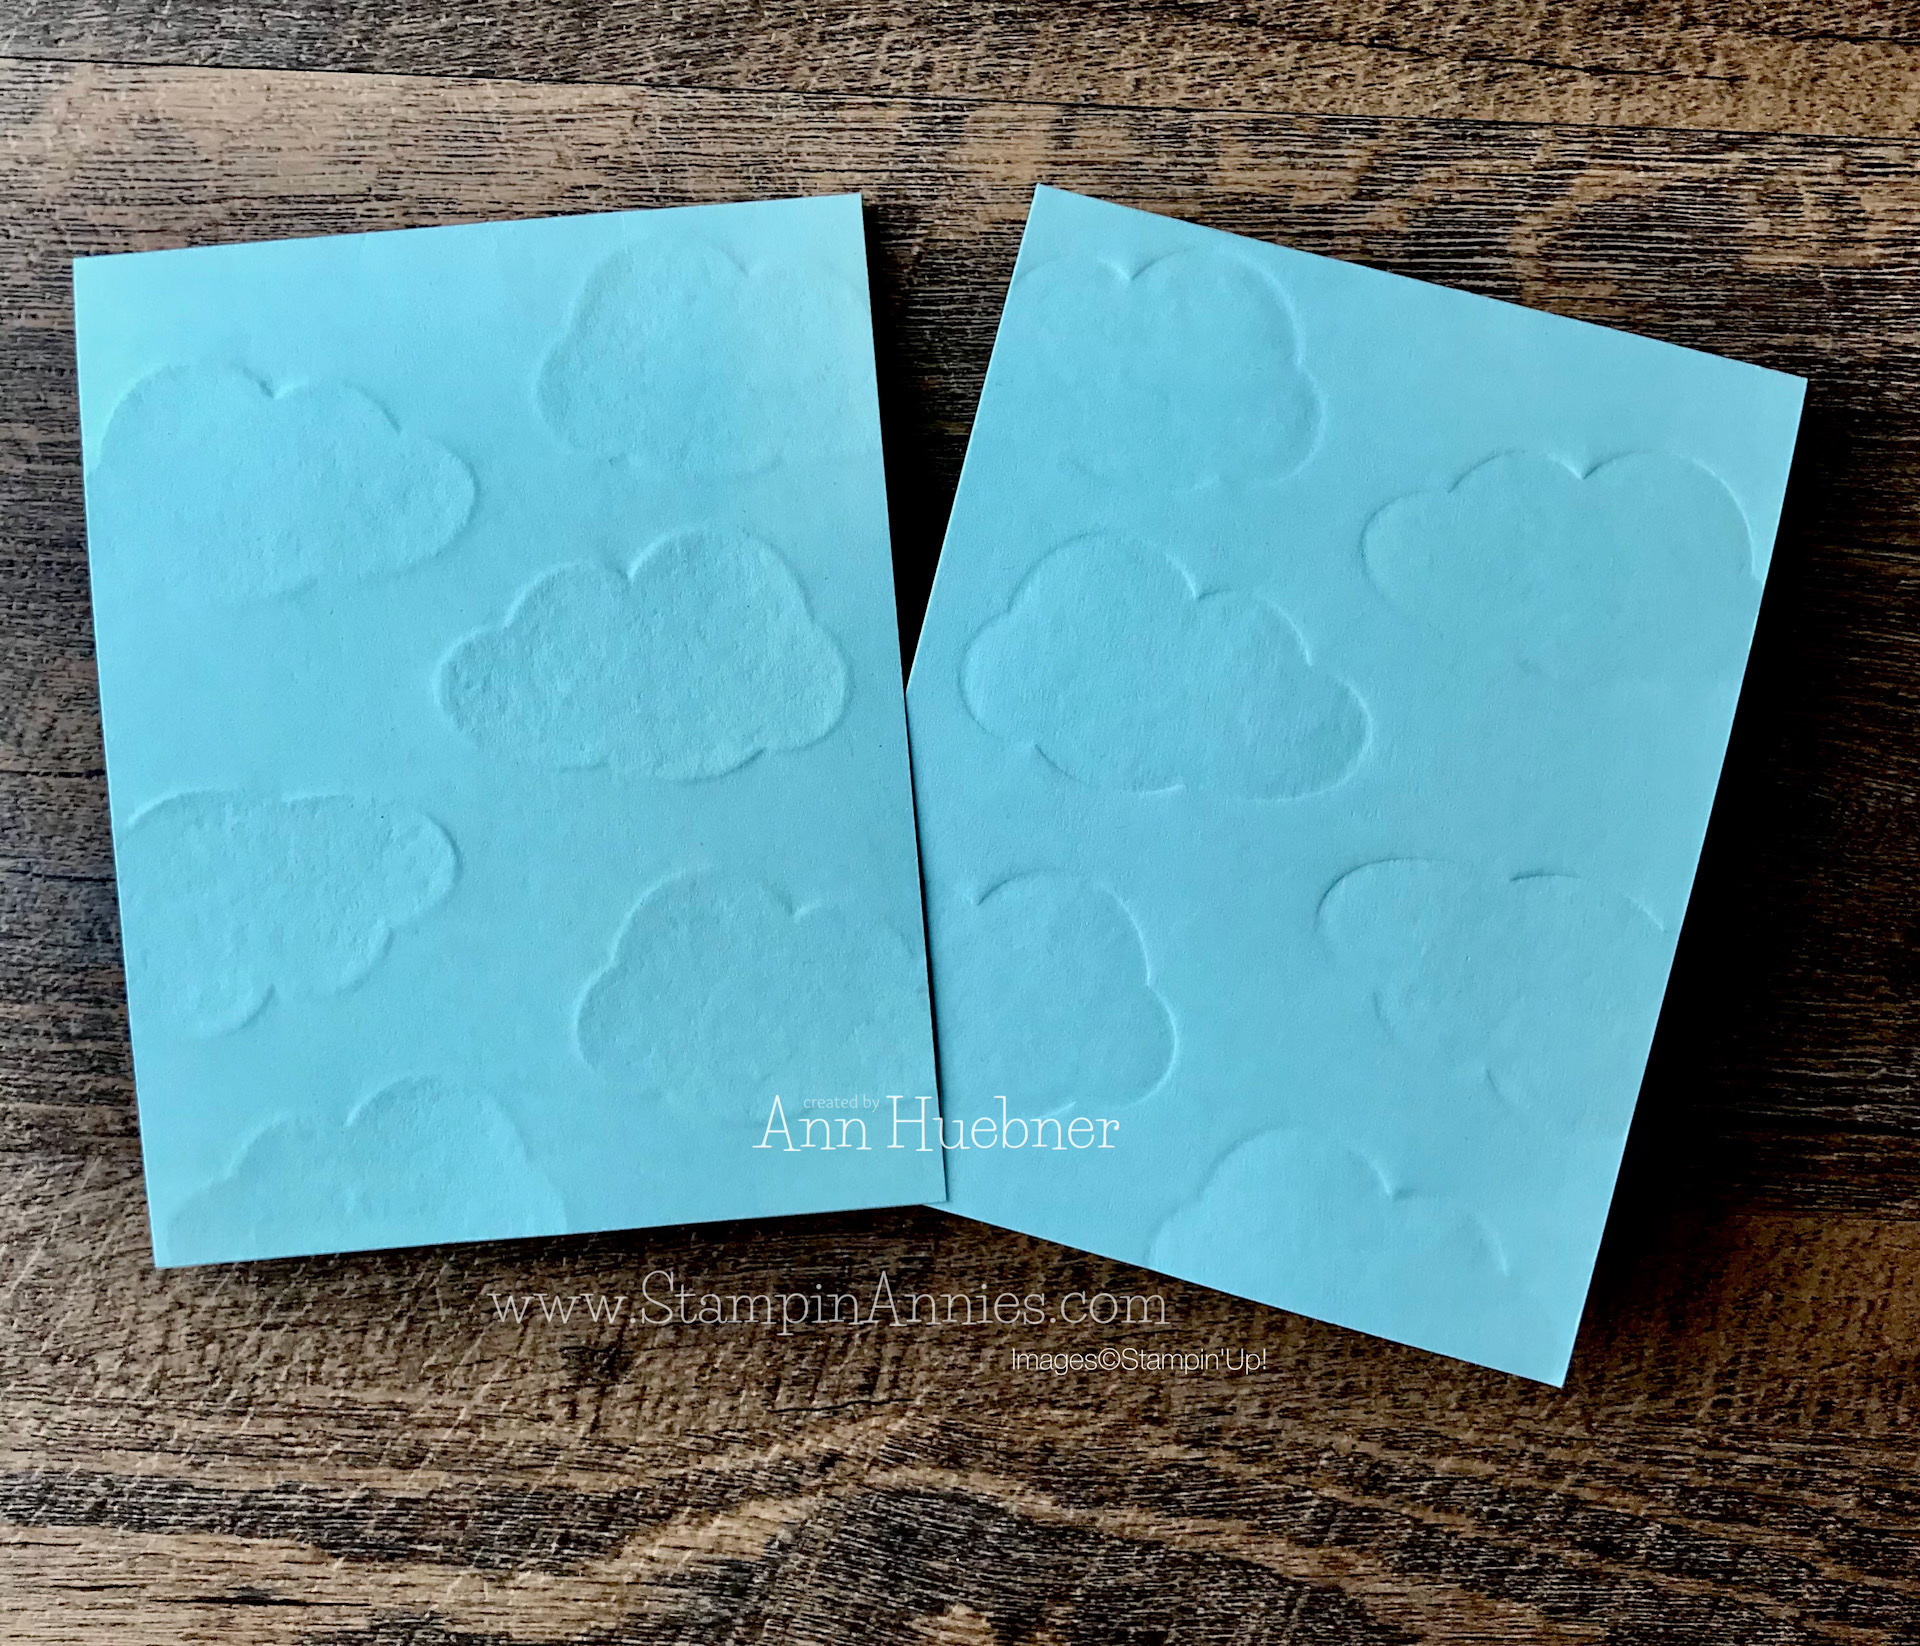
Which look do you like? Raised or recessed image? Sorry about the Color difference. I had to edit the picture so you can see enhanced embossing.
Add your top layers for your finished cards.

Don’t miss your chance to earn both the stamp set and papers used on today’s projects, FREE, with a $50 purchase (each), available only through February, 2022.
Ingredients:
~~~~~~~~~
What’s New??? All Together Suite Collection:
Available 1 February–2 May 2022
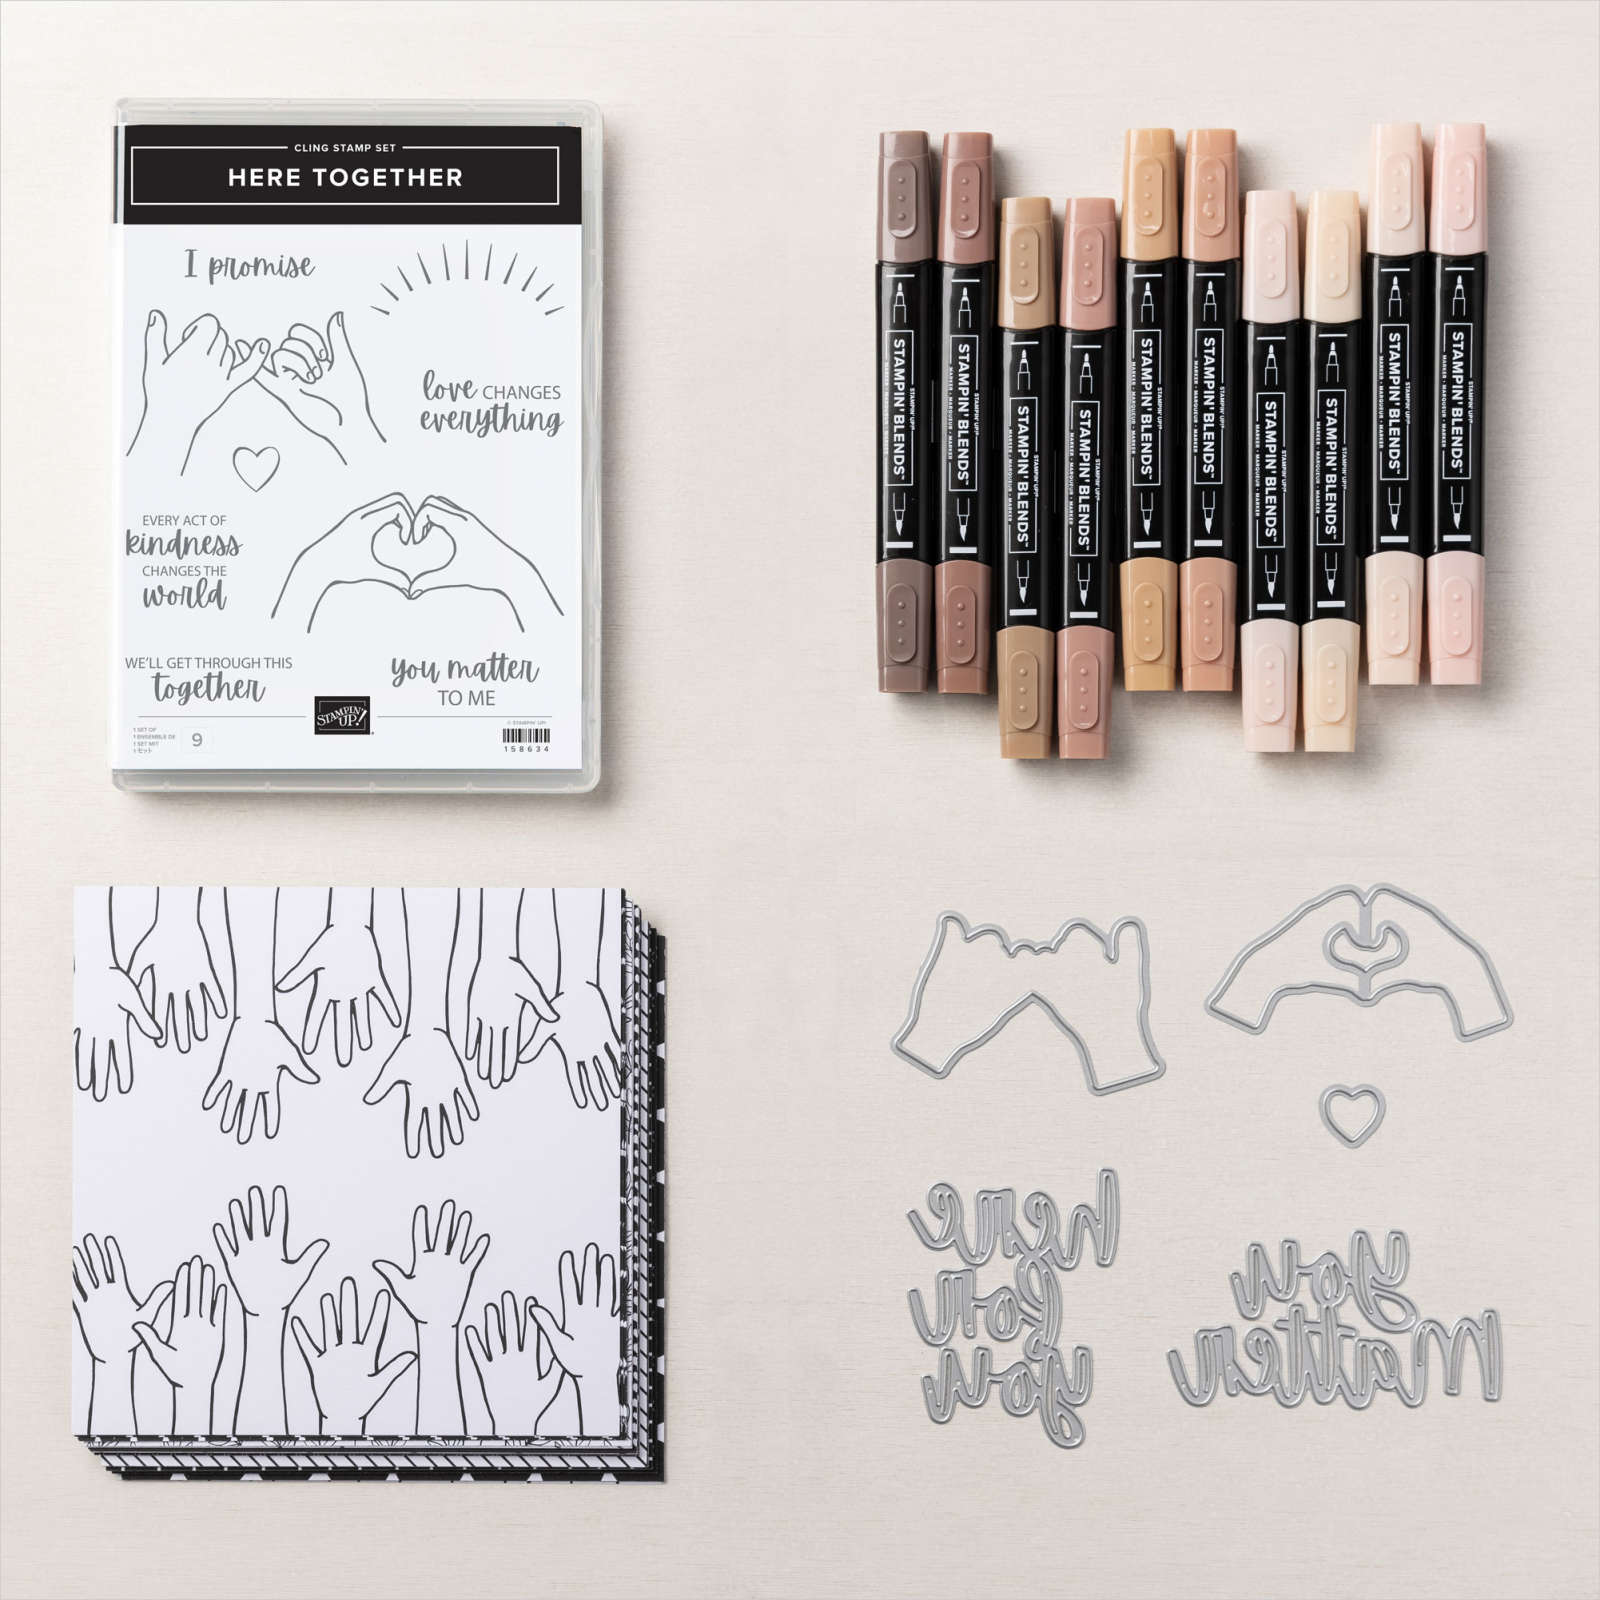
Add a personal touch with this exclusive and early-release collection! Browse the products—available separately or as a collection—and share your inspiring creations that reflect the world you know and love with the All Together Collection. Click on this picture to learn more: ⬇️
~~~~~~~~~~~
Thanks for visiting today and Thanks for shopping my small business ❤️
I appreciate all orders. 🛒
Shop with Me 24/7 : ONLINE STORE
Follow me on Instagram: STAMPINANNIES
I hope you have been inspired to Get Stampin’ and send some Happy Mail.
Take care ❤️


Great technique that I’m excited to try! Thanks Ann!
Awww. Thanks Renee! Have fun.