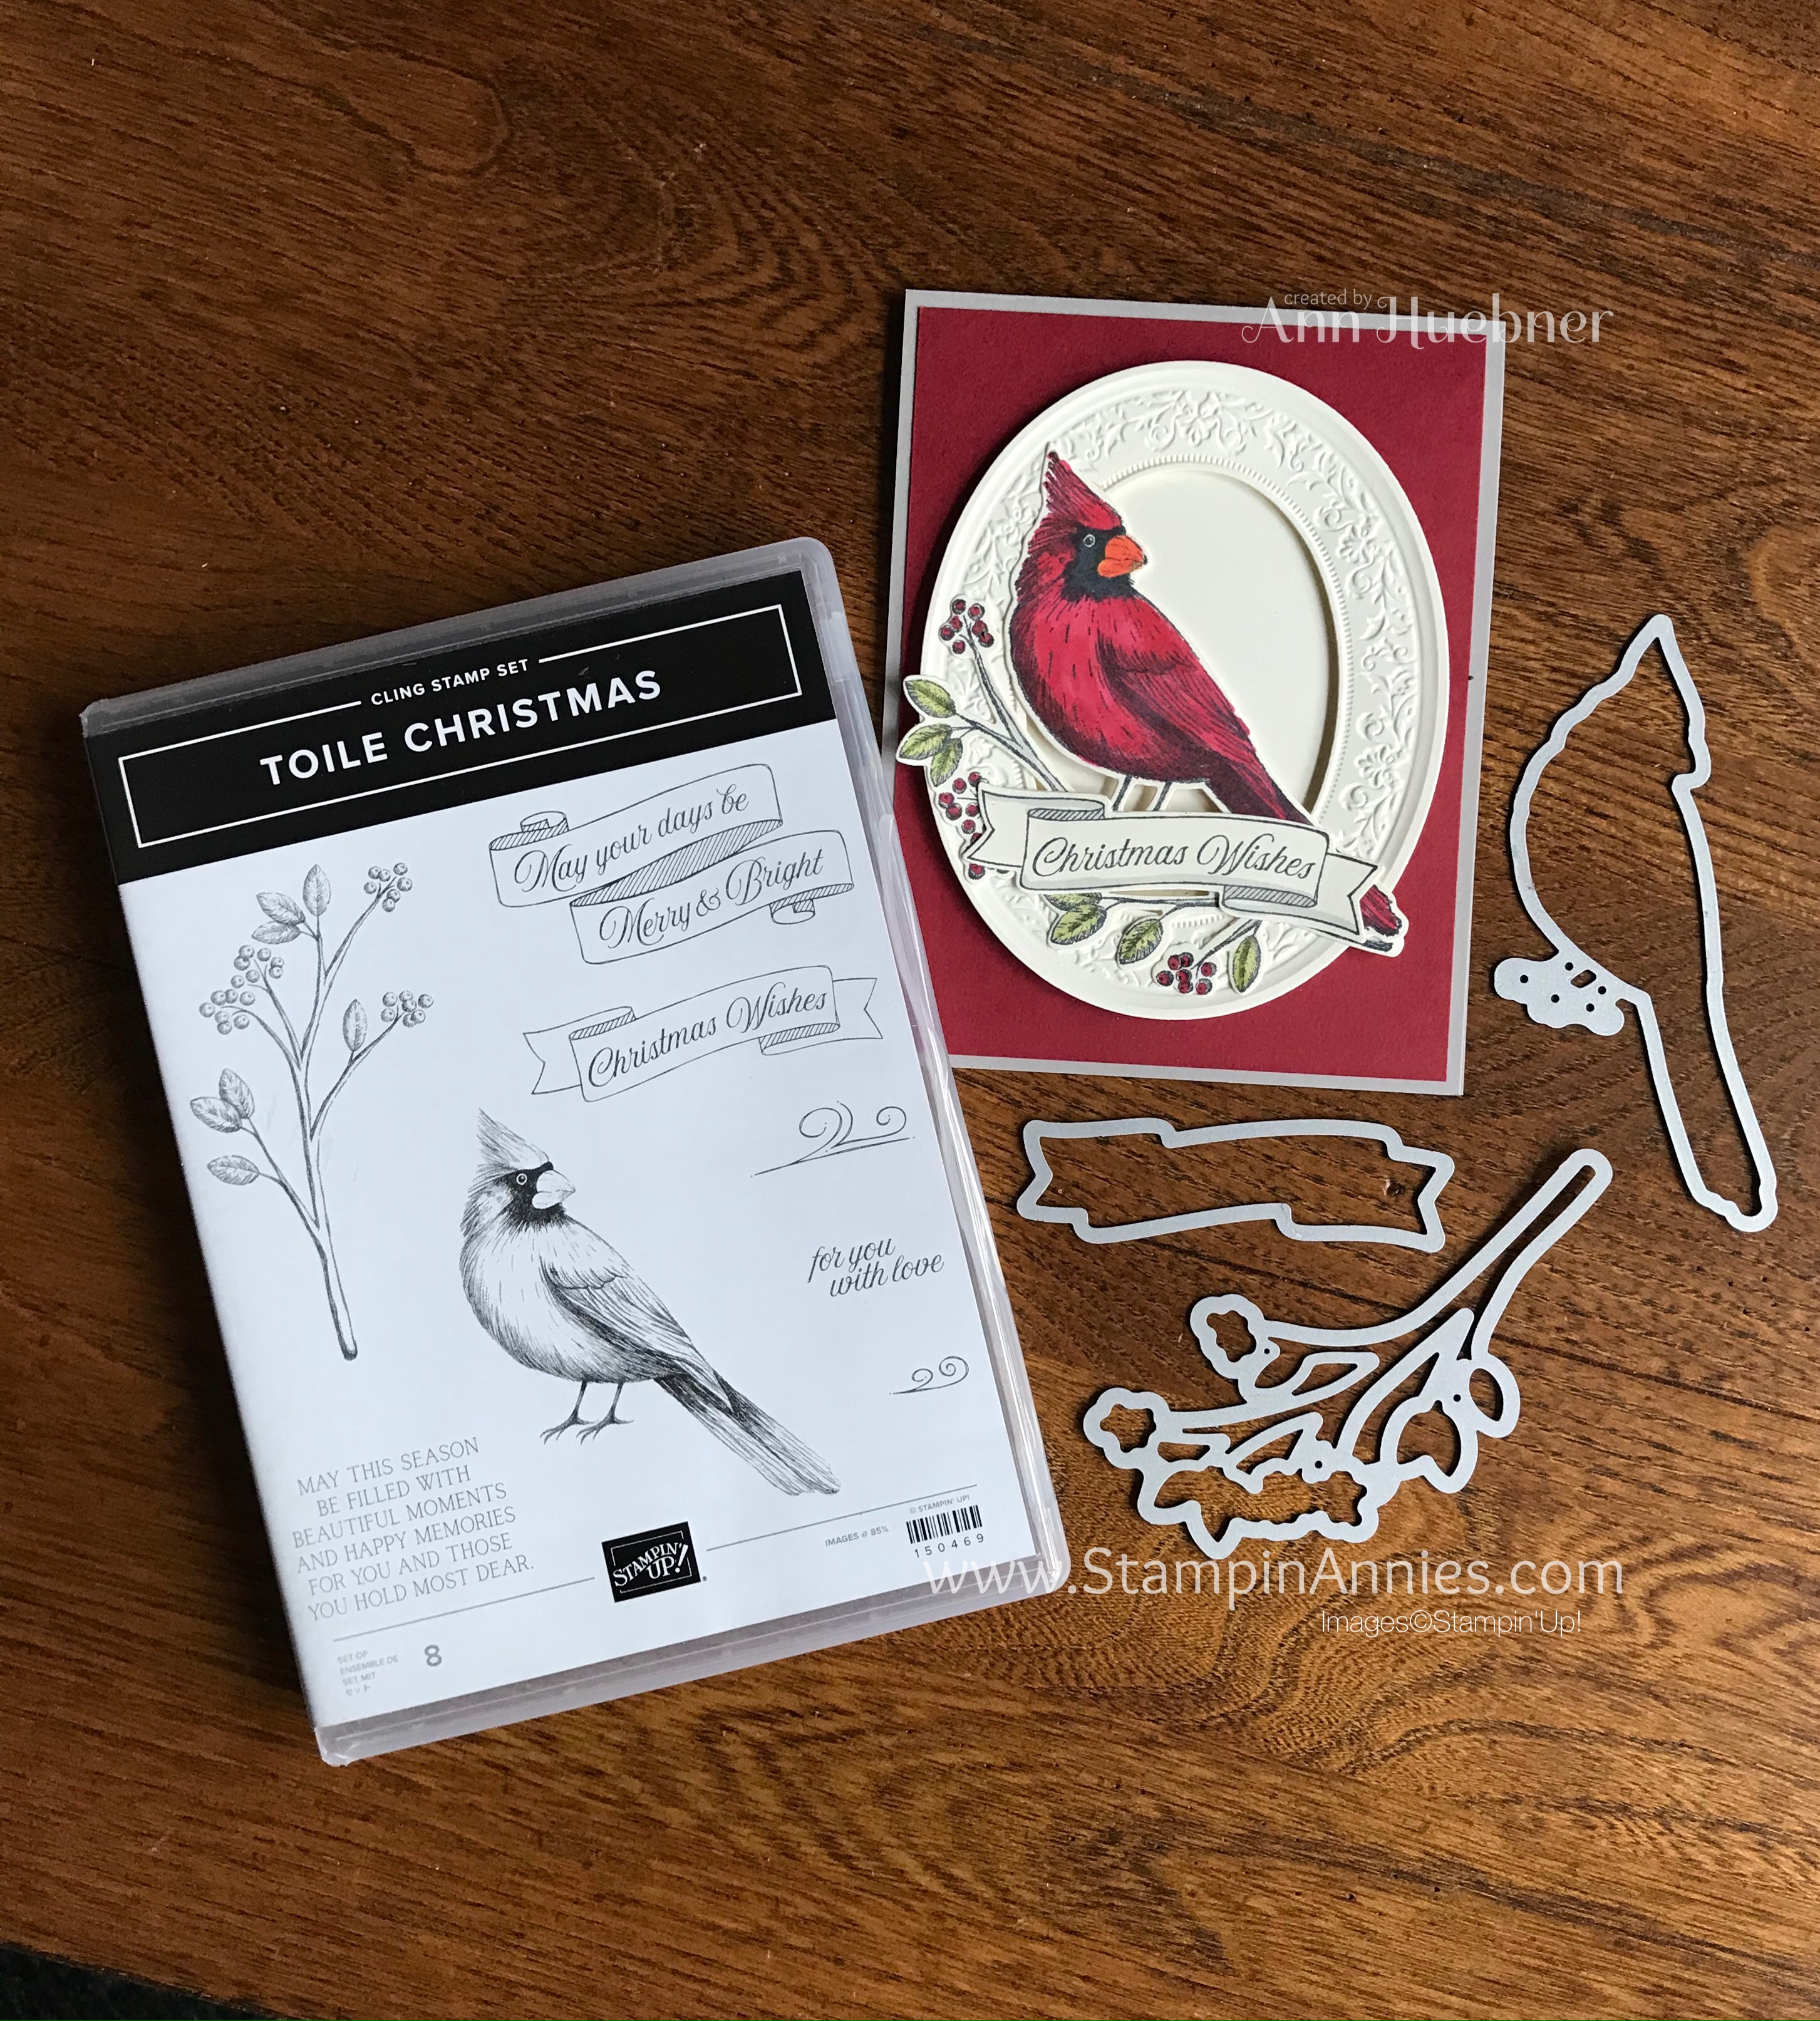
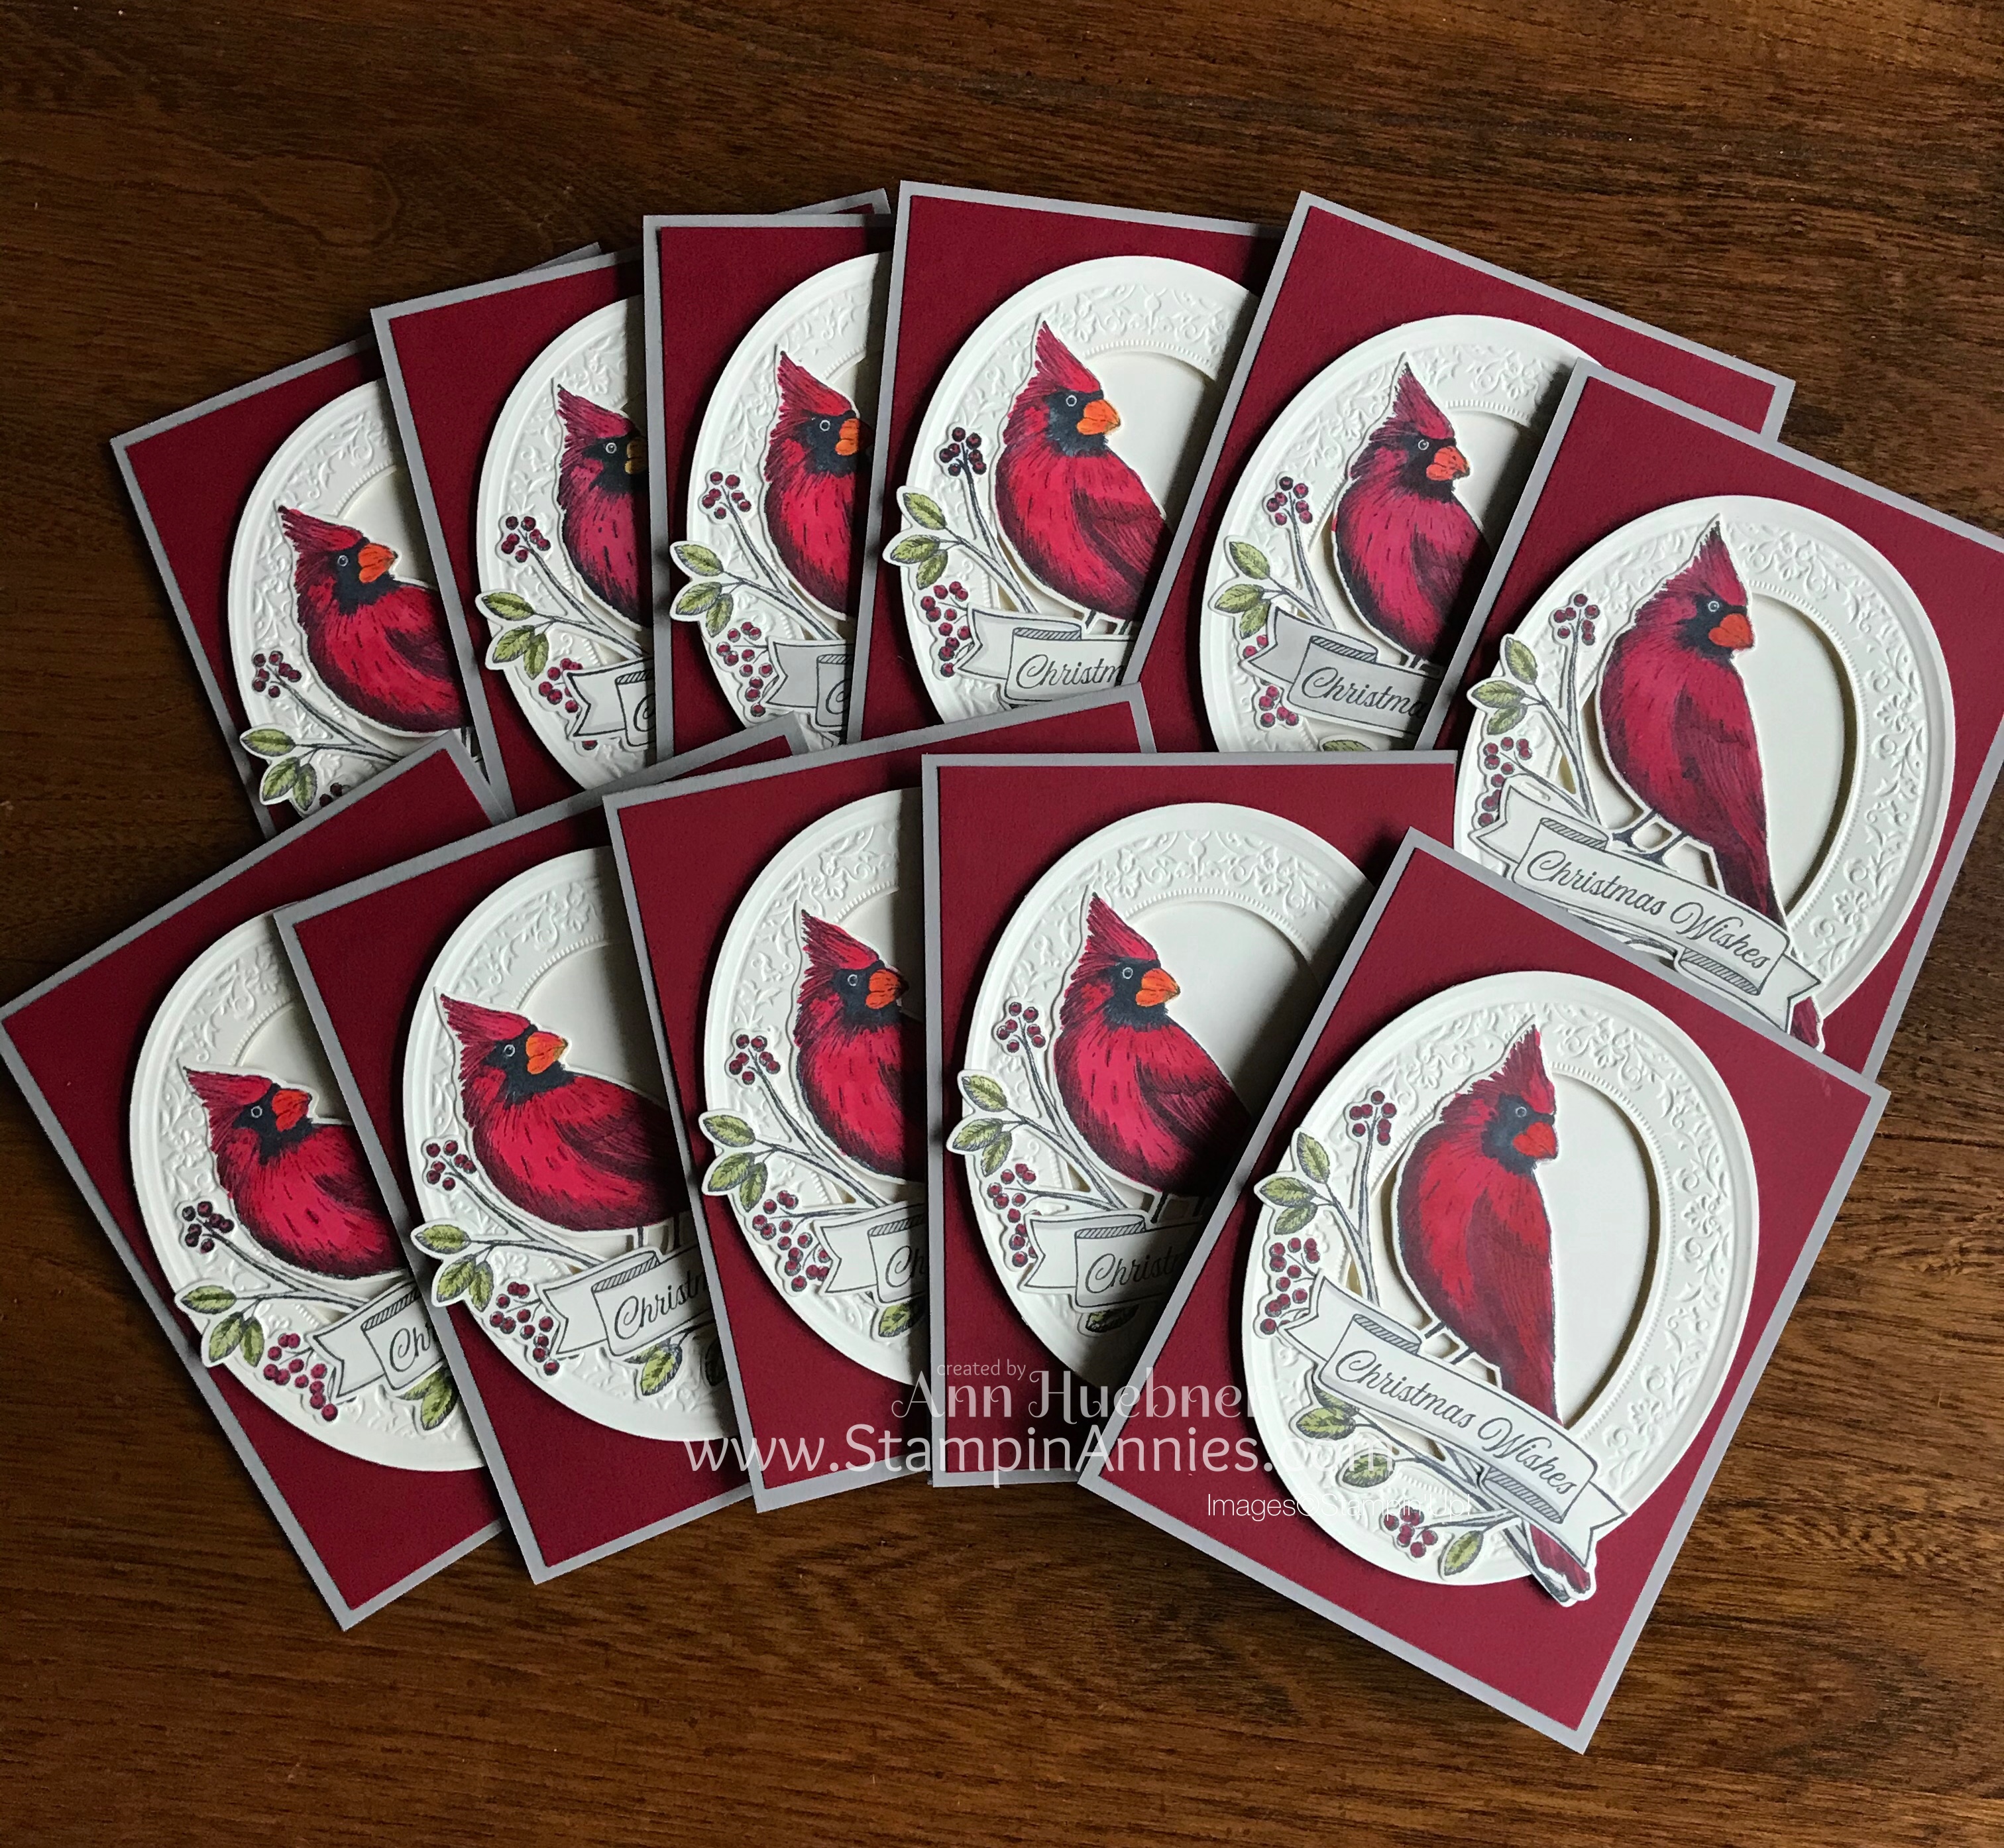
Today’s card was CASEd (Copy And Share Everything) from one of my favorite designers, Teneale, from Australia. Give her a follow on Instagram, and be inspired: @teneale_w
Warning: Lot’s of Pictures in this post!!!
As you may know, I haven’t started to make videos, Yet! So, instead, I have created a Free Tutorial with pictures, right here ⬇️ I hope this inspires you to see how easy this card really is to make. I have put all the ingredients at the bottom of the post, and if you love everything about this card, you can actually go to the bottom of the ingredients box and hit ‘Add All to Cart’🛒 Or you can hit that and just delete the items that you already have and proceed with the order.
December Host Code 34JQS9MX
Use the Host Code when placing an online order in December with me and receive a free gift with any $60 order.
~~~~~~~~~~~~~
Cardstock used for today’s card: 11″ x 4 1/4″ Gray Granite : 5 1/2″ x 8 1/2″ Very Vanilla : 5 1/4″ x 4″ Cherry Cobbler : 3″ x 4″ Very Vanilla
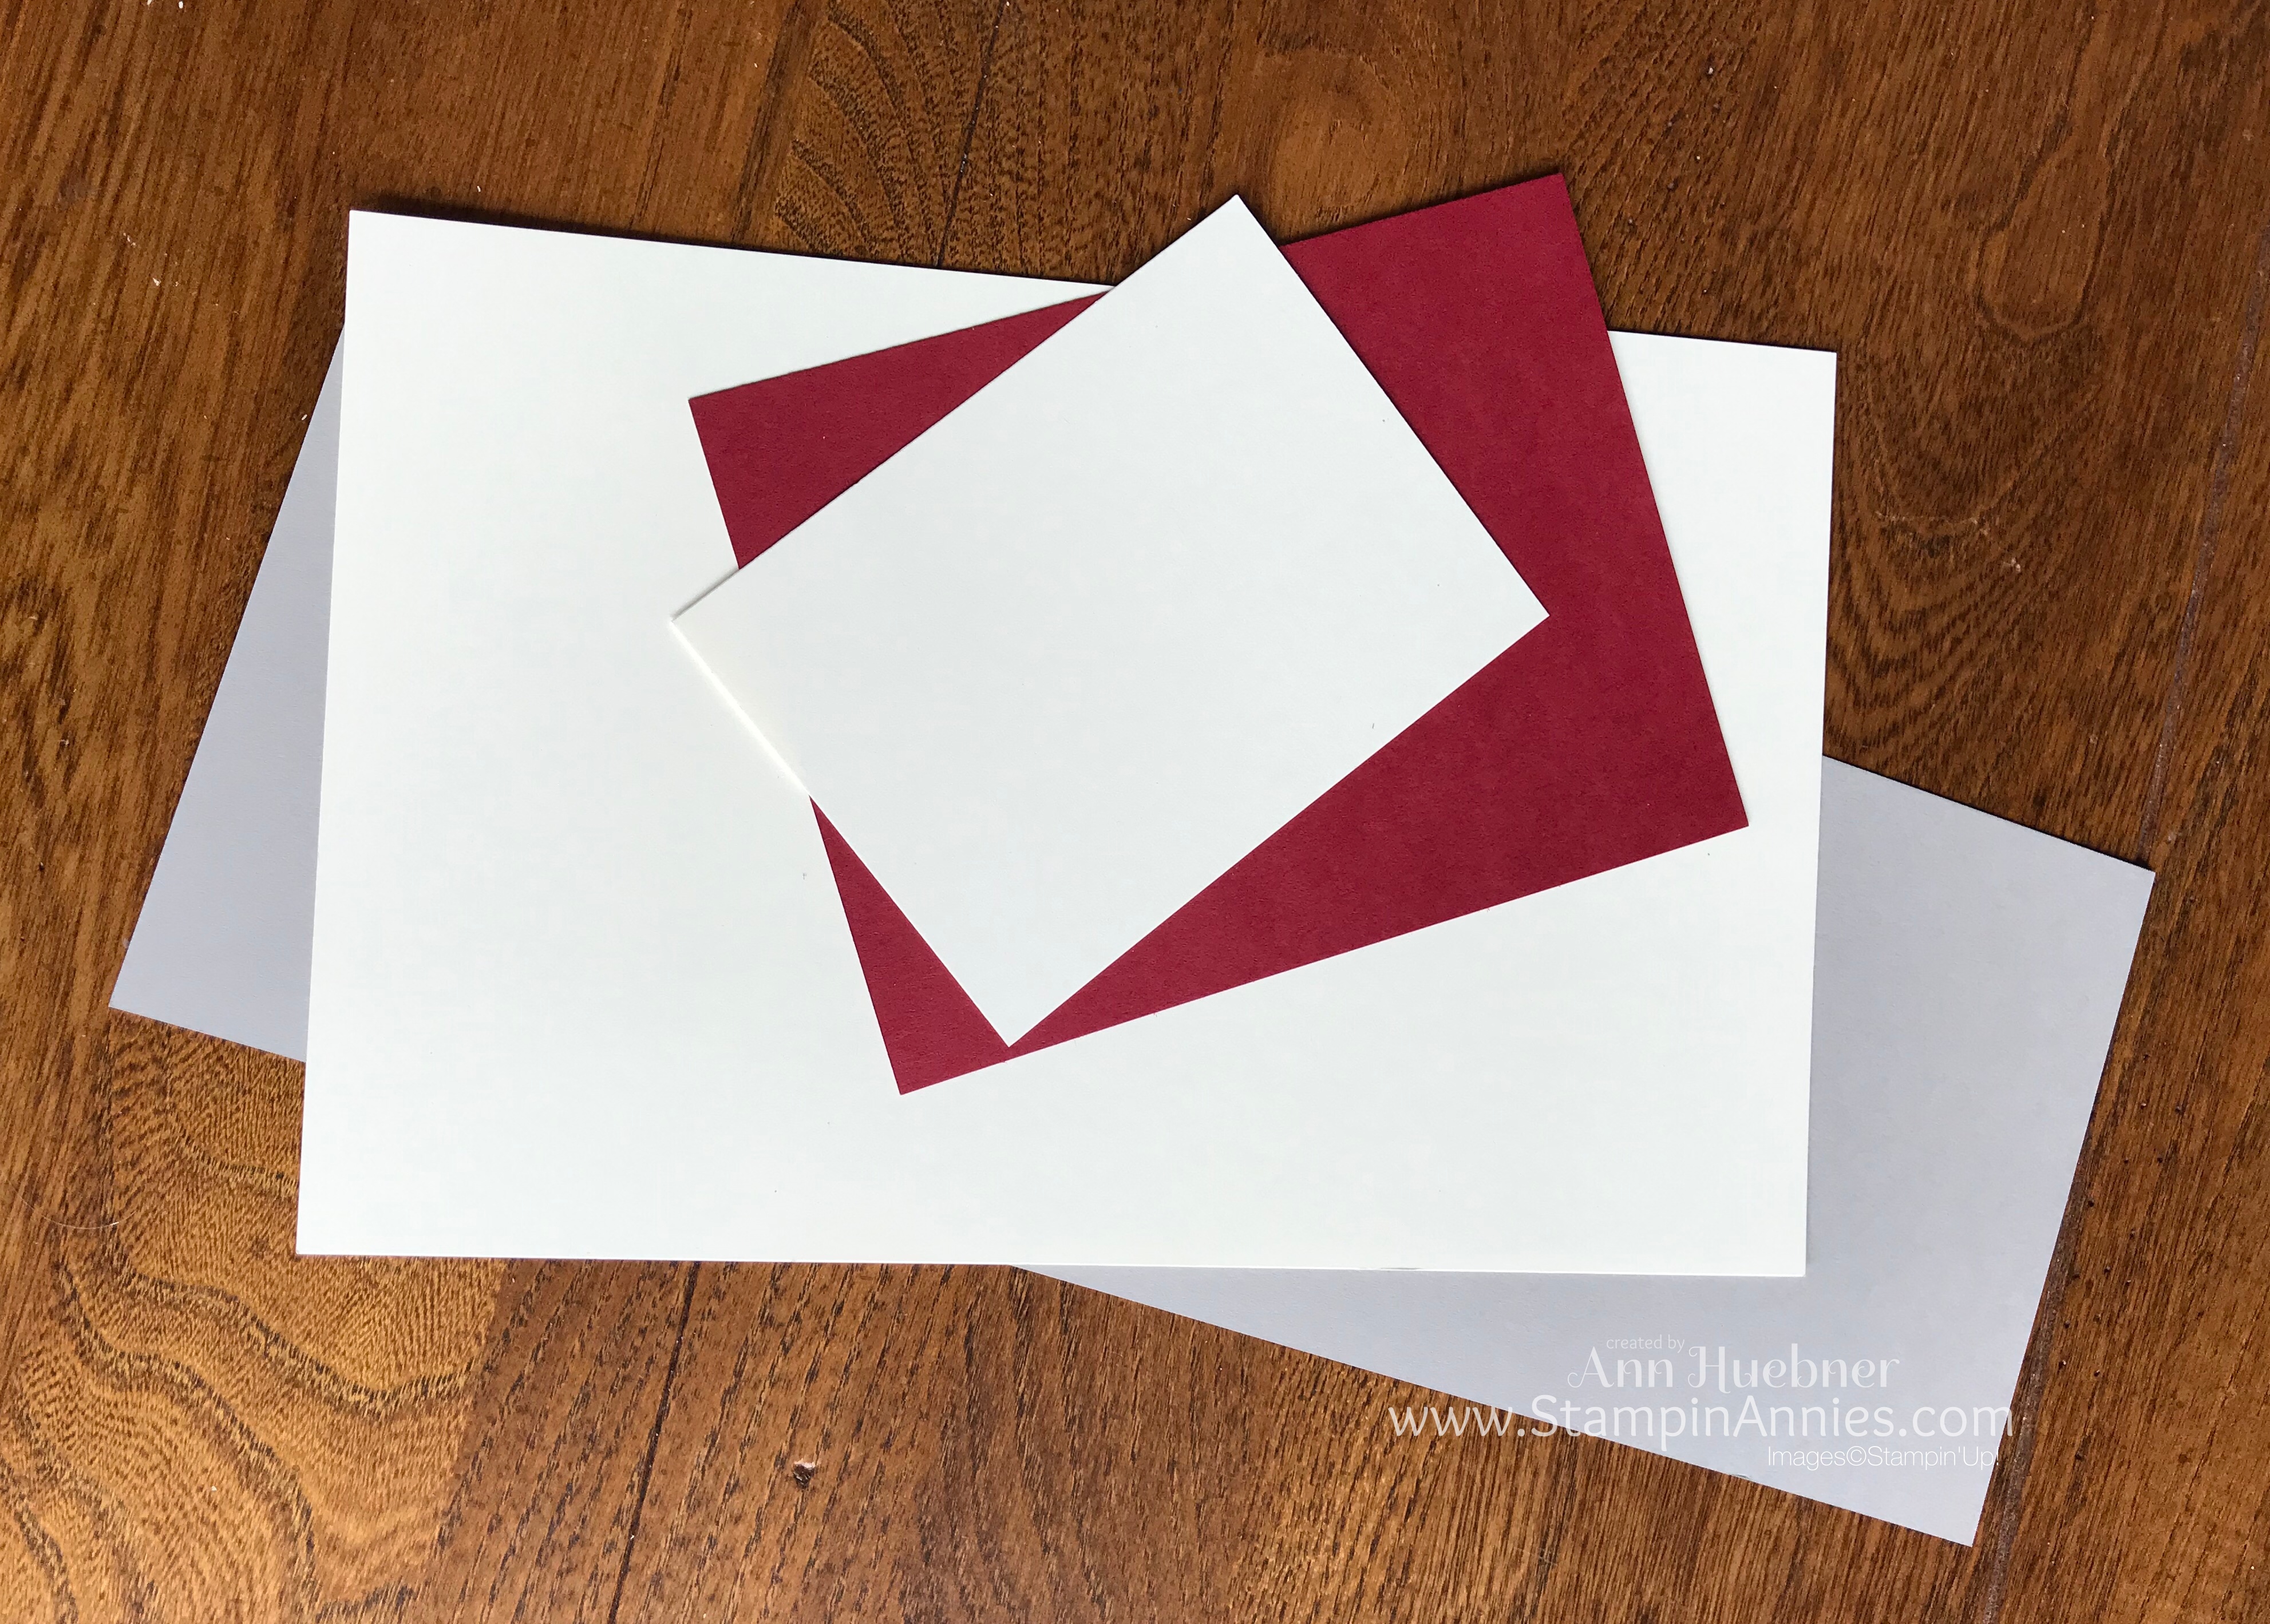
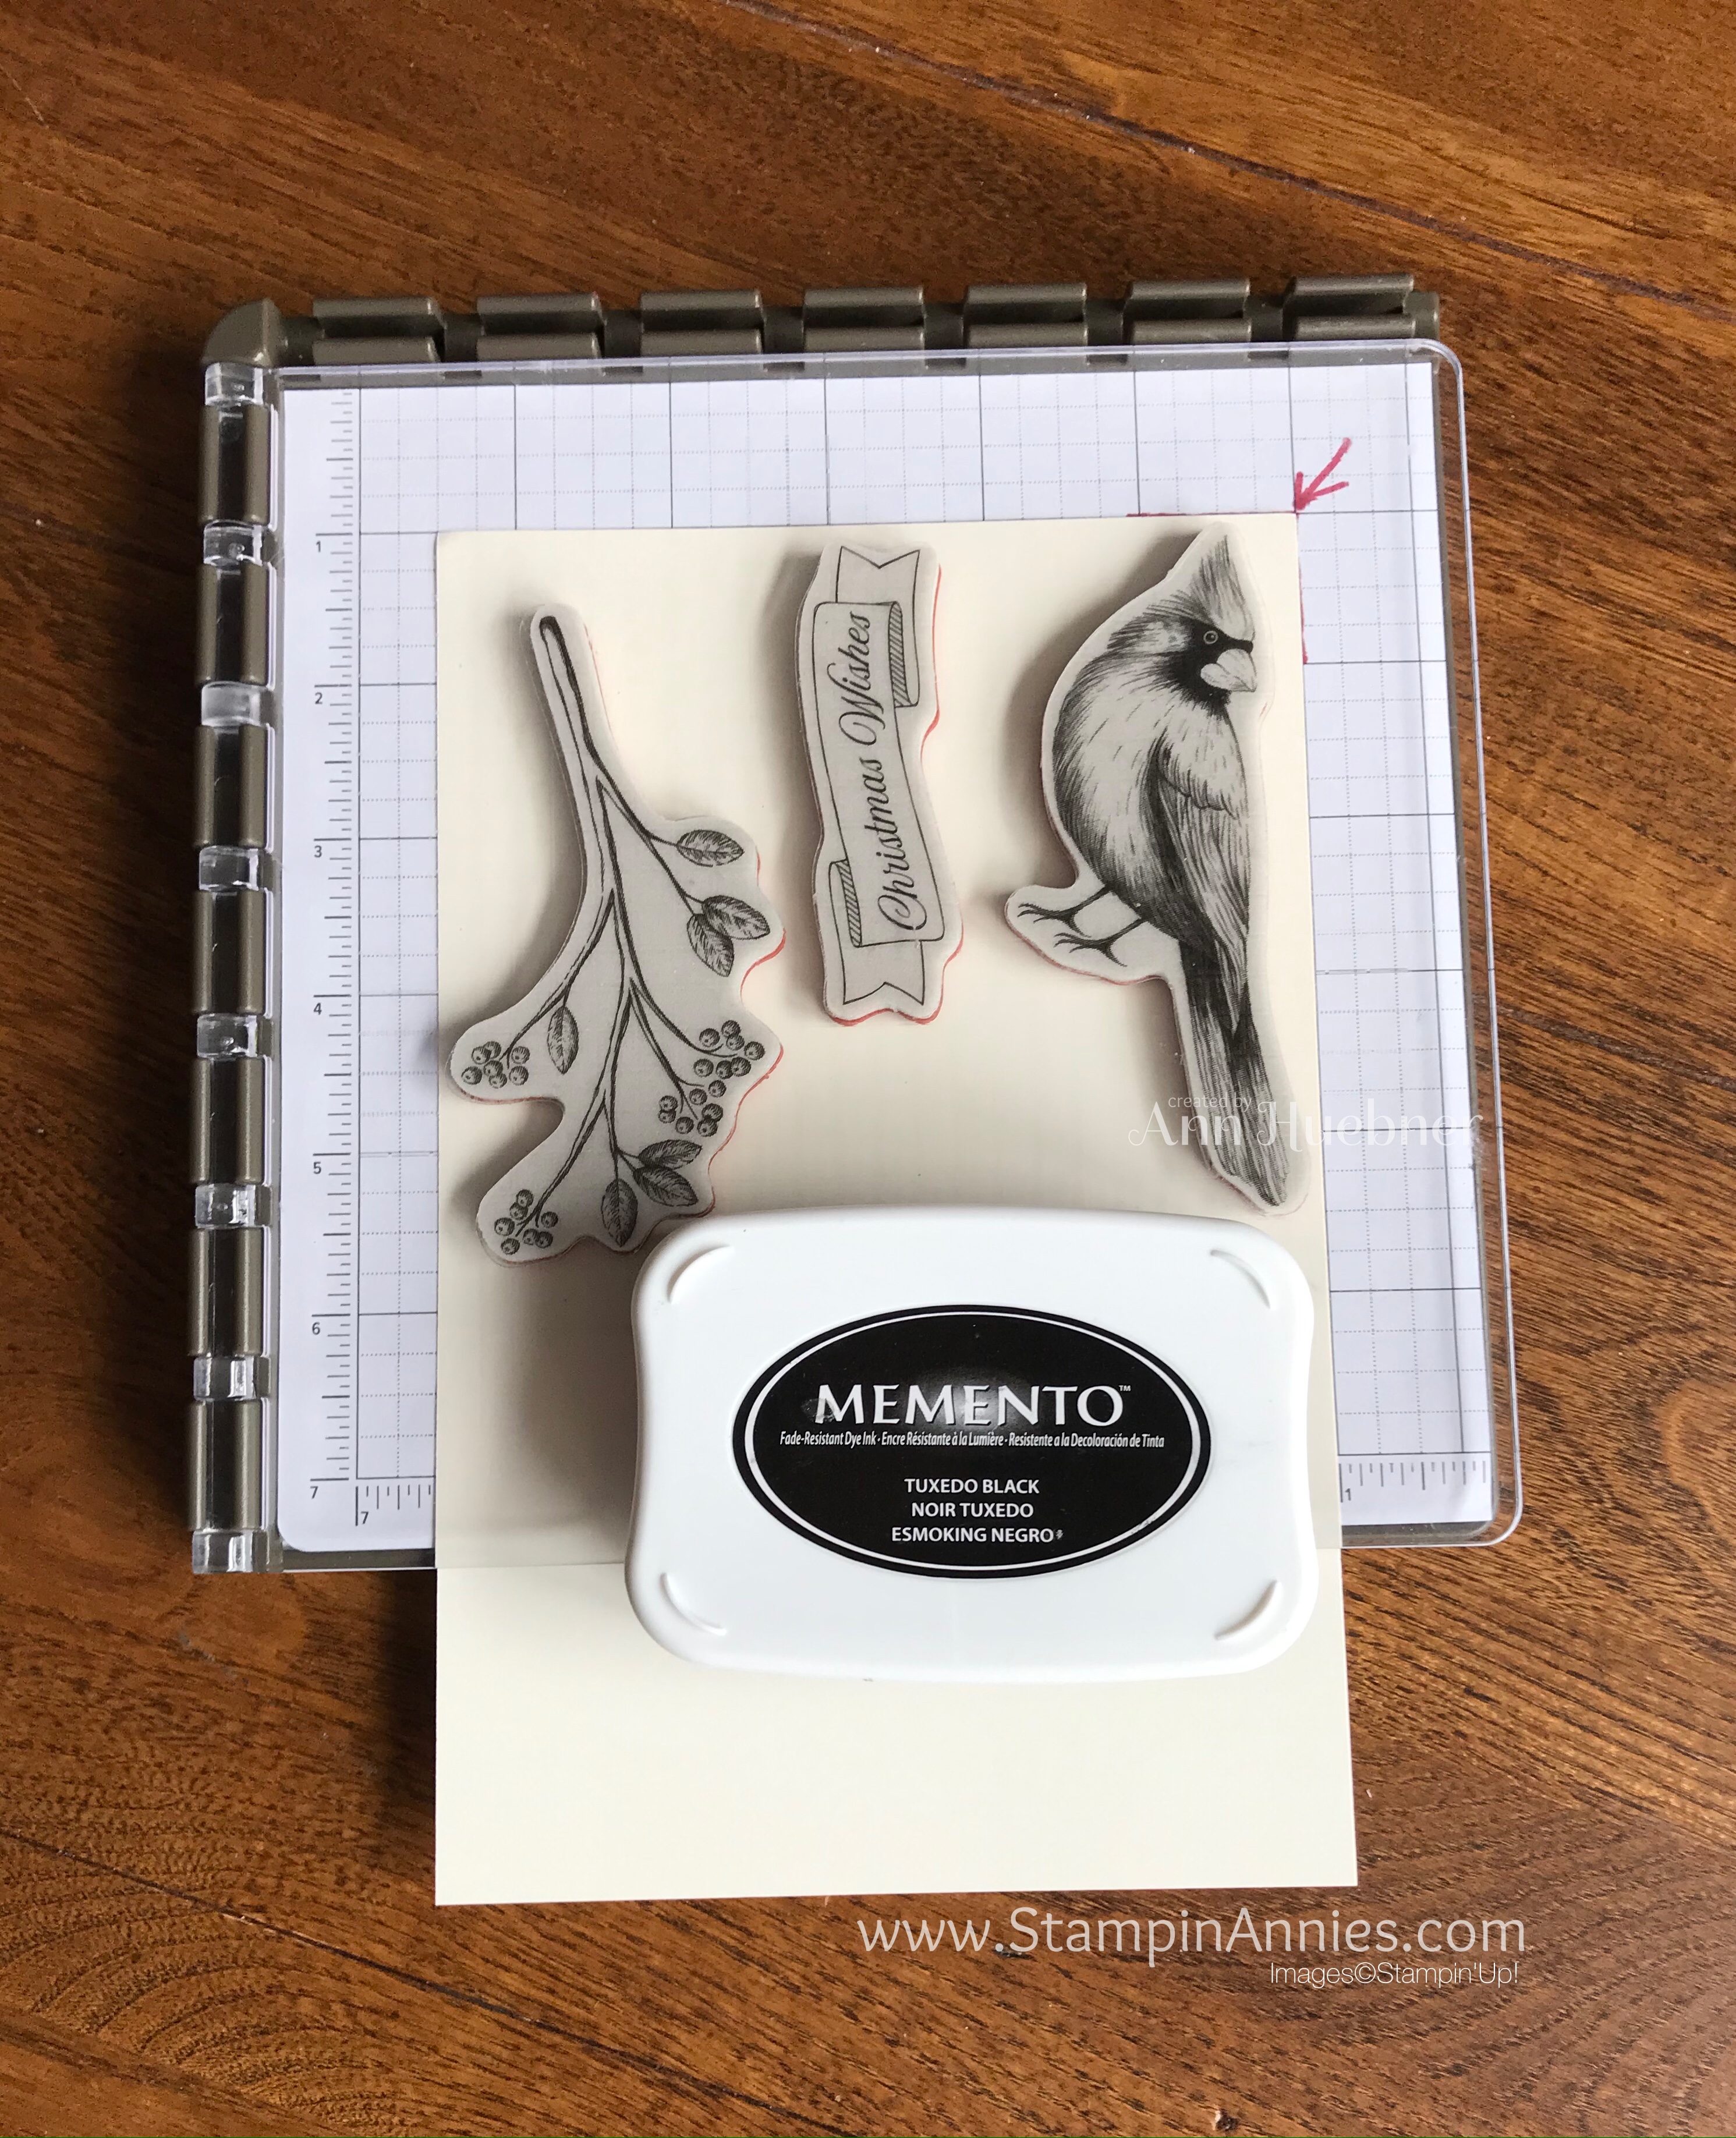
I wanted to make multiple cards so the best way to do this is with the Stamparatus! One inking and done!
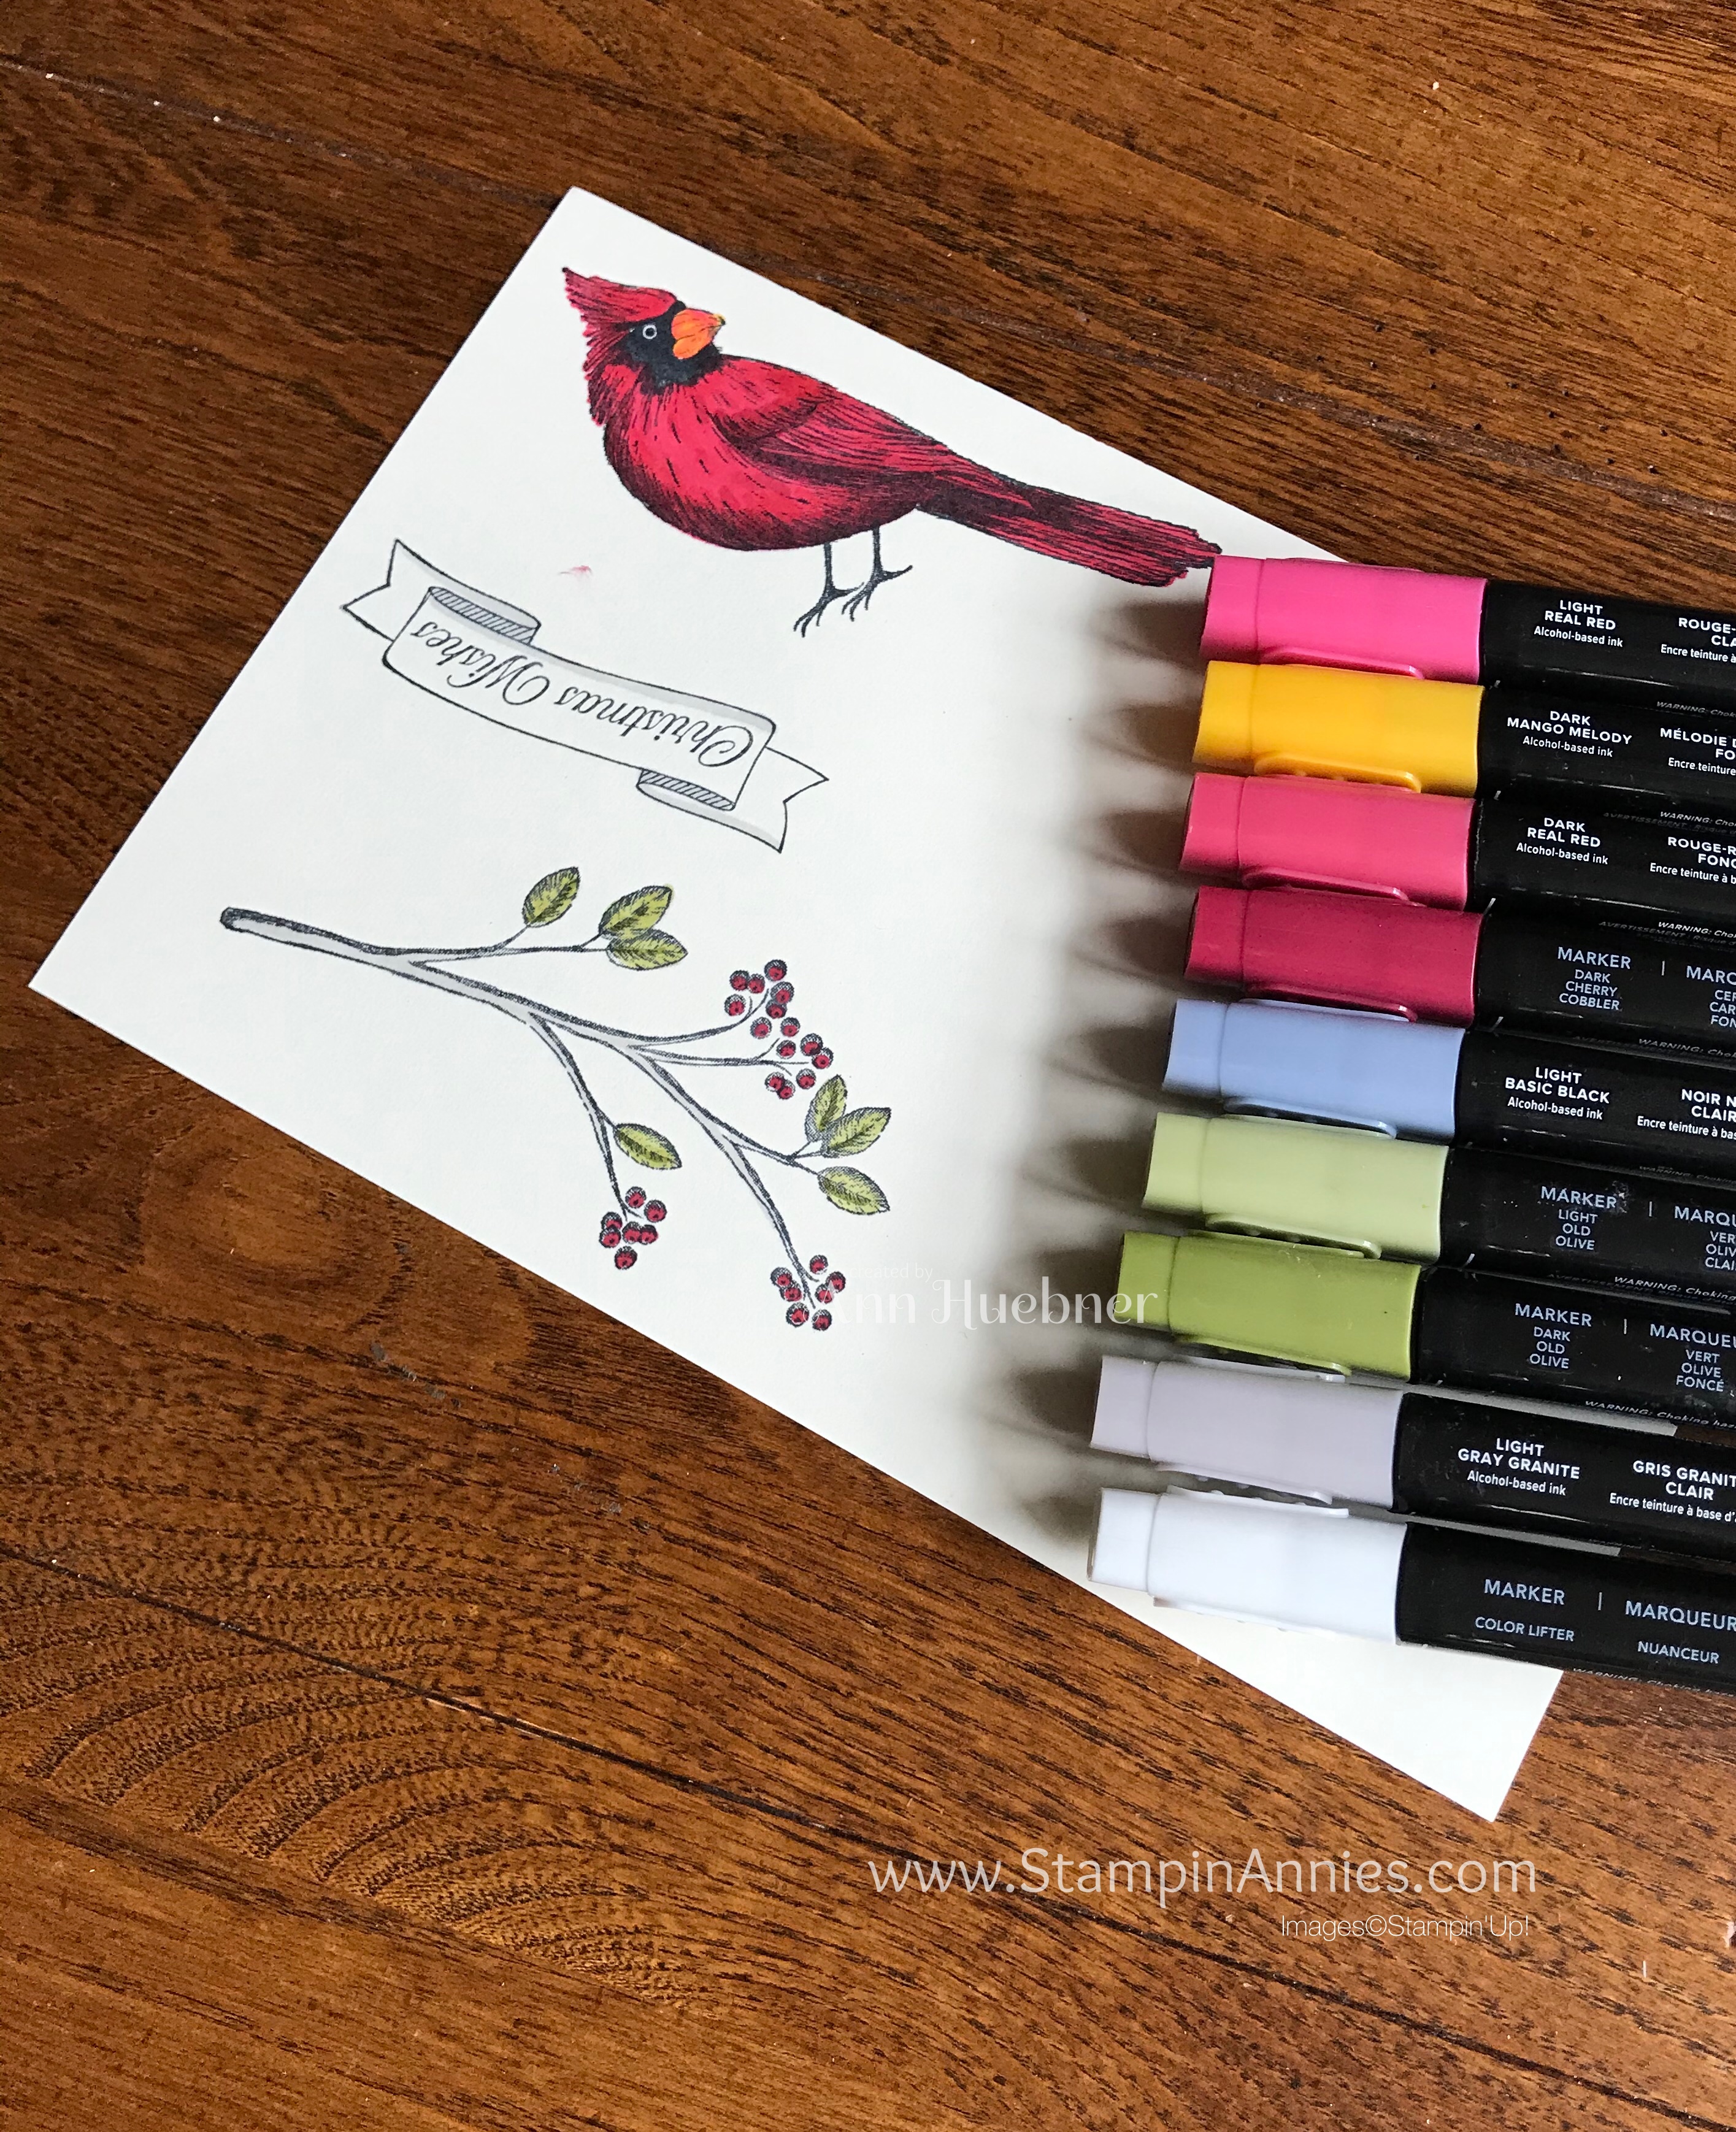
I have a couple tips for coloring the Cardinal with the Stampin’ Blend Markers:
Start by coloring the beak with a touch of Light Real Red followed by the Dark Mango Melody. ( I use Pinterest to get the colors. Cardinals may have different colored beaks in different regions)
For the body: Color the entire bird (not the eye) Dark Real Red; add hints of Dark Cherry Cobbler to wing and chest, then go over again with Dark Real Red to blend the colors together. Use Light Basic Black to enhance the mask of the head (again, NOT the eyeball). If you accidentally color the white of the eye, you can always use a white gel pen to add a dot. Or you can add a black enamel dot for the eyeball.
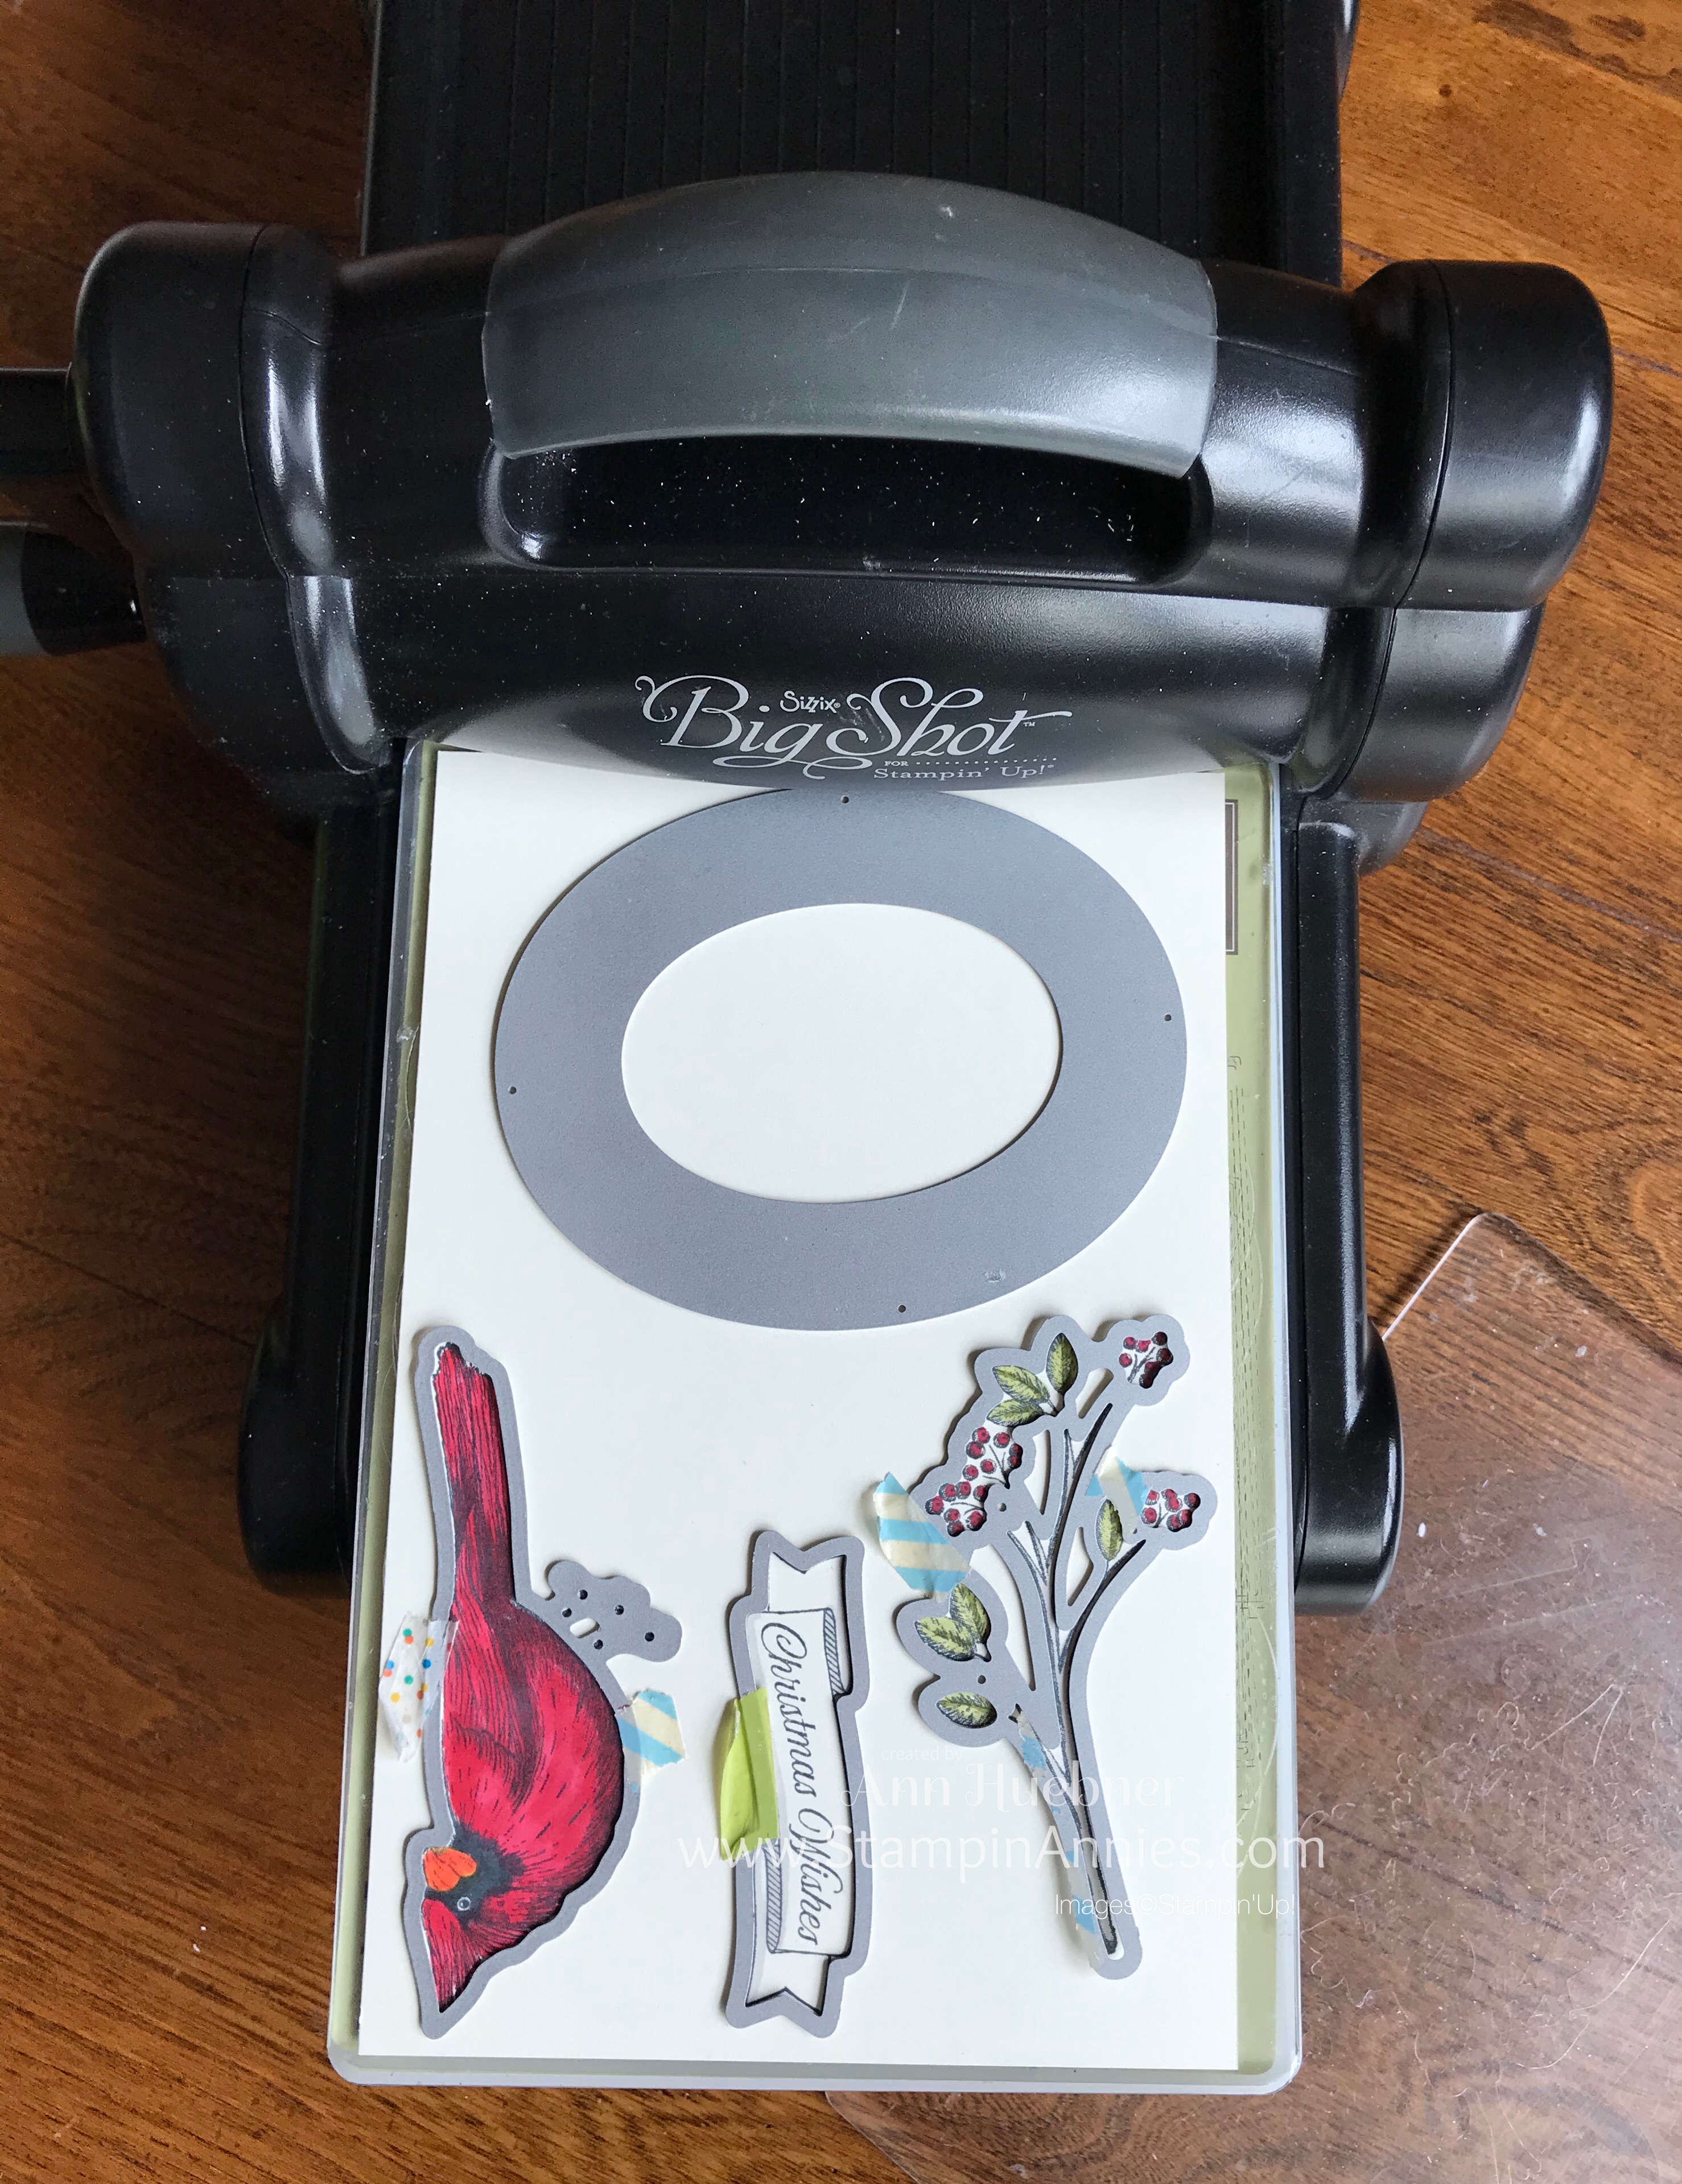
I lined up my images on the Stamparatus so the dies would all work at once thought the Big Shot.
BIGGEST TIP HERE: To prevent amputation of the bird’s legs … Make sure you can see the birds legs or lines through the holes on the dies!!!
Use Washi tape to secure the dies in place before running through the Big Shot.
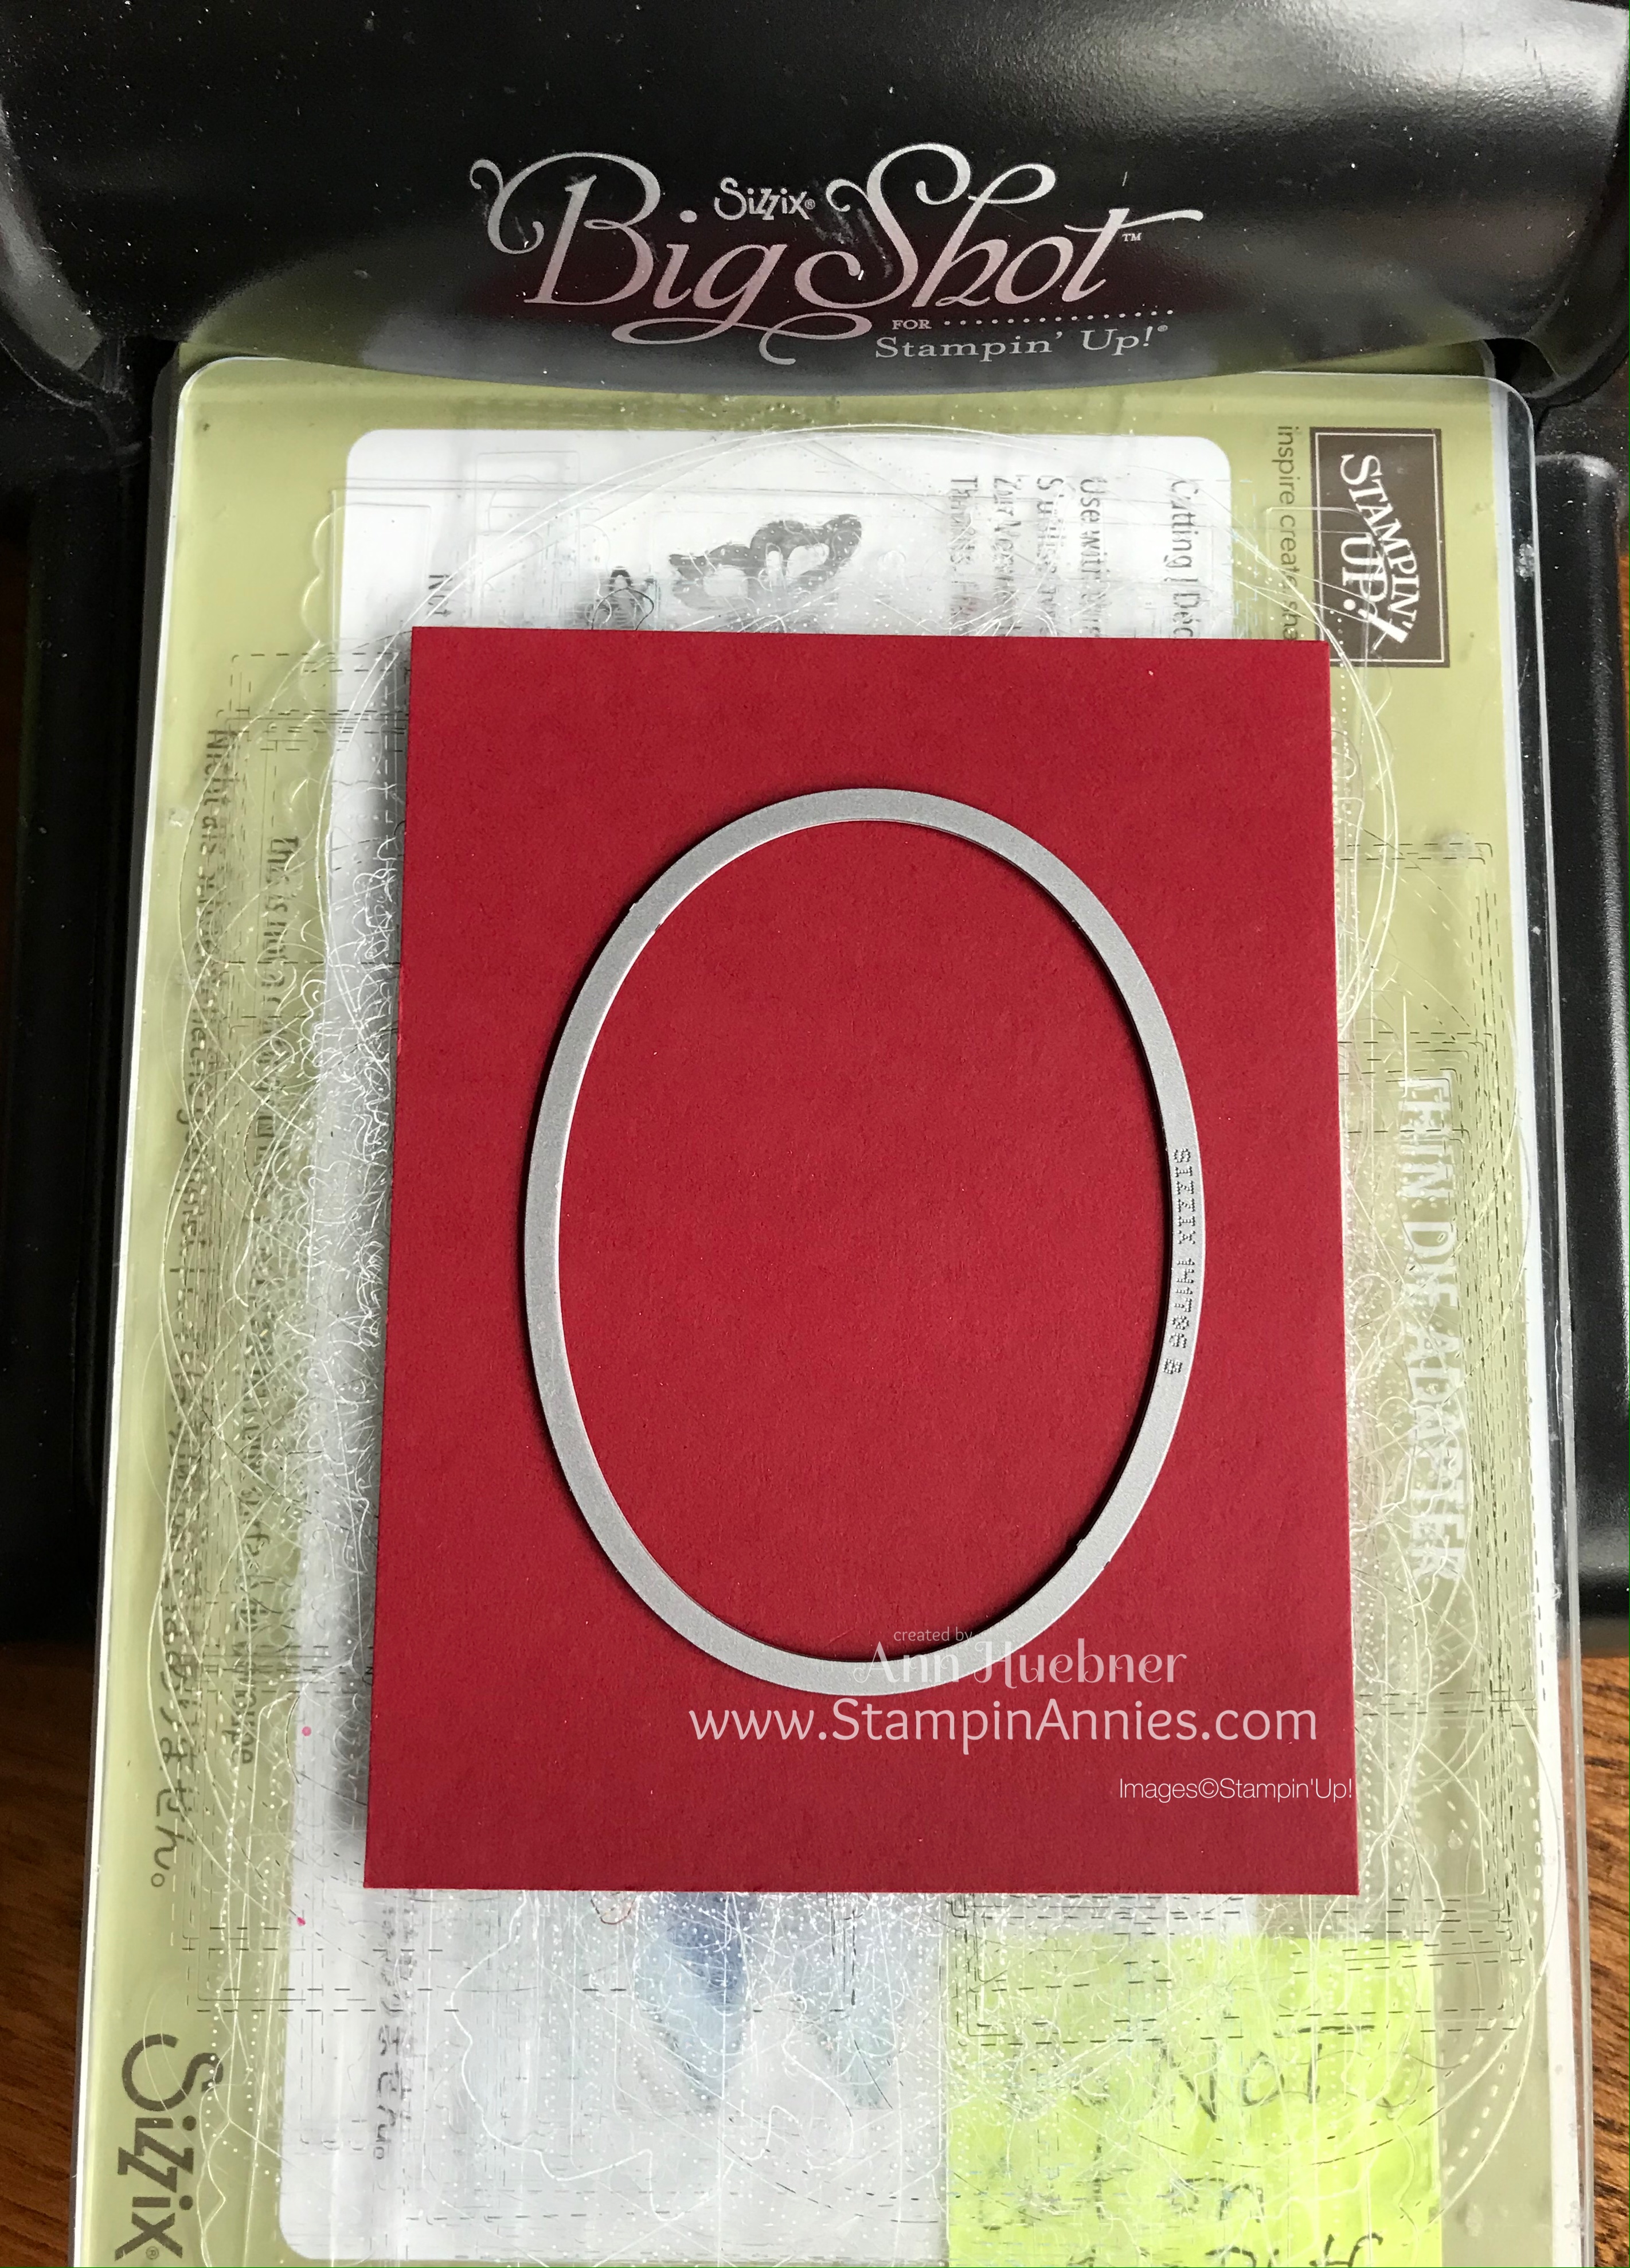
Use the Largest Oval from the Layering Ovals Die set in the center of the Cherry Cobbler cardstock.
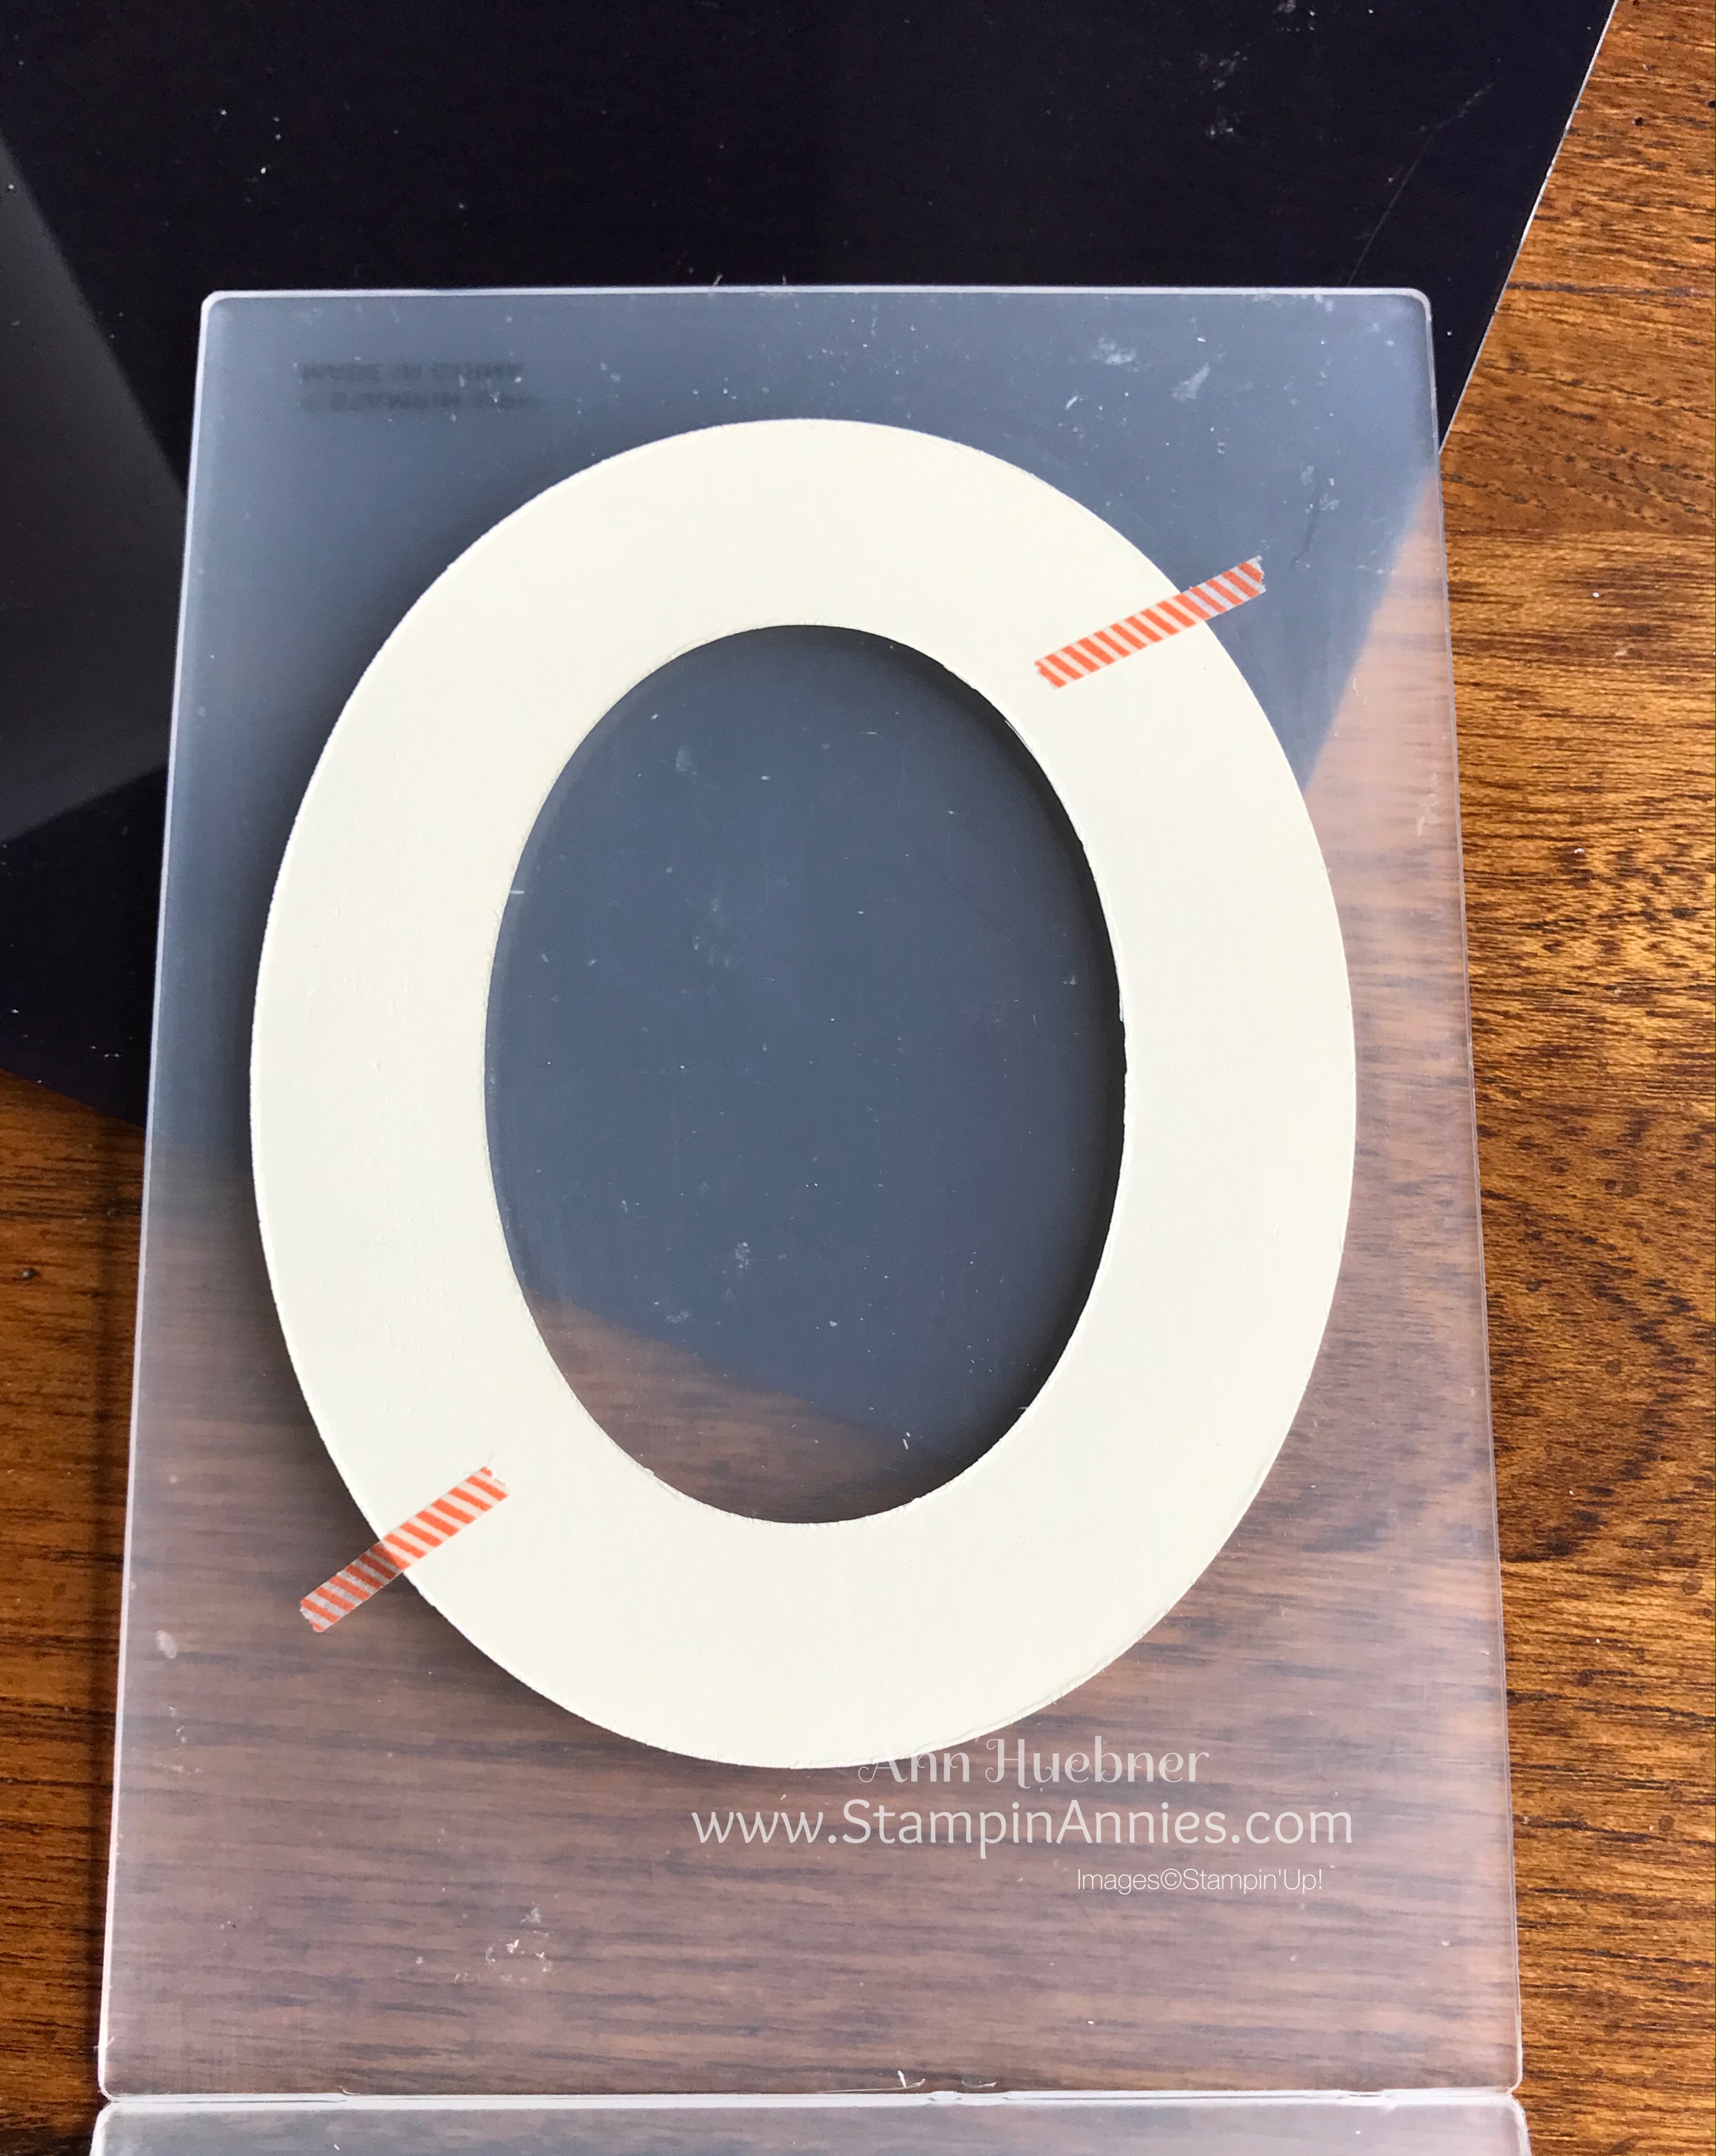
Use Washi tape to center the Very Vanilla Oval onto the 3D Embossing Folder to keep in place for the perfectly embossed frame. Not Pictured… Look through the front of the Embossing Folder to center, then press tape down to secure it.
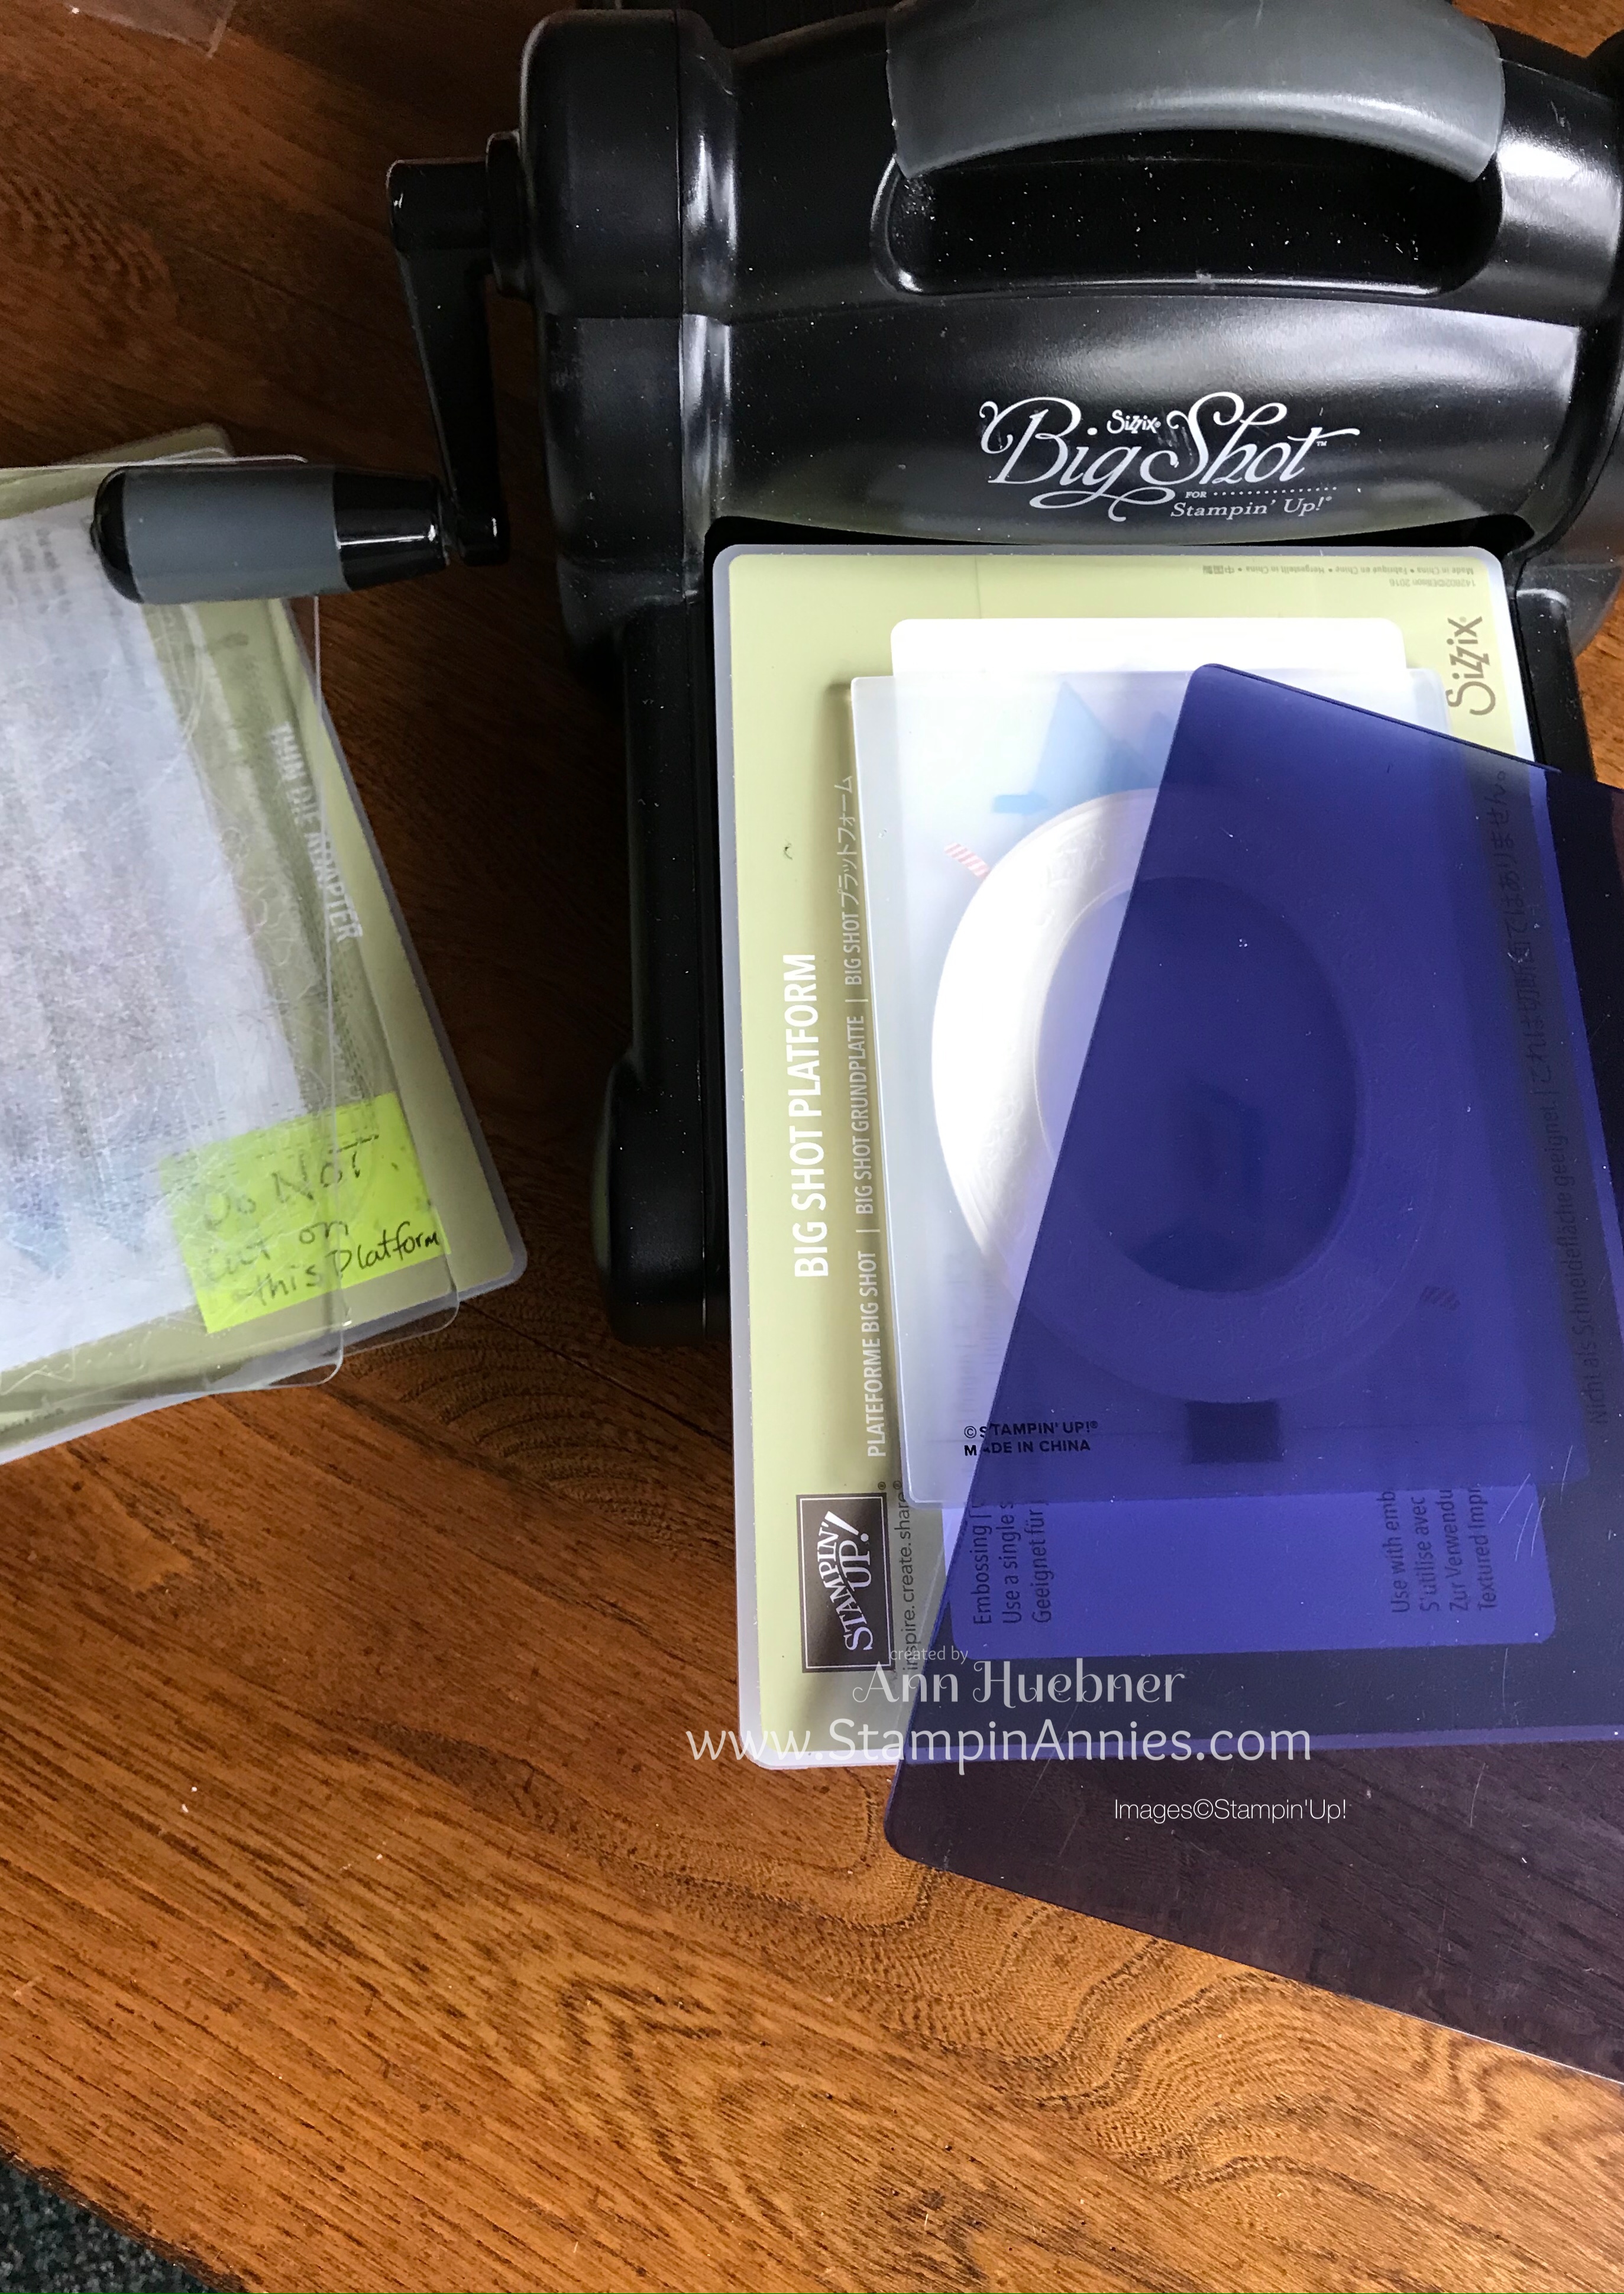
Important step: Layers for your 3D Embossing Folder!!!
For the best results with our new 3D Embossing Folders use the BLUE 3D Embossing Folder Plate.
Do NOT use this BLUE plate with the ‘Thin Die Adapter’ plate or with other clear plates!!!
REMOVE the Thin Die Adapter plate along with the two clear cutting plates shown to the left.
ONLY Use the Big Shot Platform, the 3D Embossing Folder and the Blue Folder Plate.
Wha La! Perfect every time!
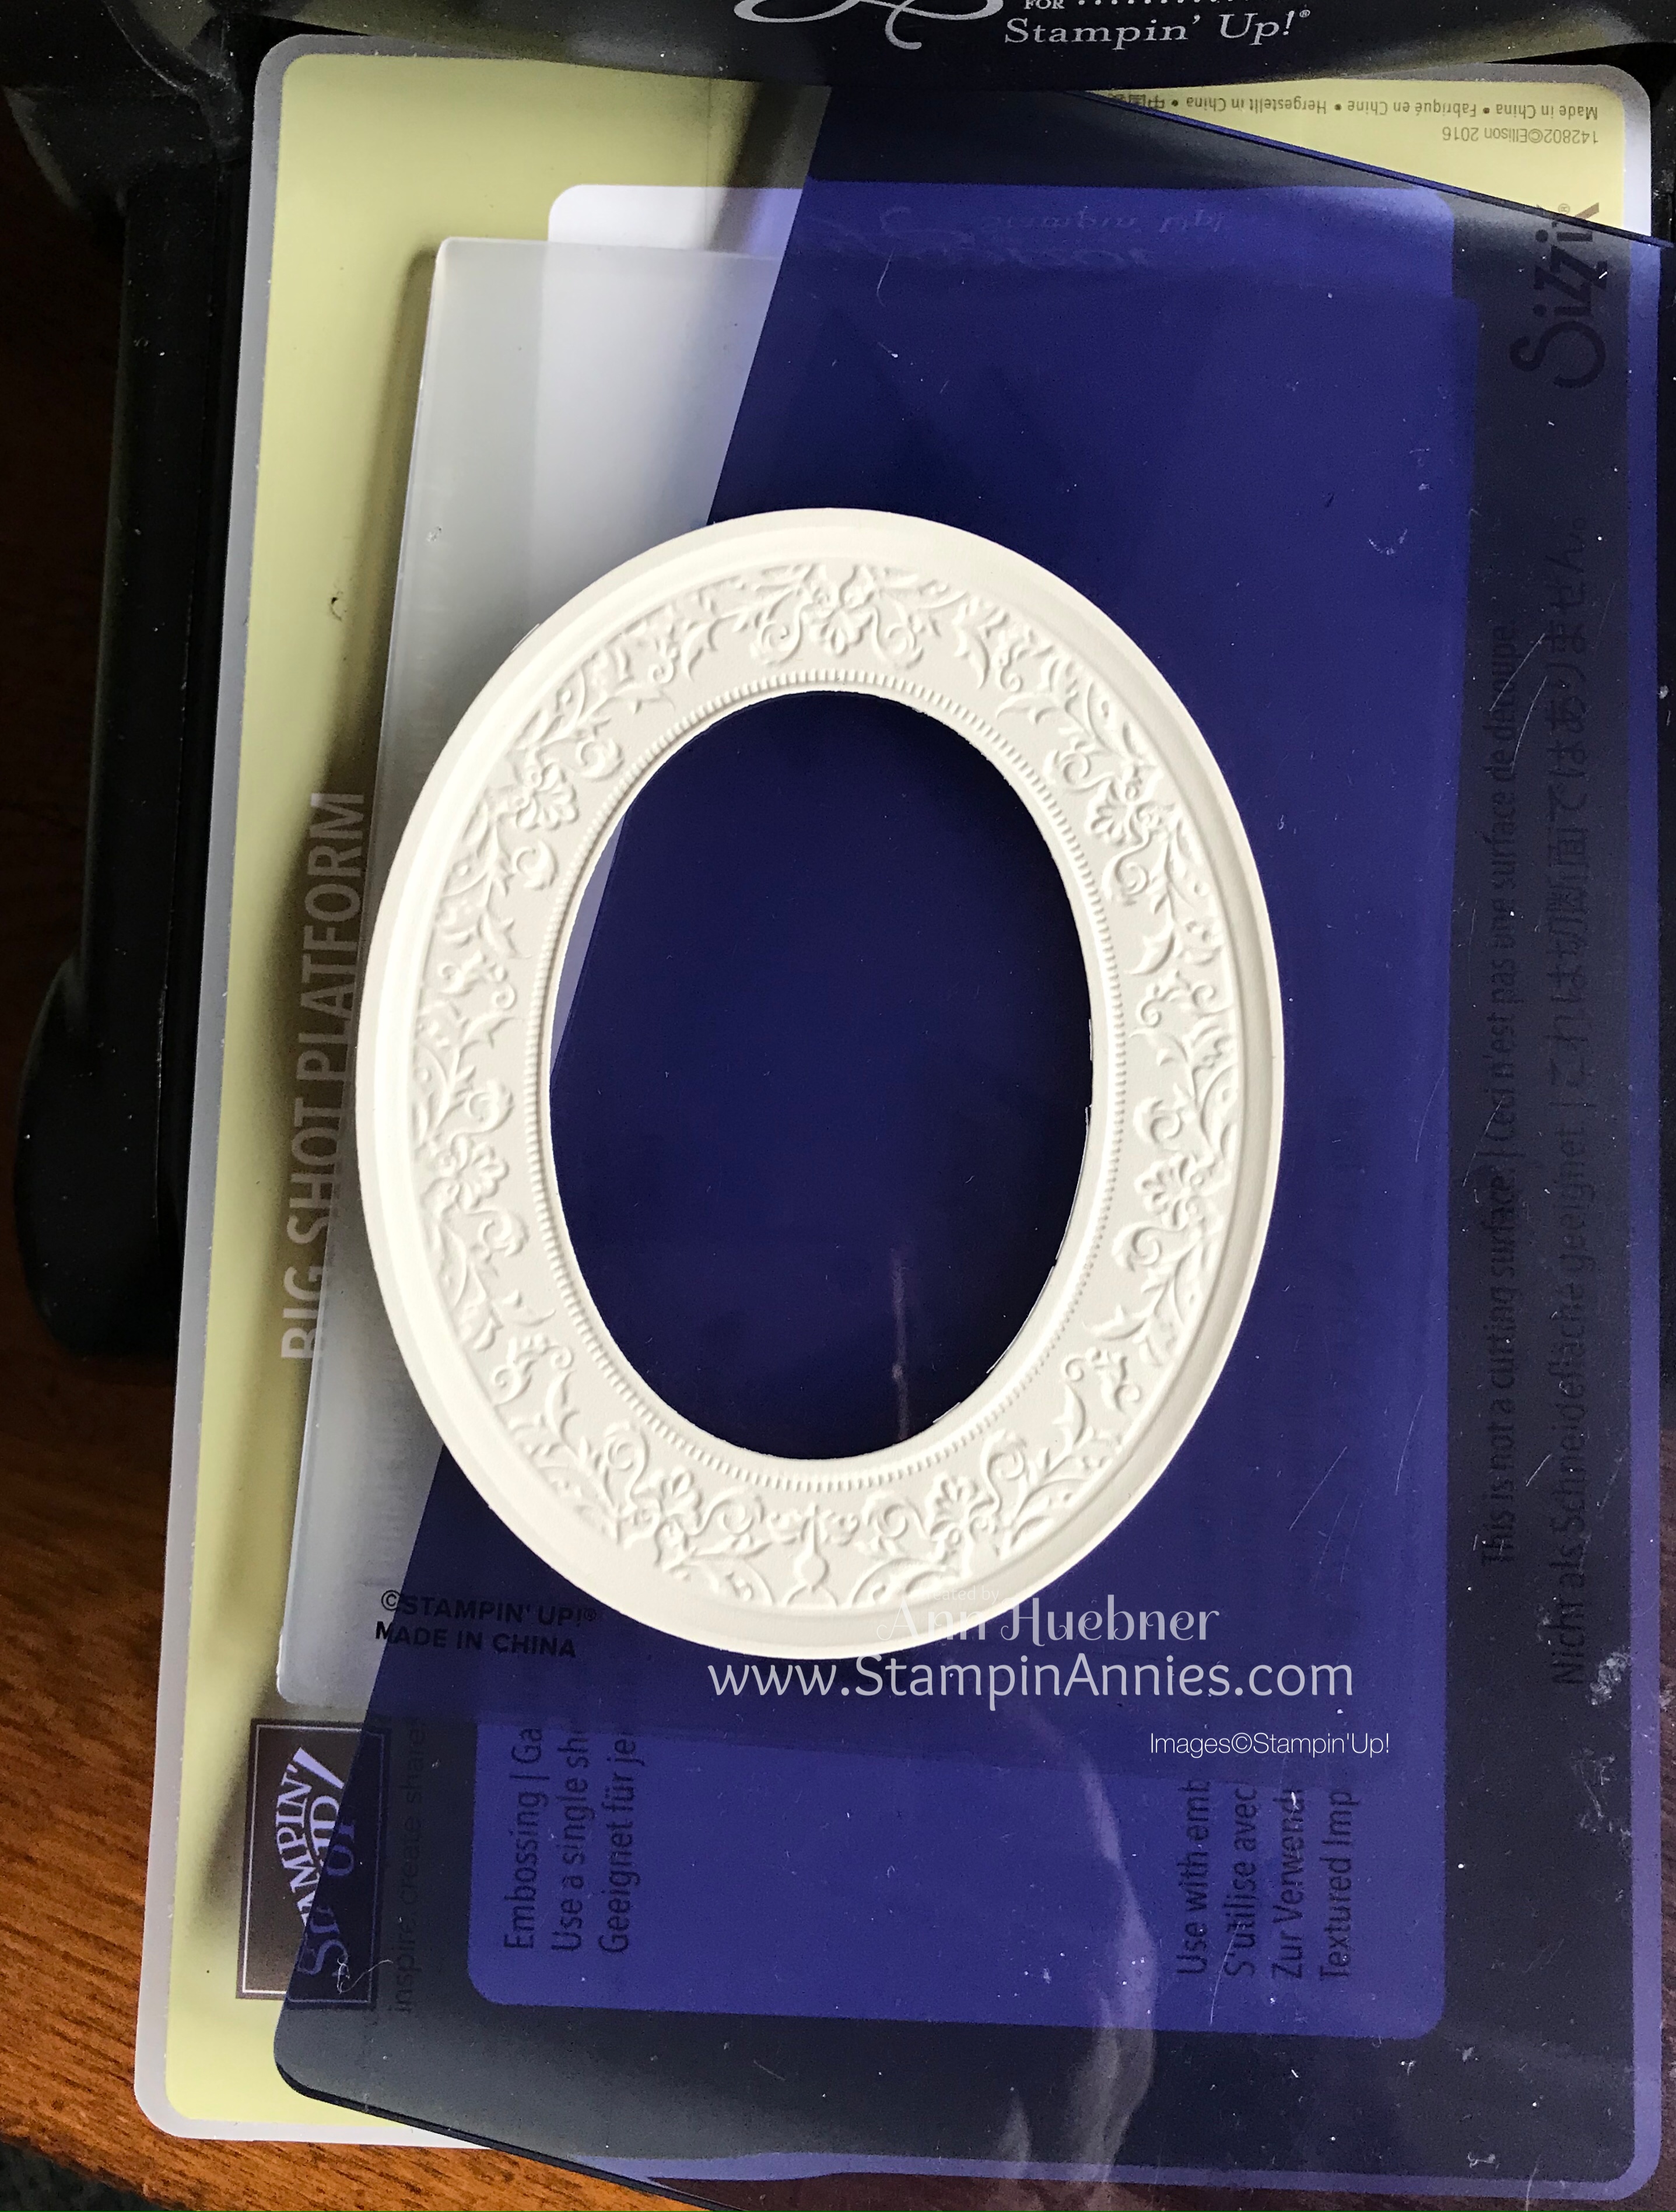
For this card I am using the de-bossed frame. You could turn it over and use the raised side, if you prefer that look.
Important Tip: Use two pieces of scotch tape to hold oval in place before adding Mini Dimensionals. Not pictured: I placed the tape on the edge of the Cherry Cobbler oval, turned it over to center the Very Vanilla embossed oval, then pressed down to keep in place.
Make sure to place the Mini Dimensionals on the edge of the Cherry Cobbler and the Vanilla oval to keep the embossed oval in place!
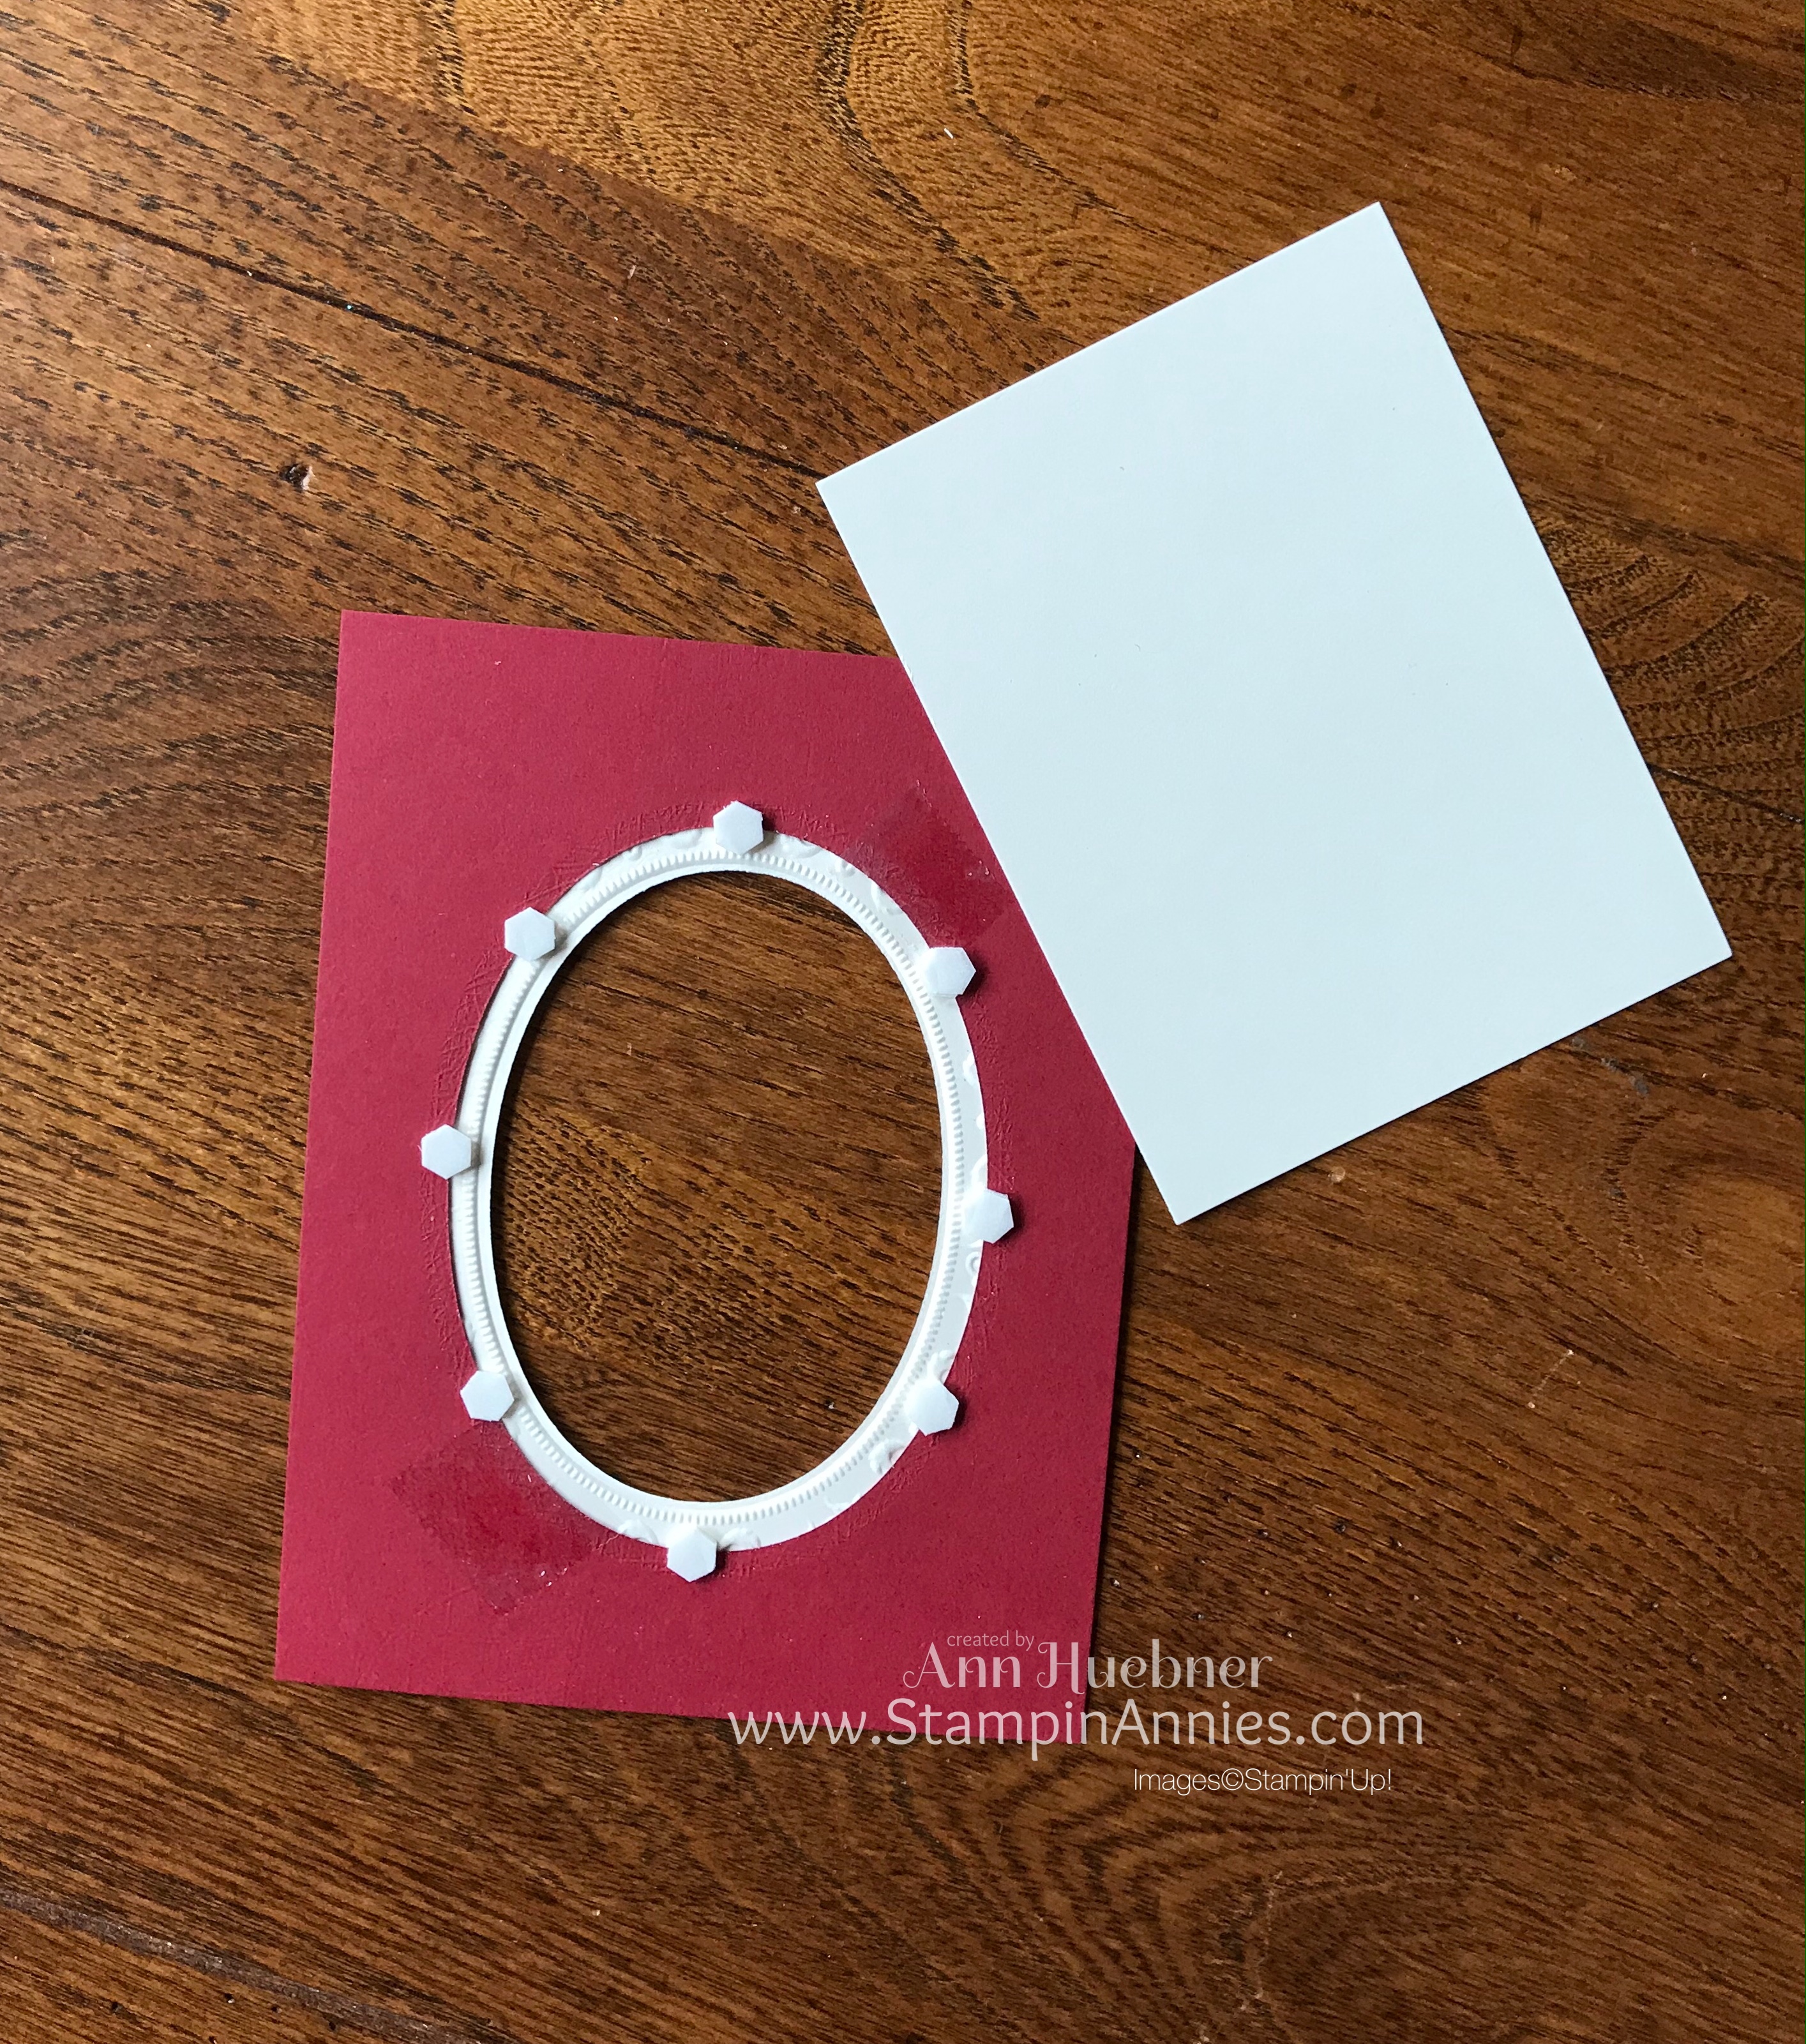
The Multipurpose Liquid Glue is my friend for so many projects!!! For this project, I chose the Mini Dimensionals because they are a bit thinner than the larger ones. This makes it much easier to glue down the edges.
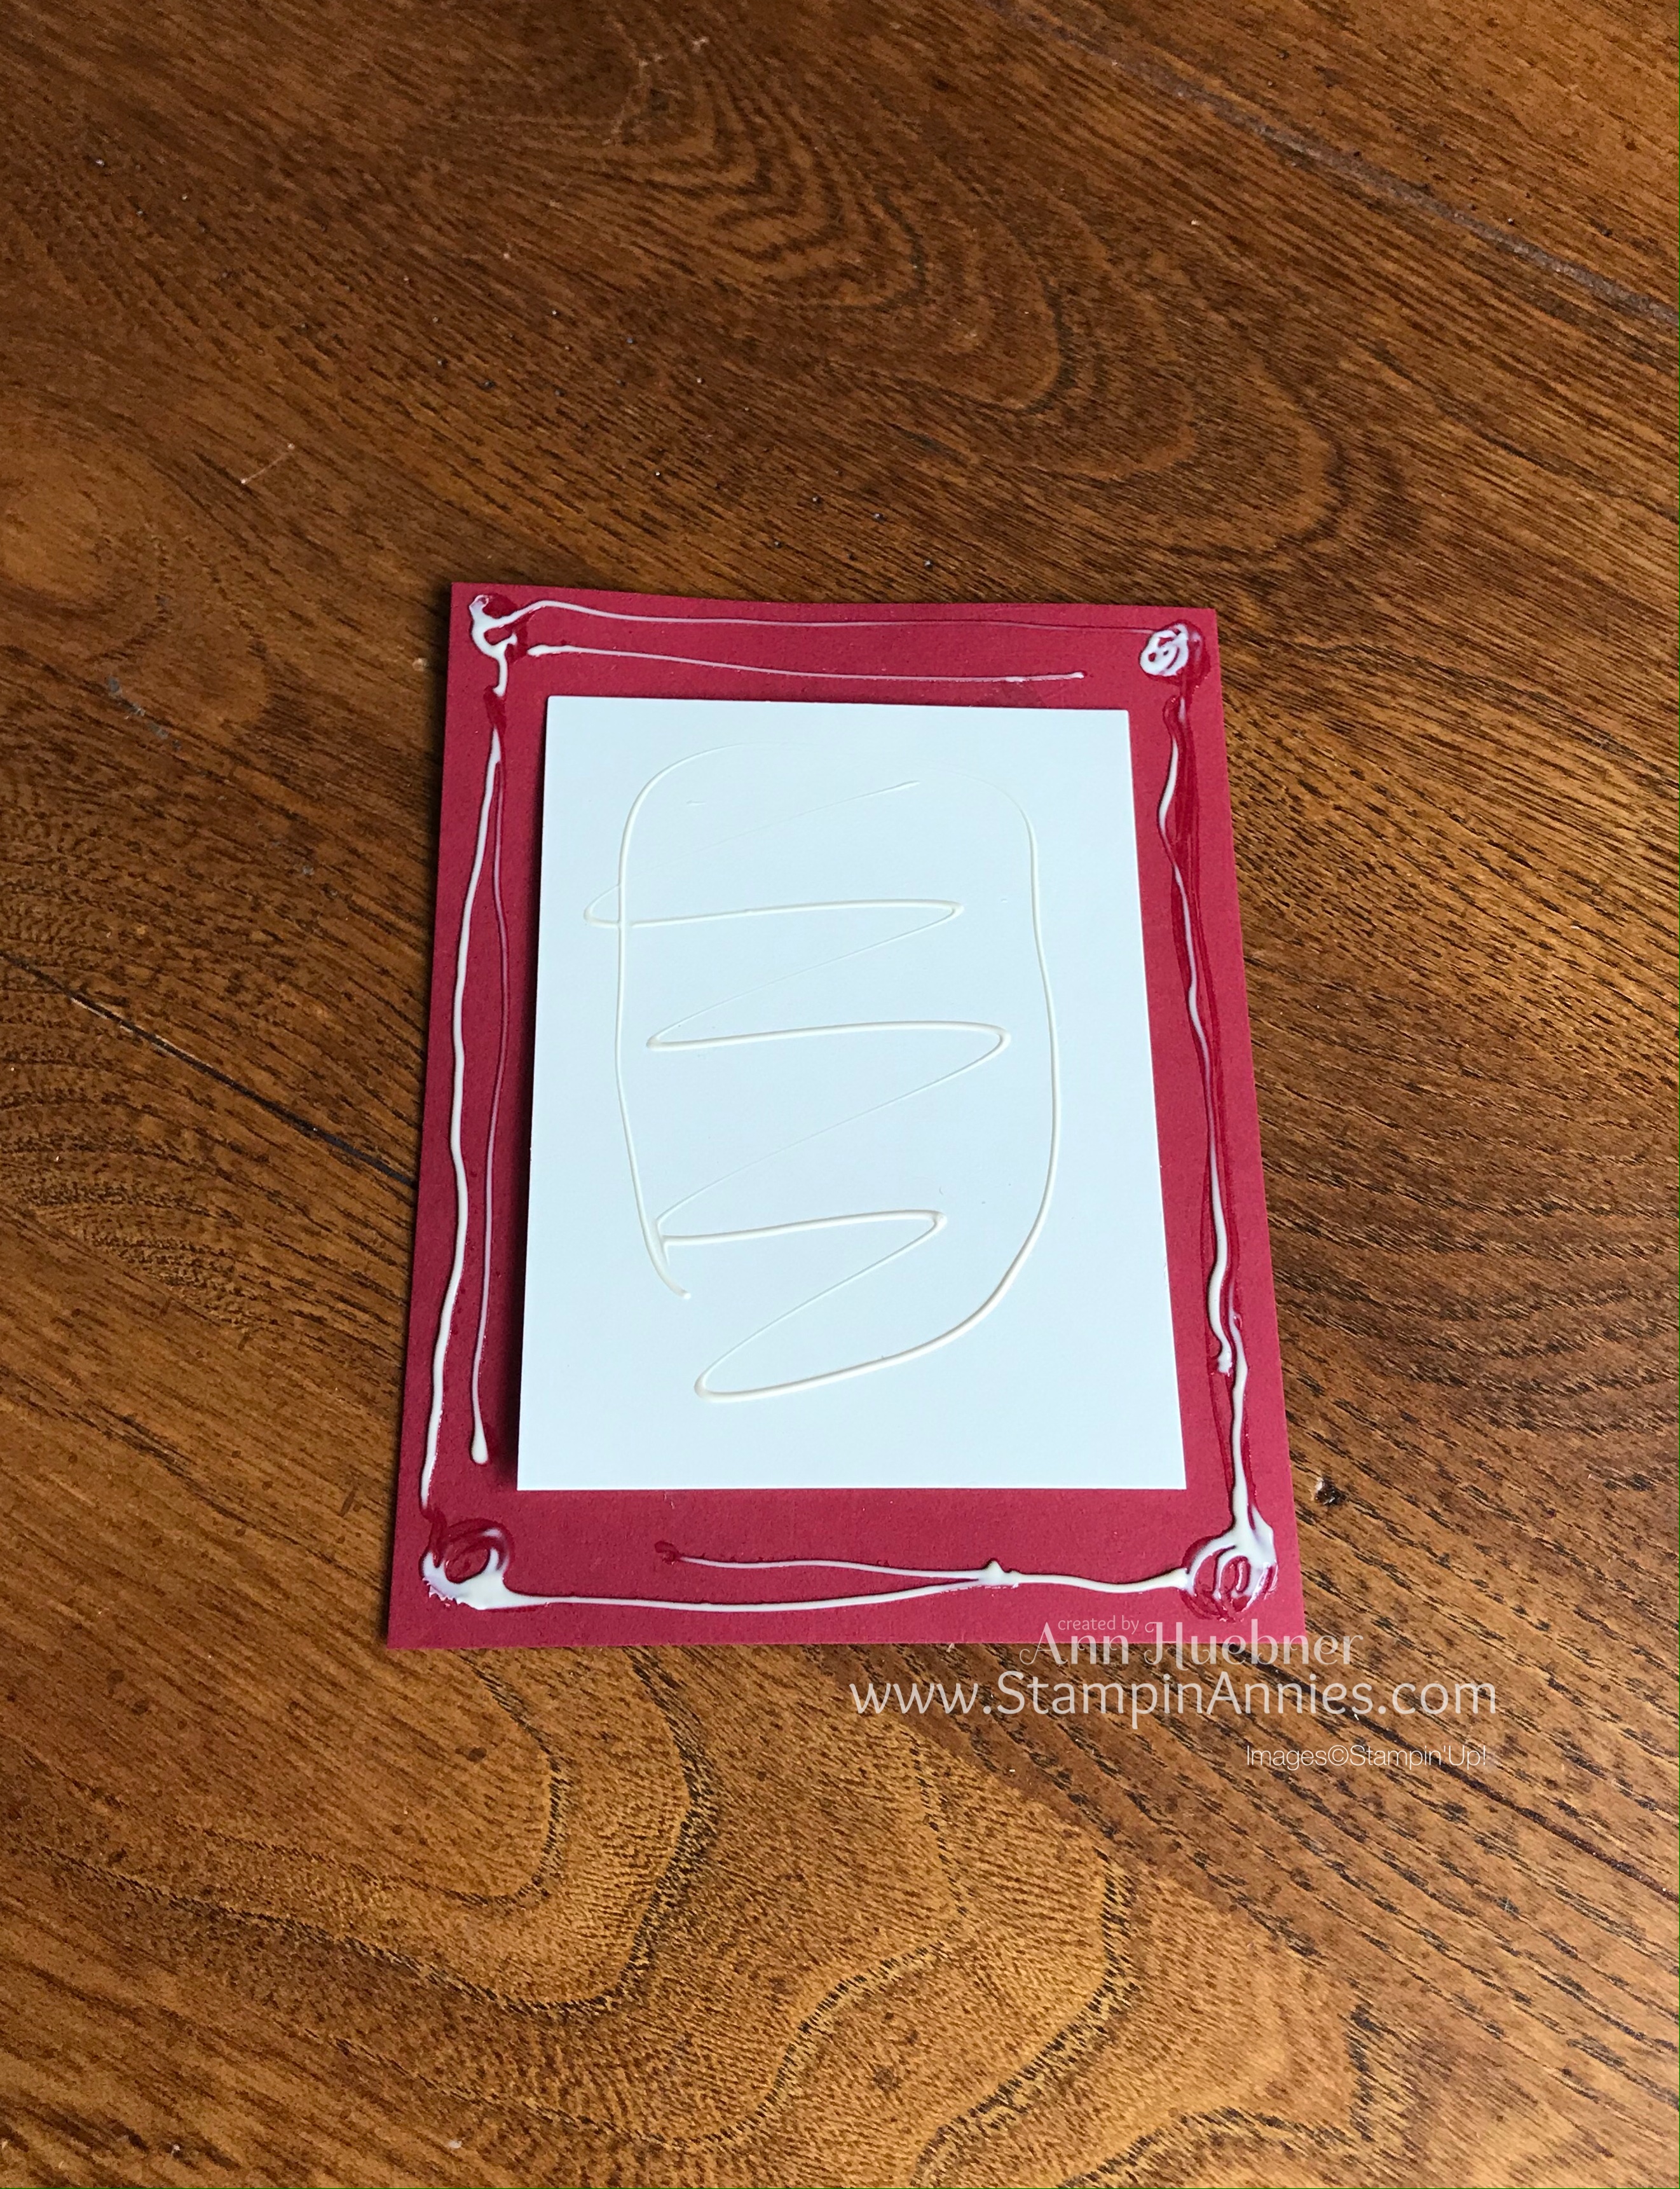
Here’s the secret to creating the shadow box effect… aka the space between the oval and the second vanilla layer… Only add glue to these spots on the branch, bird and banner ⬇️.
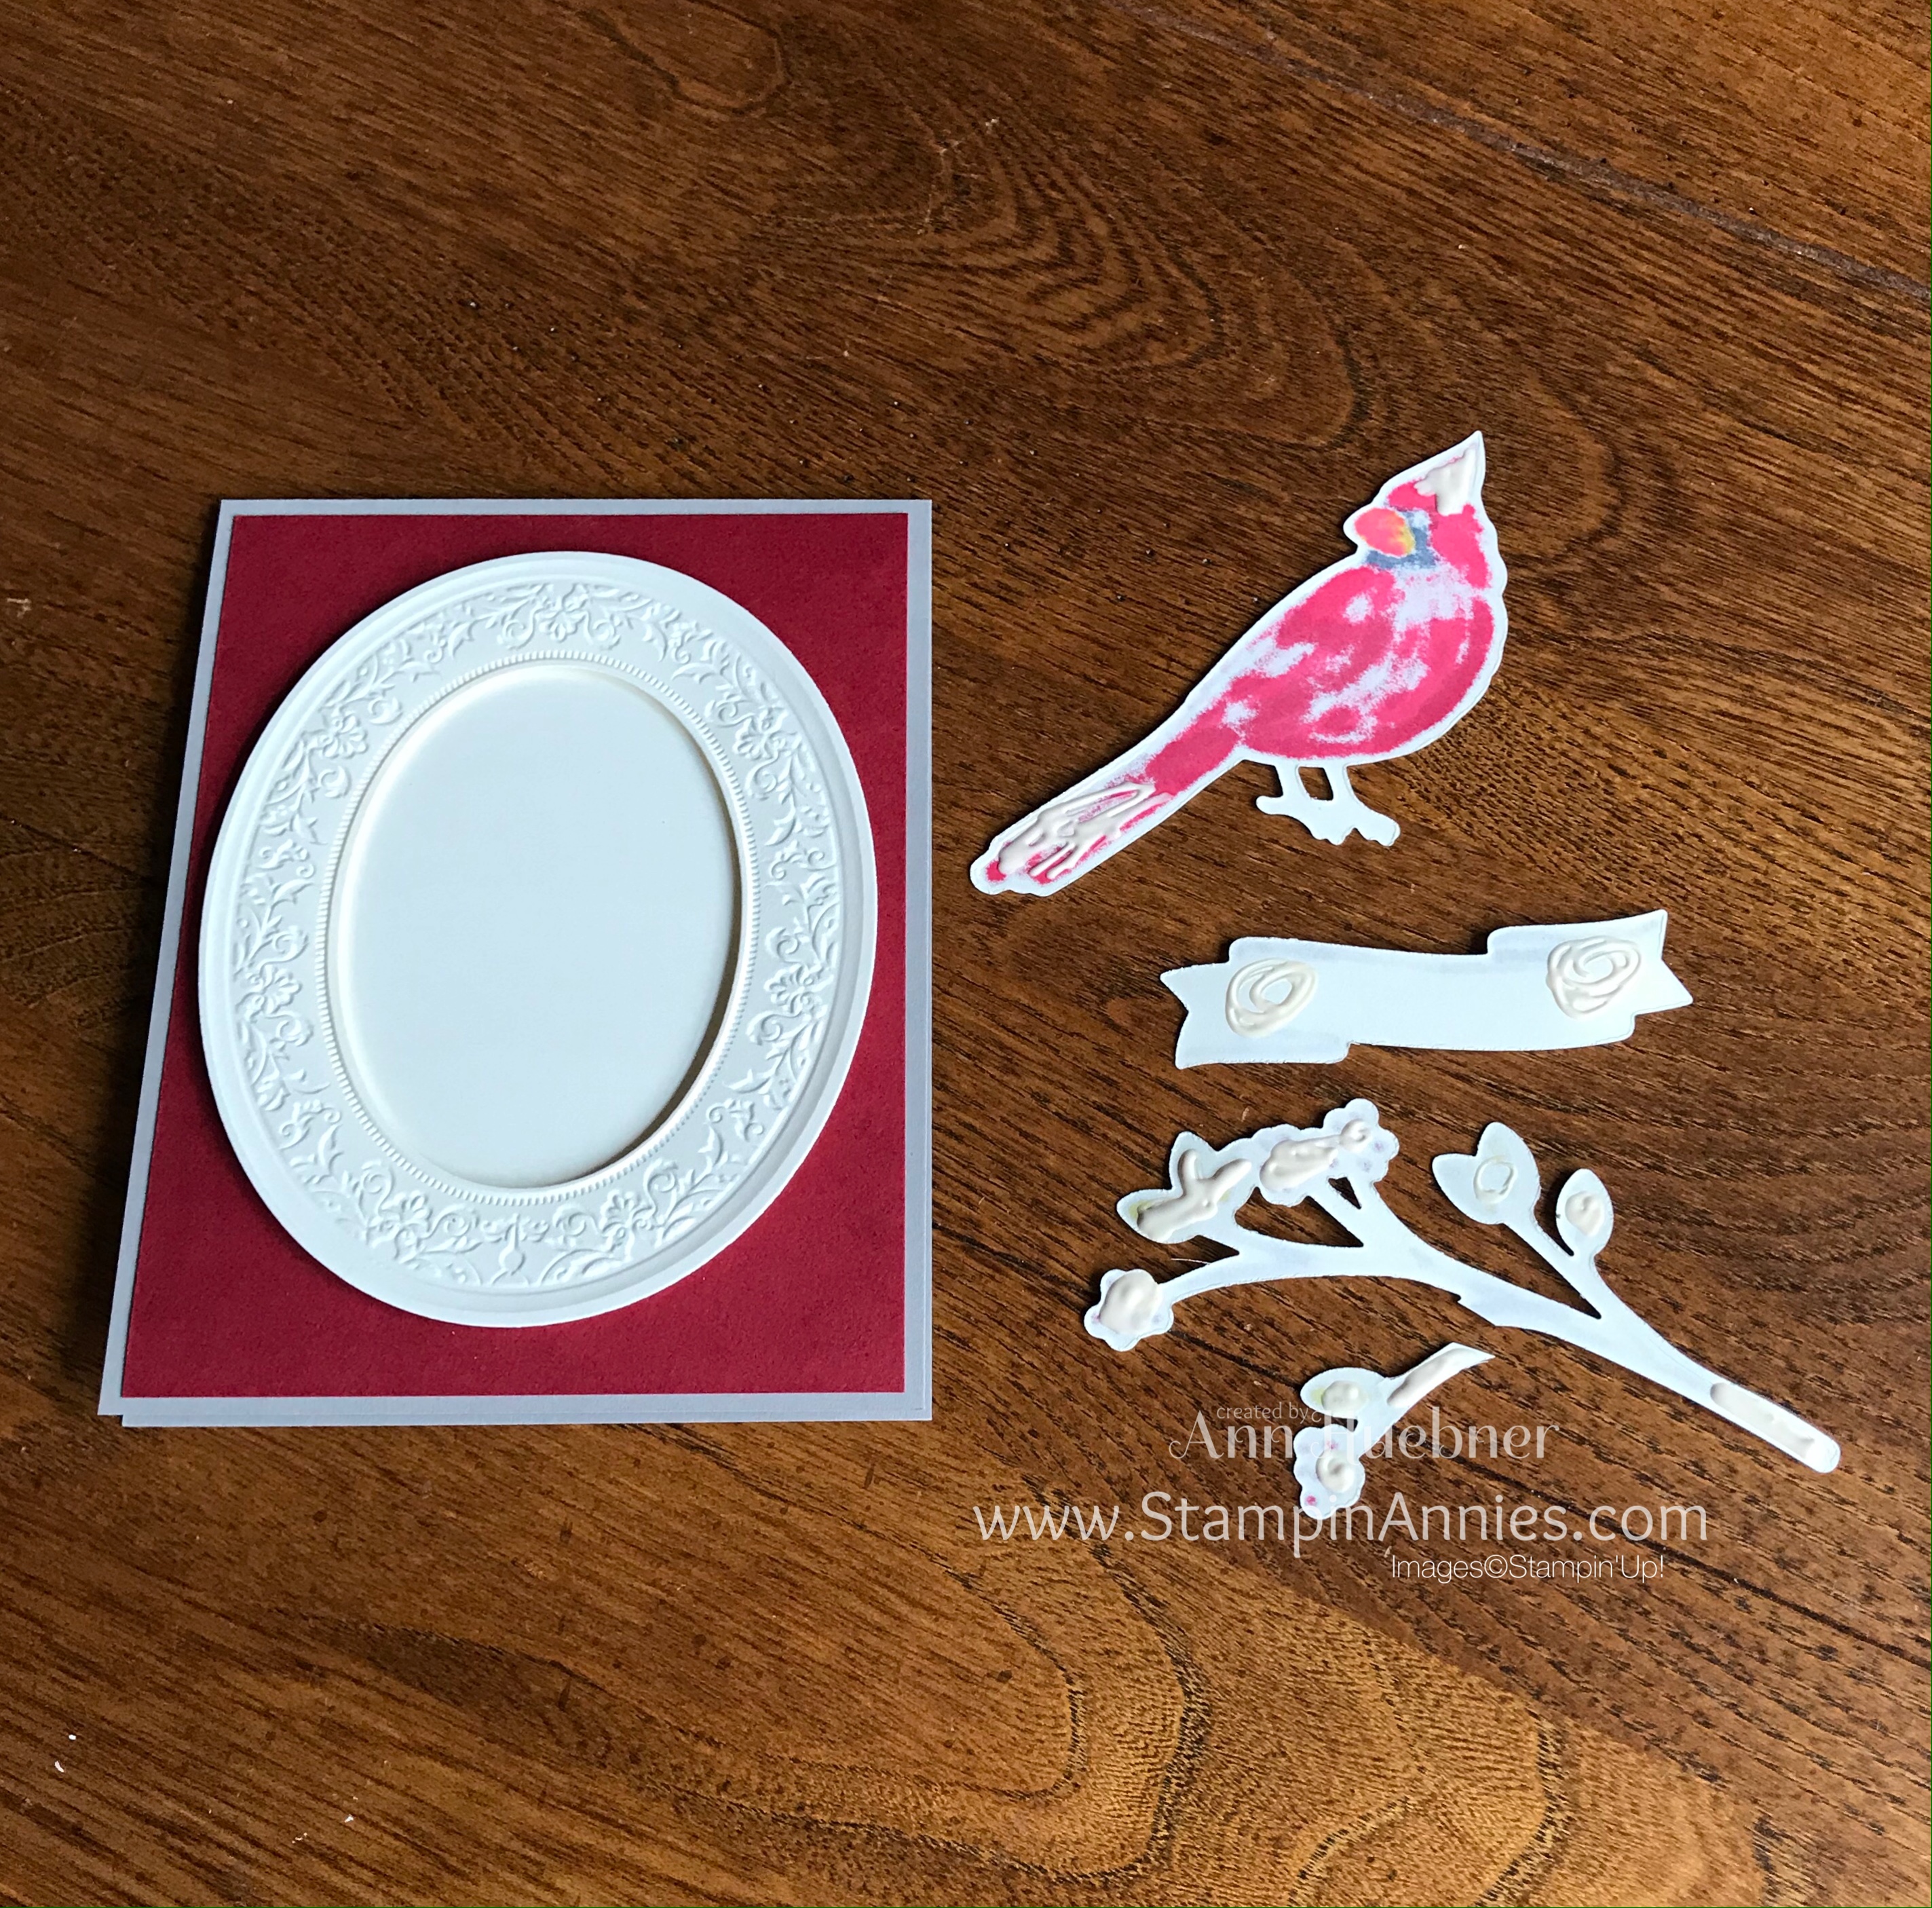
Snip off the top sprig on your branch and move it down to the bottom. The Cardinal with cover it up, so it’s just fun to move it…
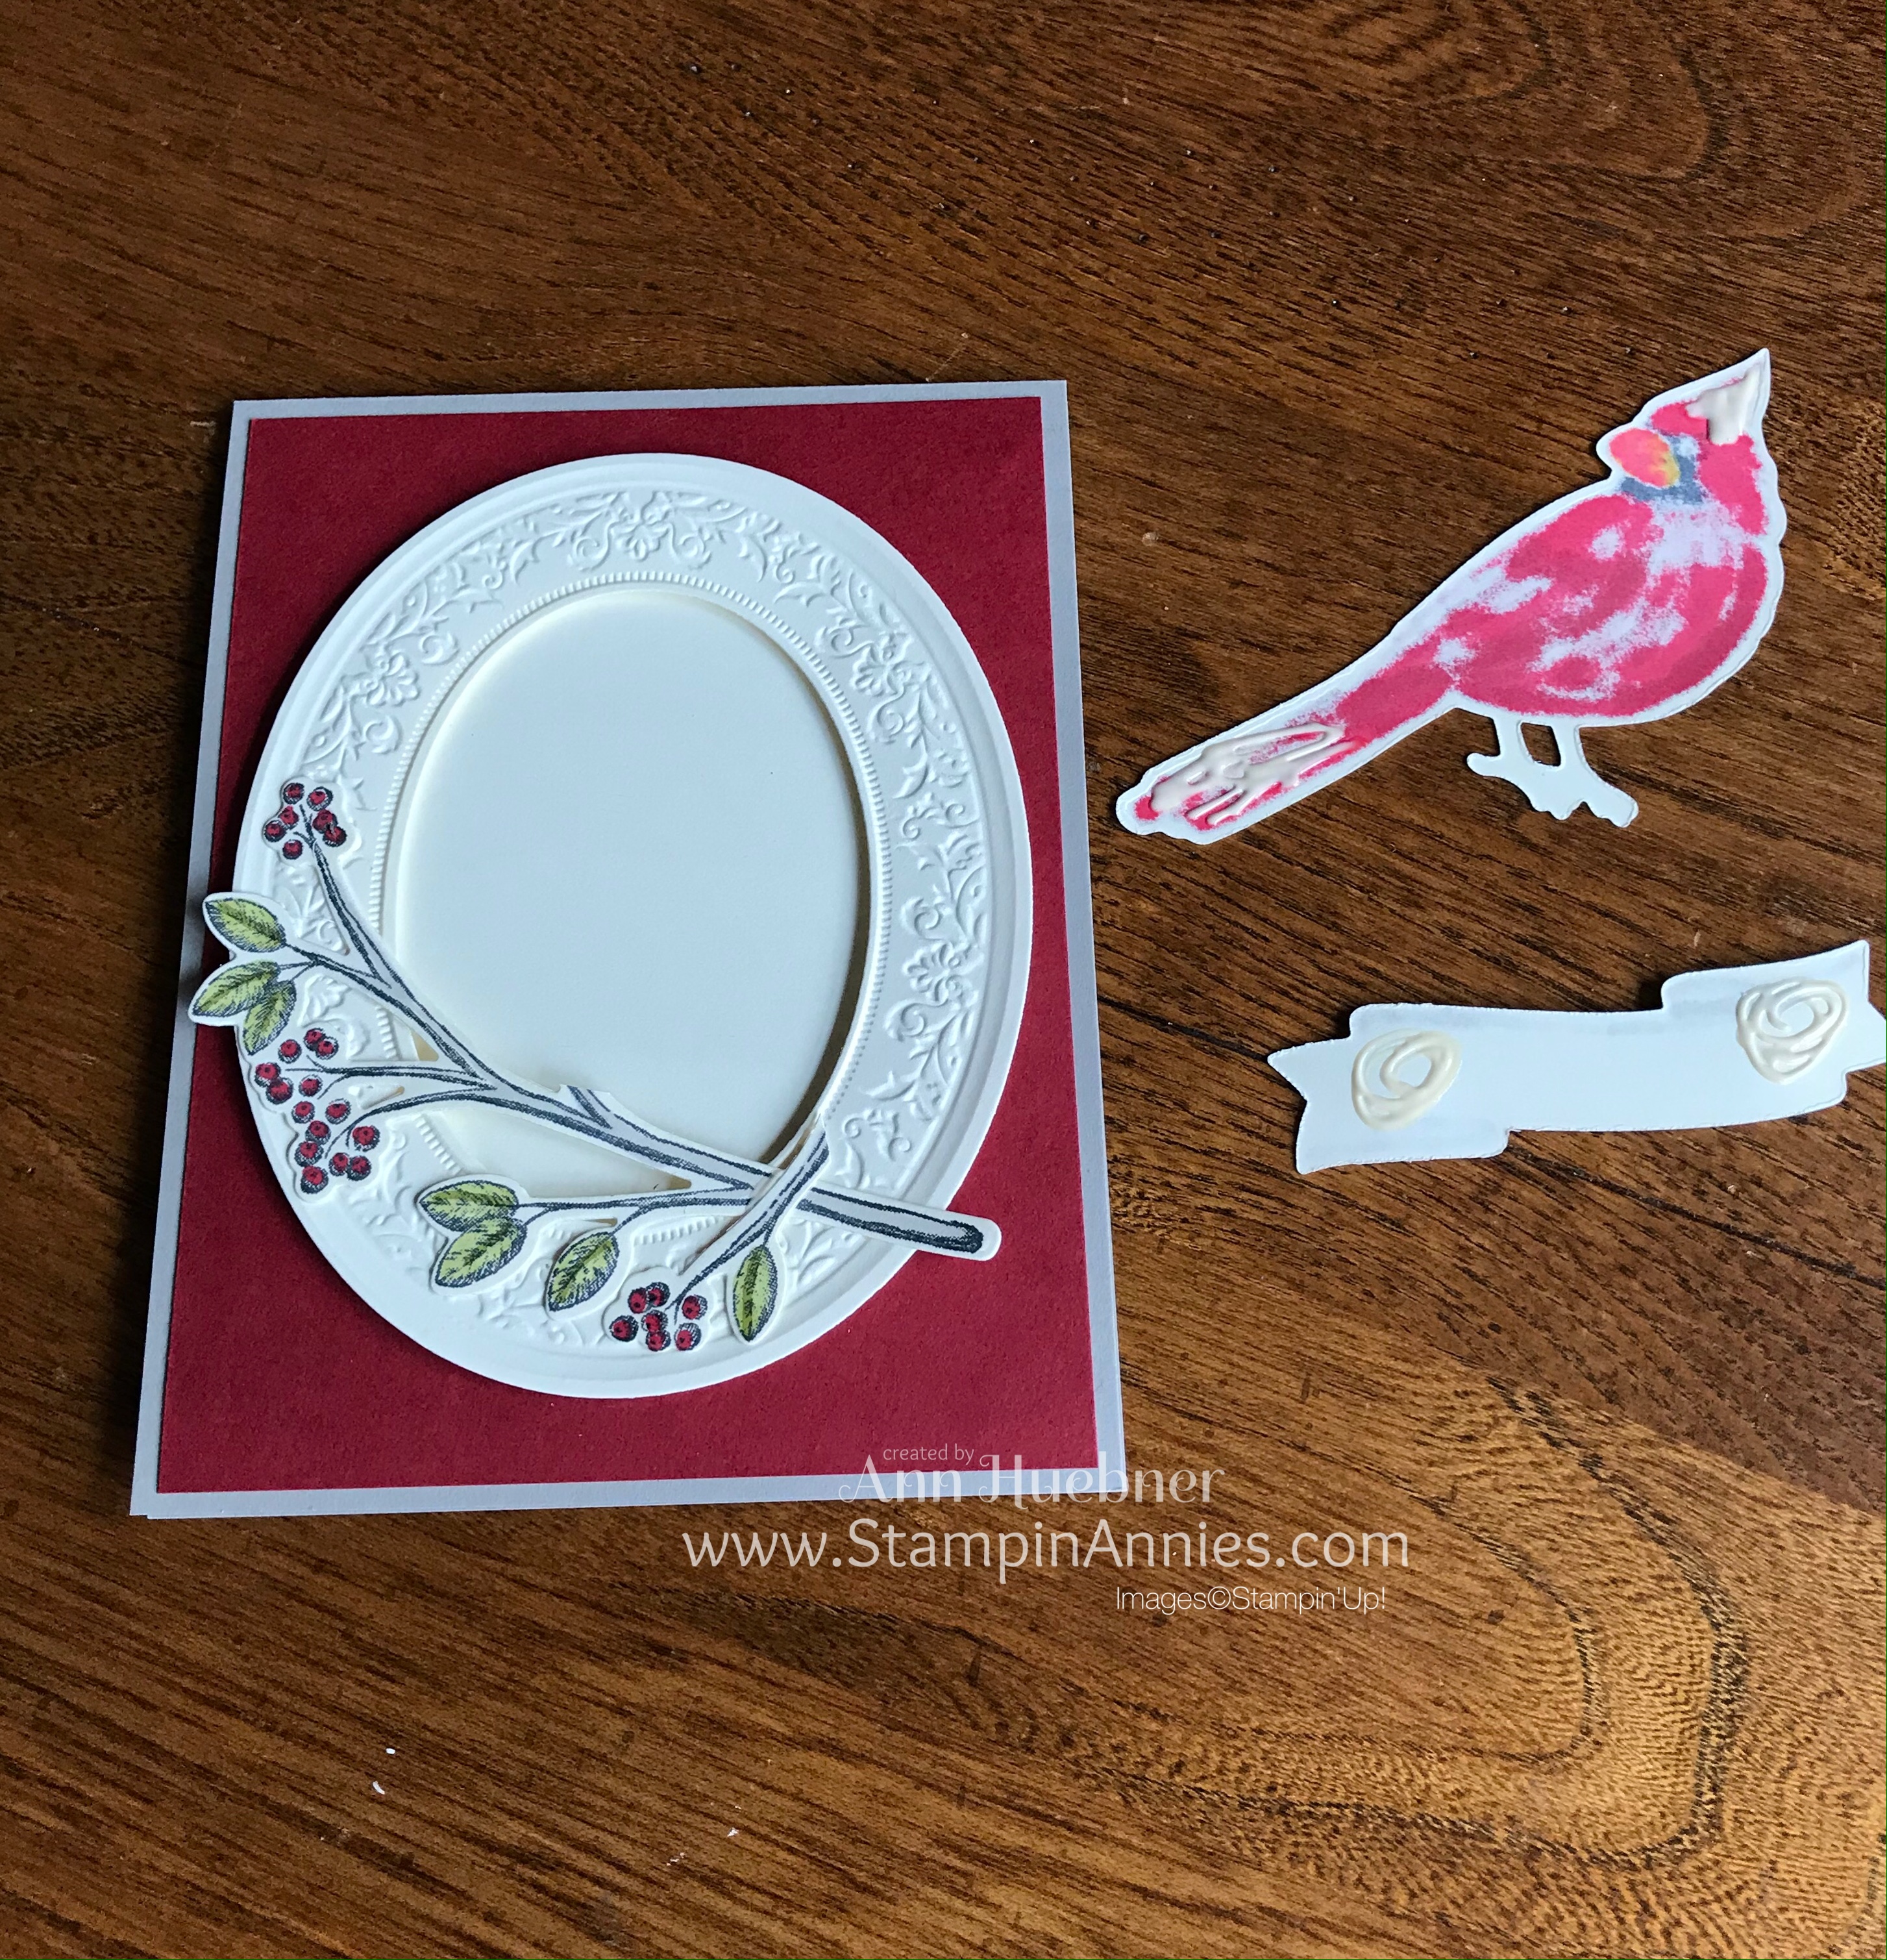
It turns out that the tail on the end of the branch is perfect placement. 😉
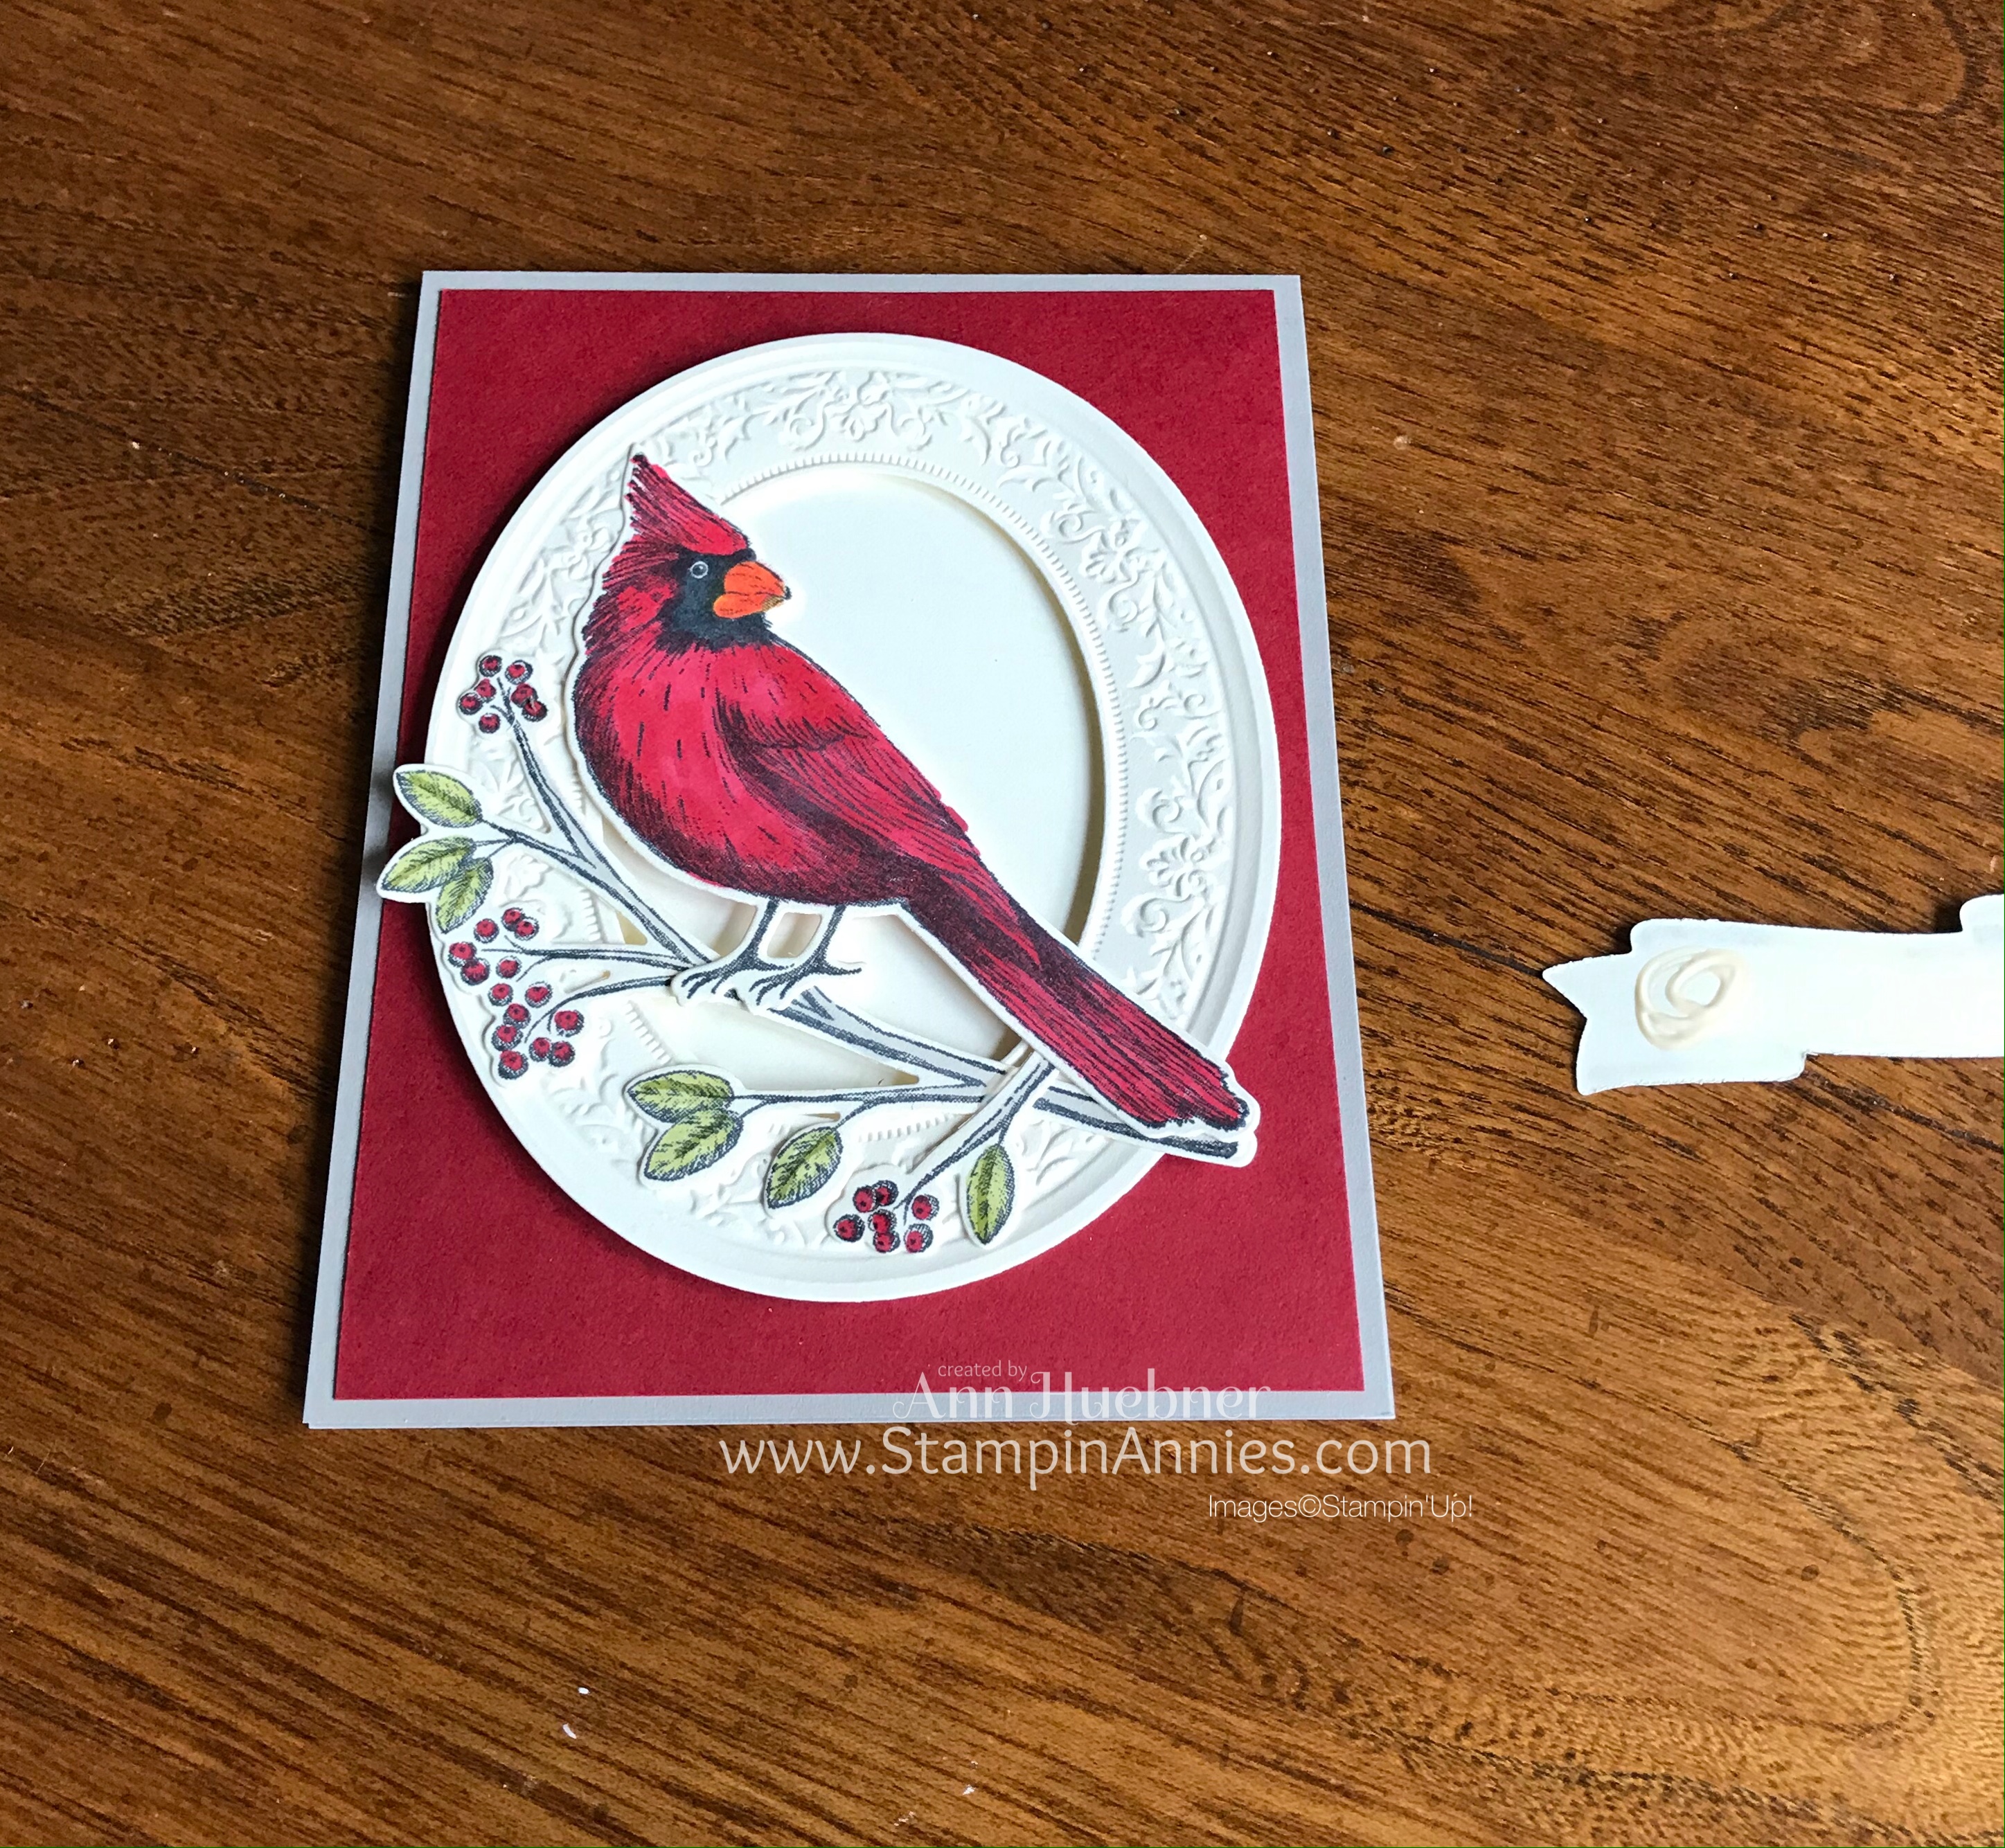
Wha La!
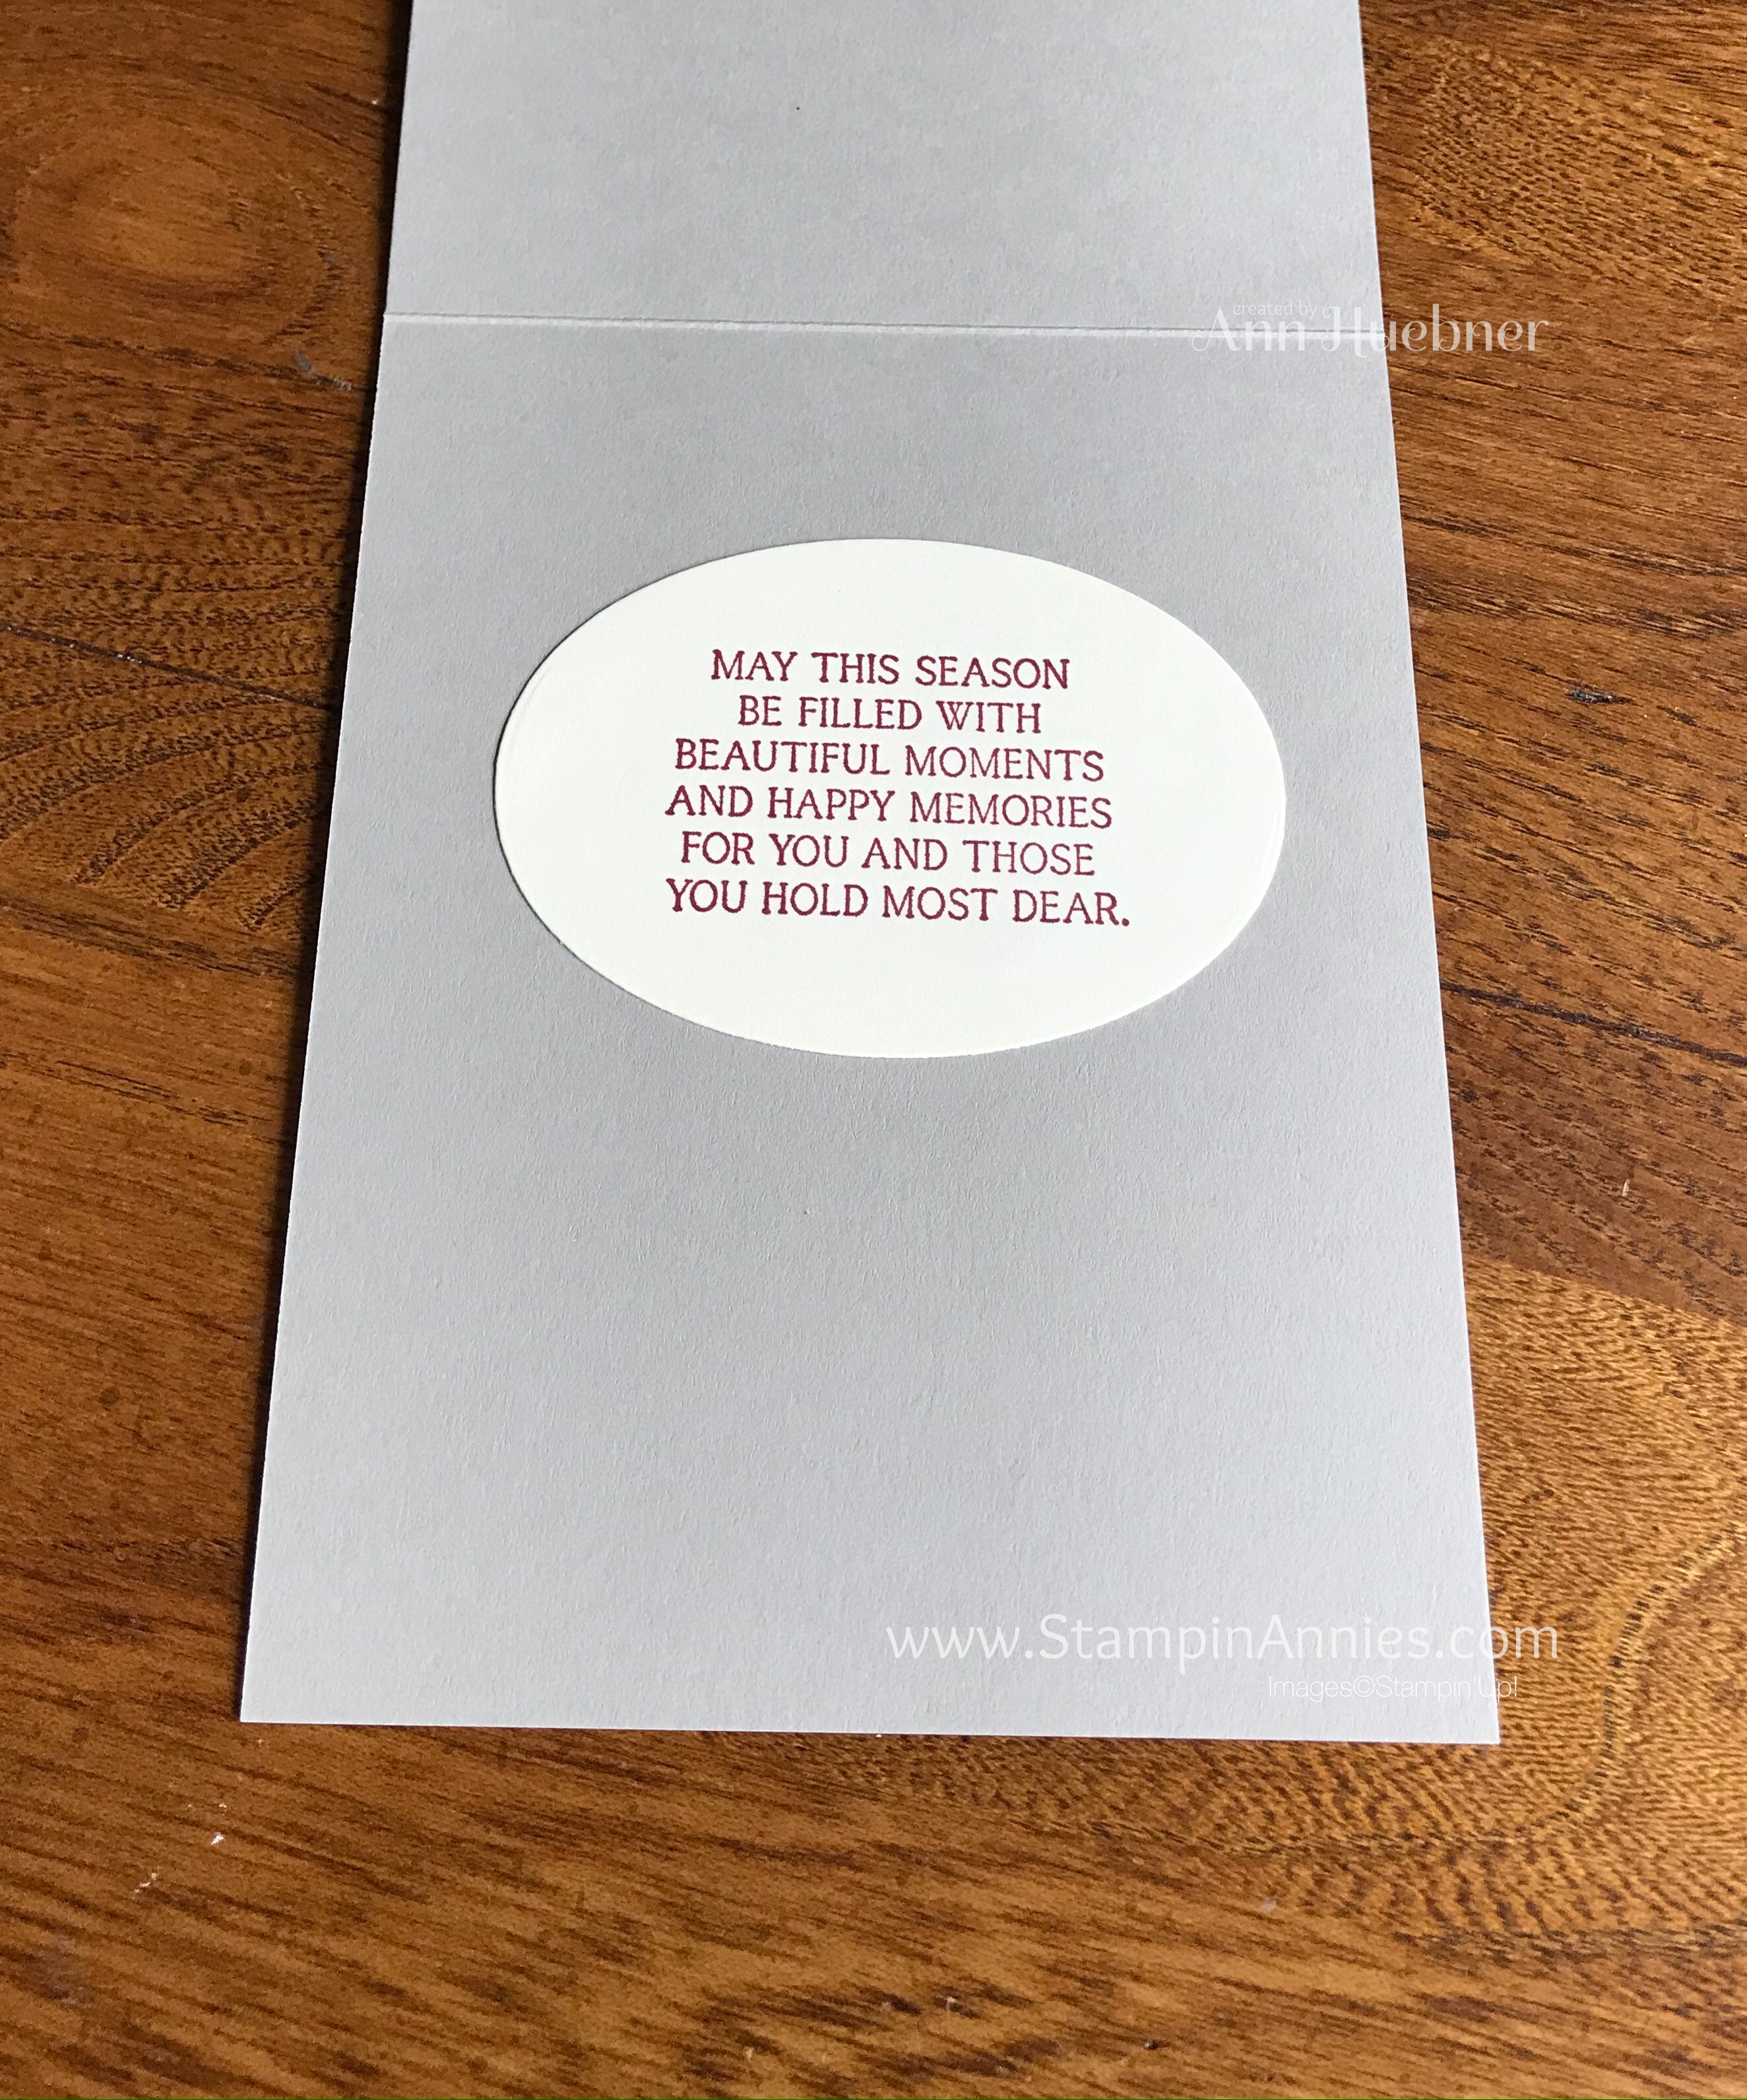
Save the oval from embossed frame for the inside sentiment. 😍 Stamped with Cherry Cobbler ink.
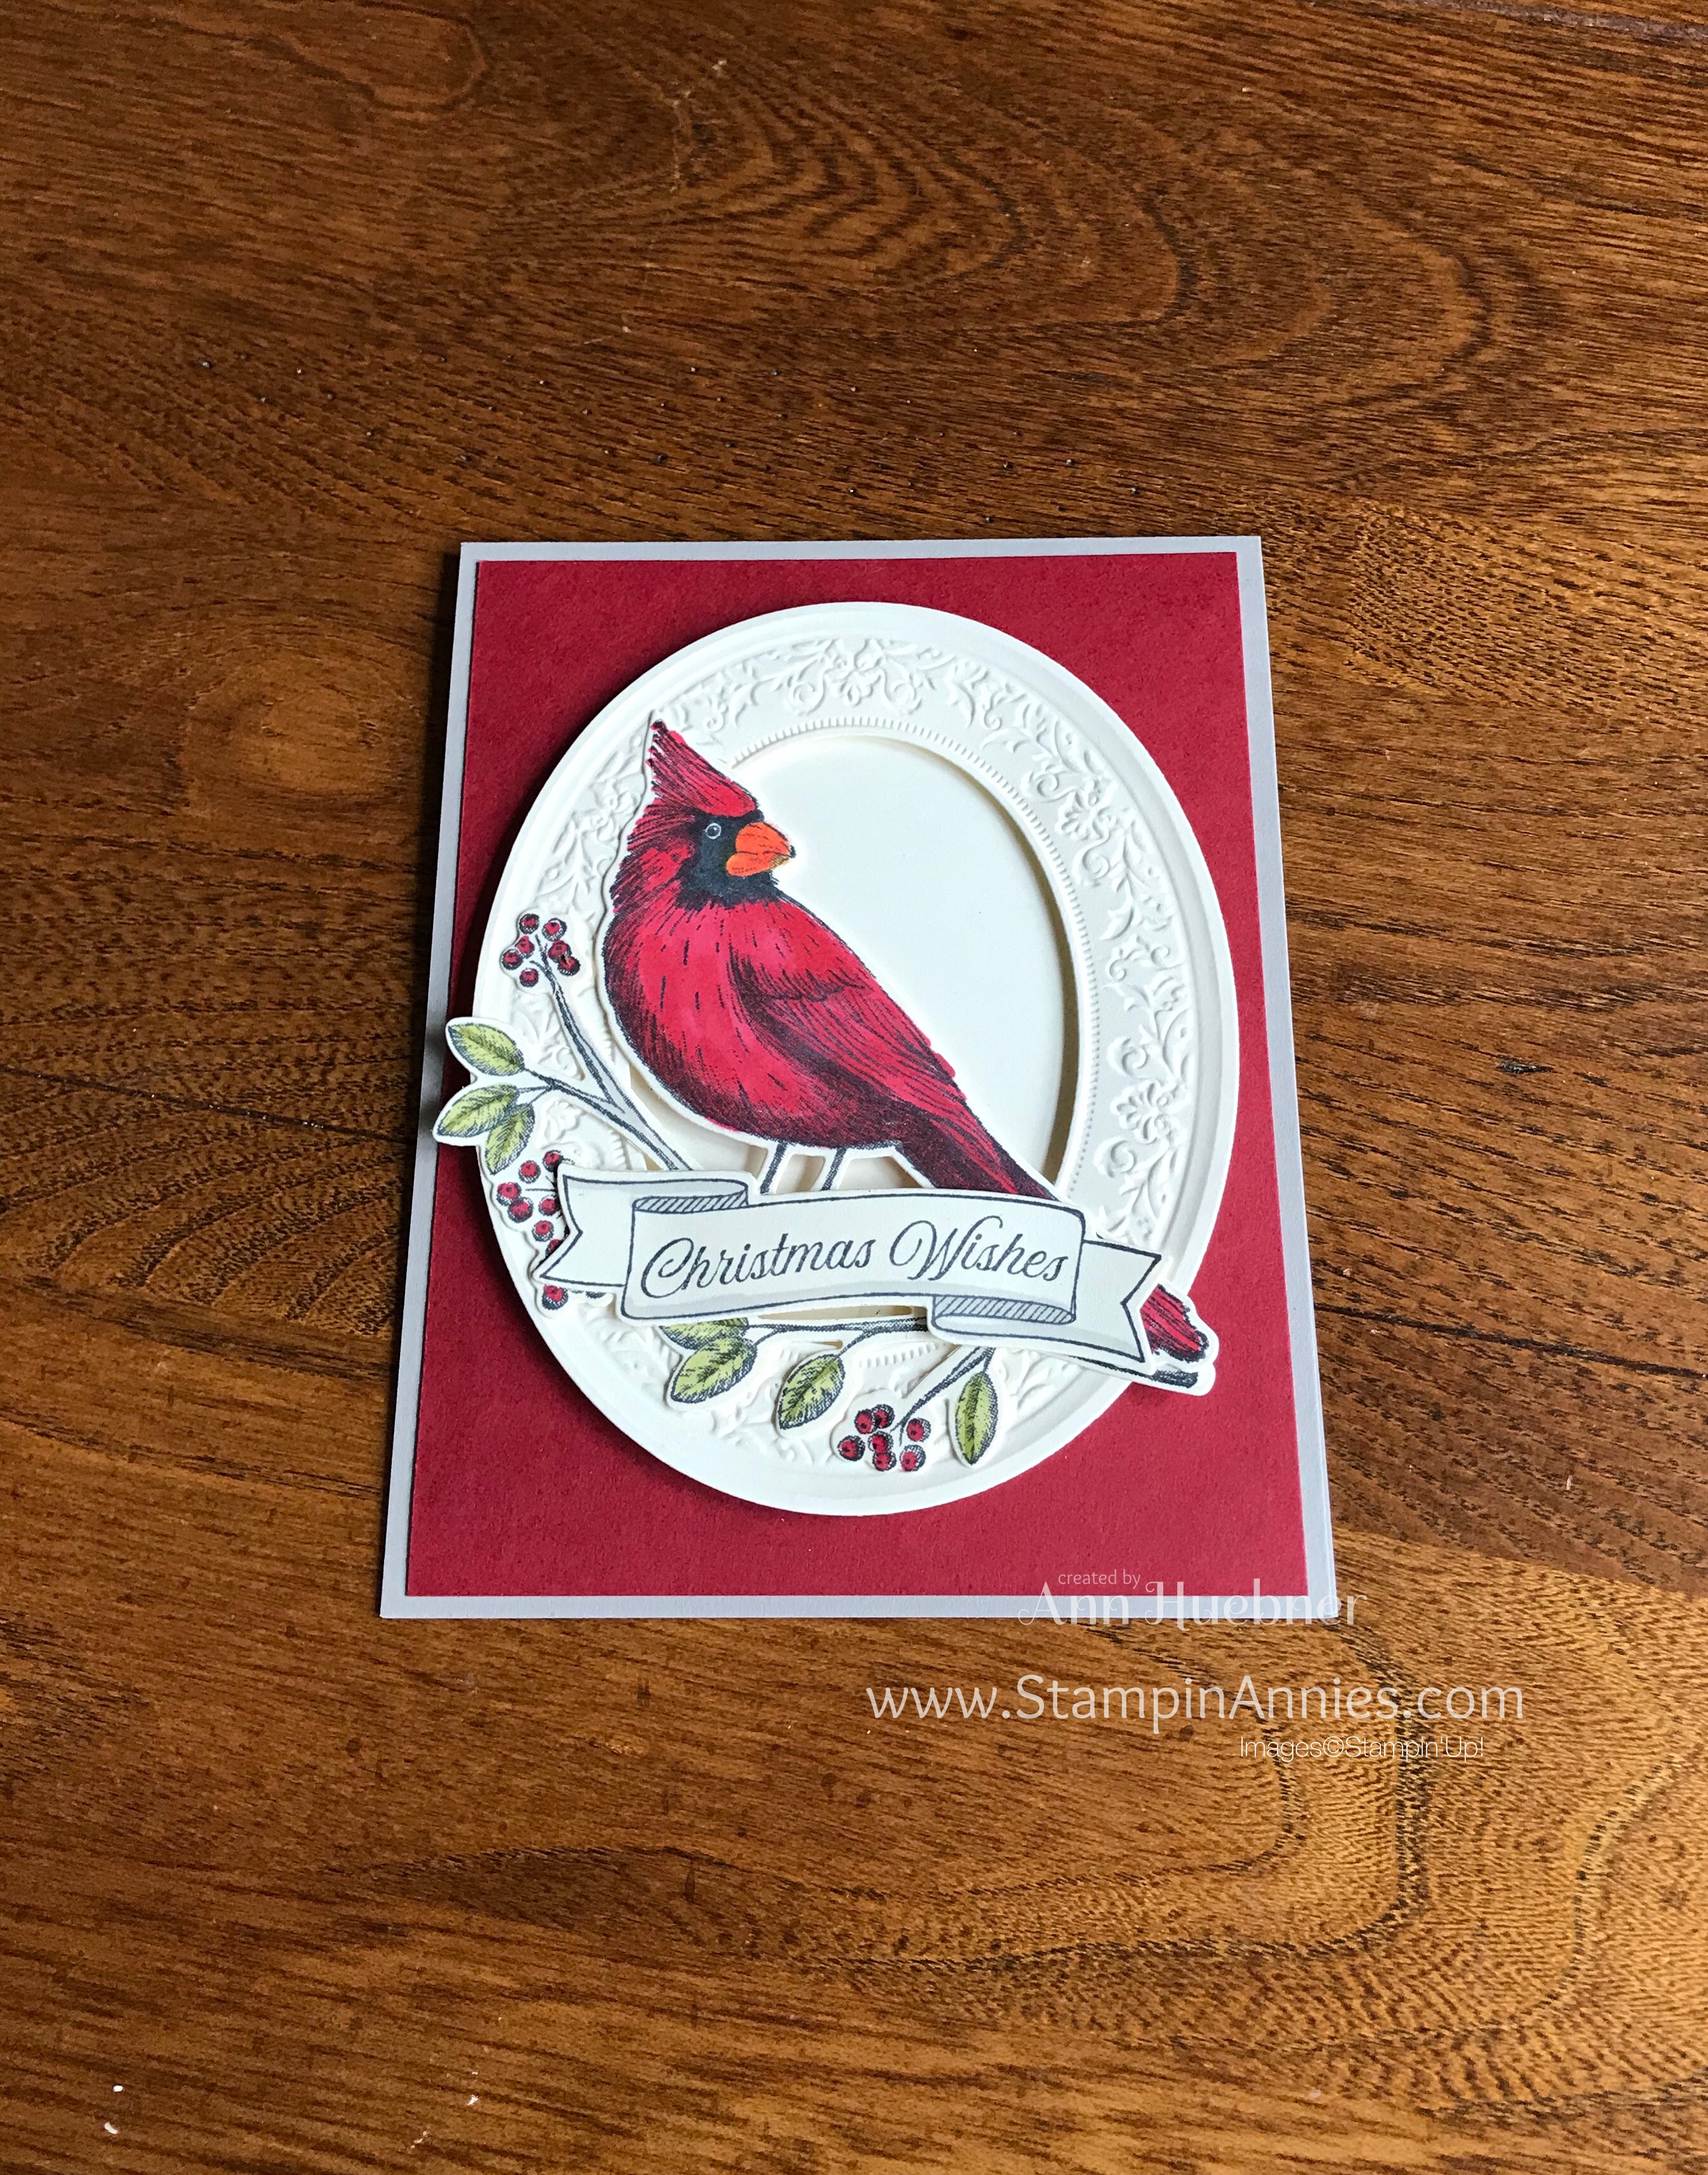
You will probably notice a variation of the Cardinal colors. I experimented with different markers for the body and beak. My favorite was with the Dark Real Red and Dark Cherry Cobbler accents as mentioned above. Also, I colored some of the Banners in with Light Gray Granite and used the Color Lifter to lighten it up over the saying. My favorite is just with the outline of the Light Gray Granite.
Ingredients used on today’s project. Click on products to shop on-line!
~~~~~~~~~~~
Click ⬇️ to go straight to the Retiring and Discounted list.
Thanks for visiting today and Thanks for shopping my small business ❤️
I appreciate all orders. 🛒
I hope you have been inspired to Get Stampin’

Ann Huebner – Stampin’ Annie – that’s me ☺️


Very nice! I like this kind of tutorial the best. Bwasnt getting this set but you May have changed my mind. This is a very beautiful card. Now that the set is carrying over, I might just add it to my next order. Thanks!
Thanks Carolee. If you like Blue Jay’s, wait until you see the beautiful cards making this bird into a Blue Jay!