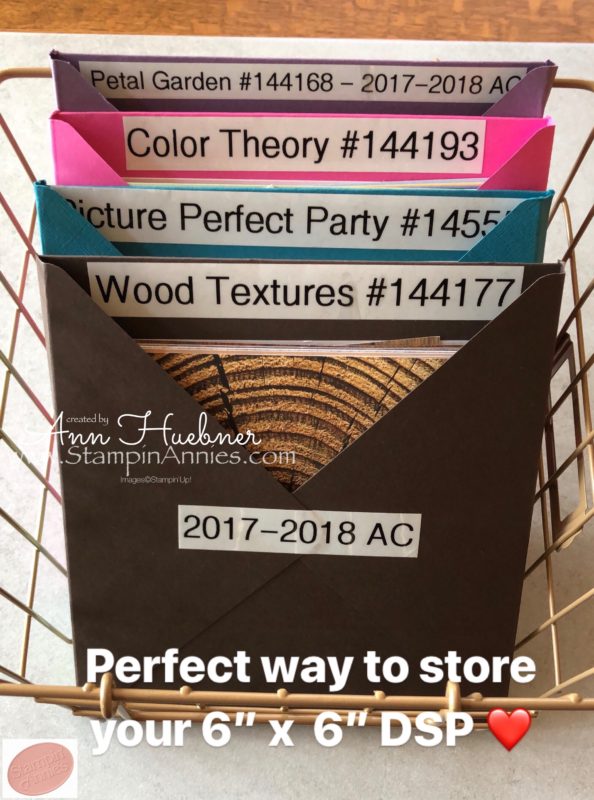
Step-by-Step instructions to create a storage solution for the 6″x 6″ Designer Series Paper Packs.
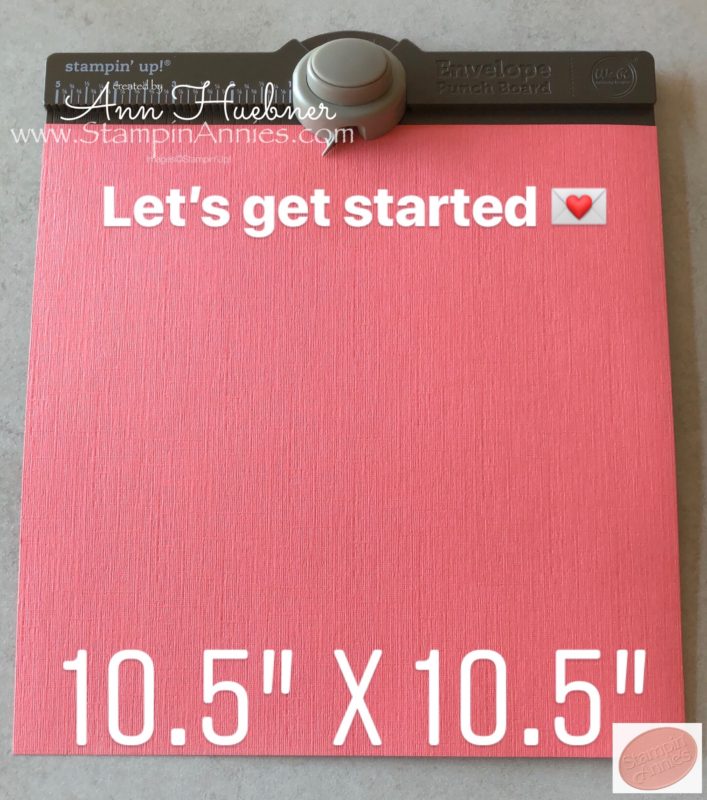
(had to pull out some of our retired, beautiful, textured 12″ x 12″ cardstock for these)
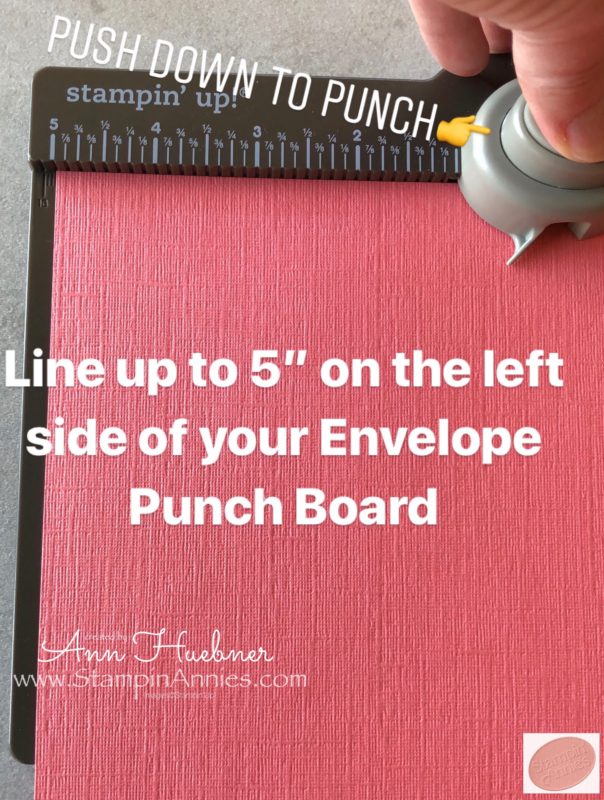
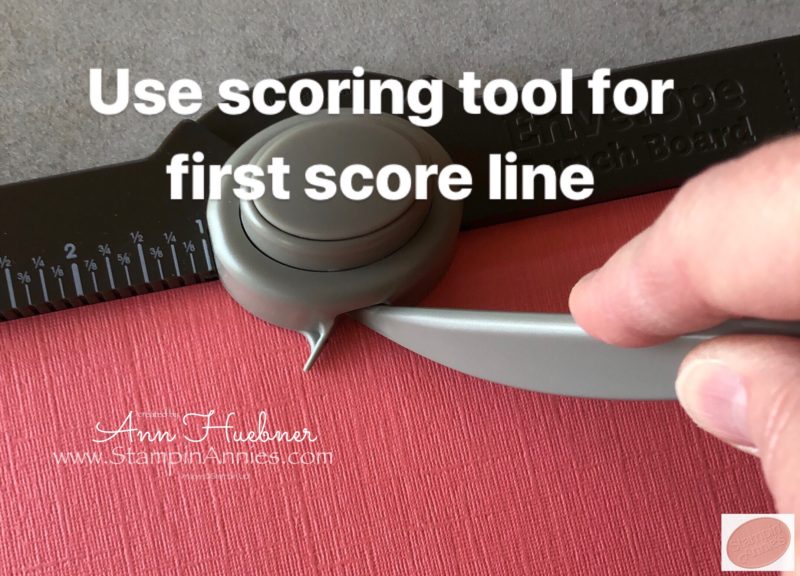
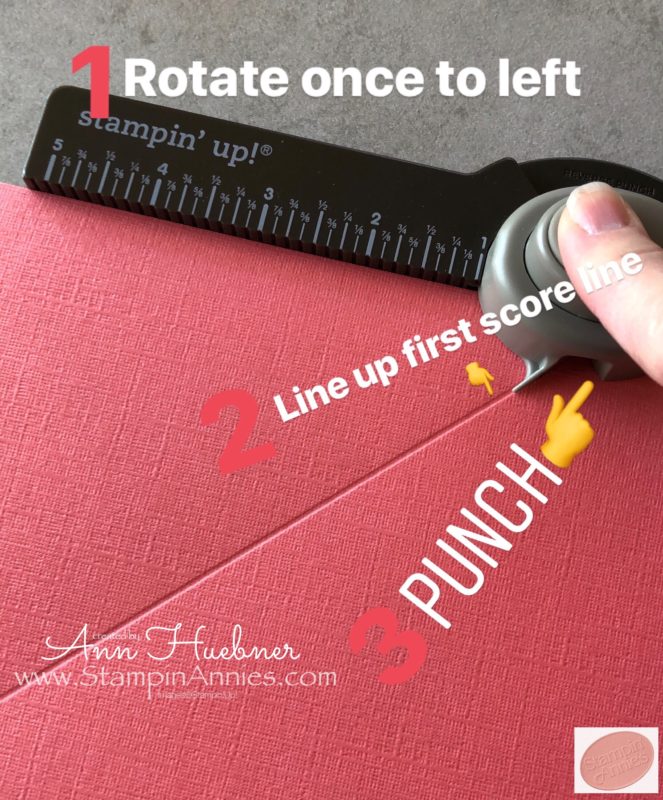
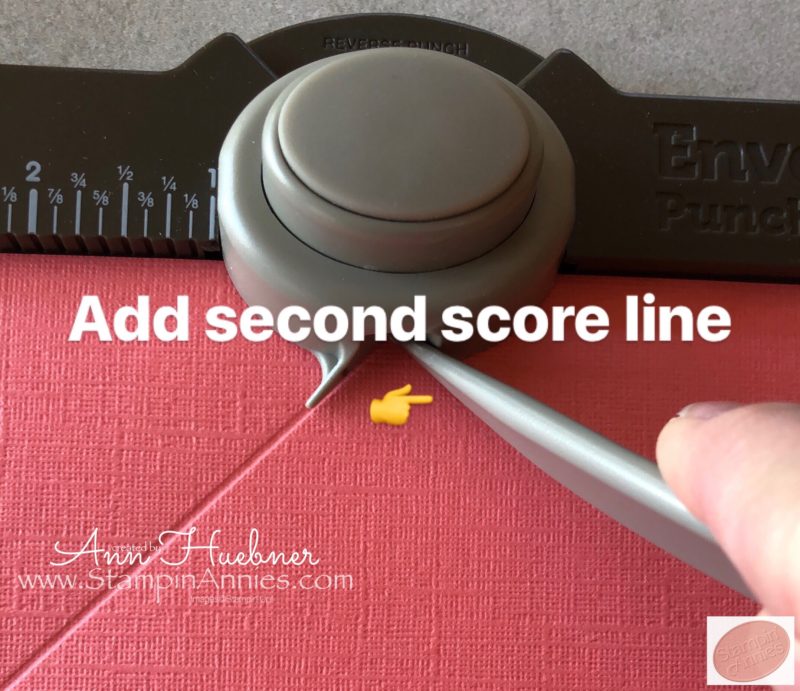
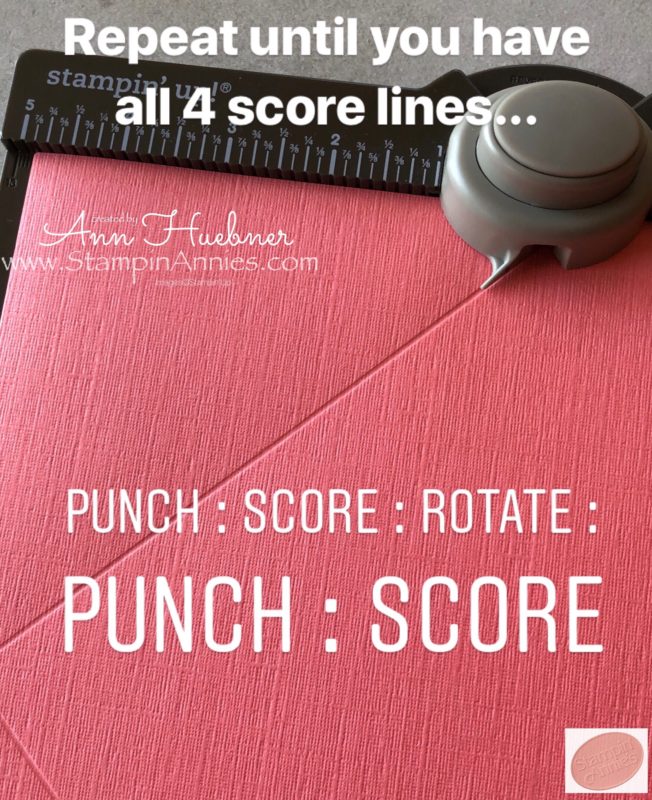
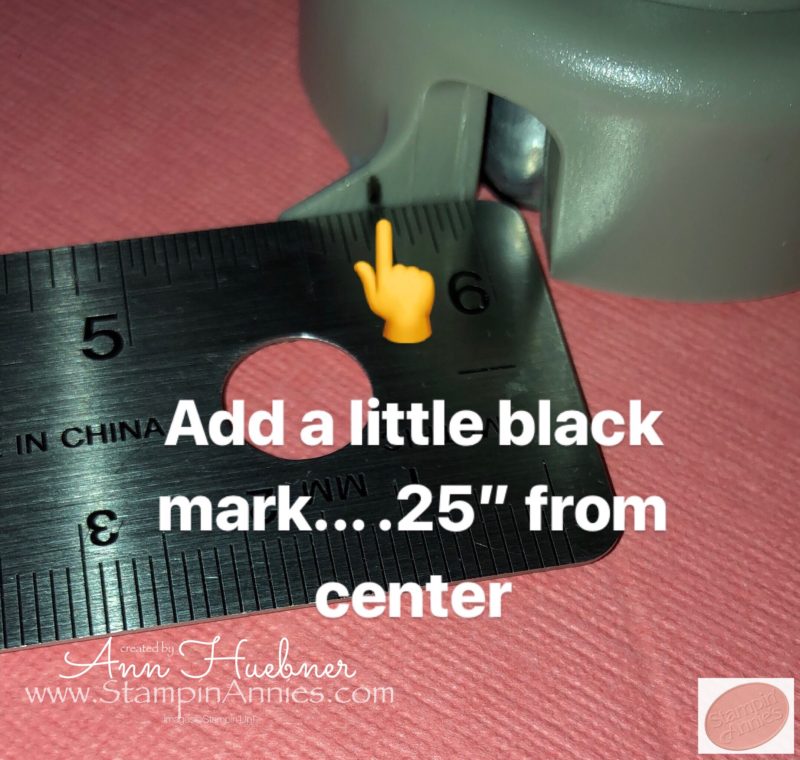
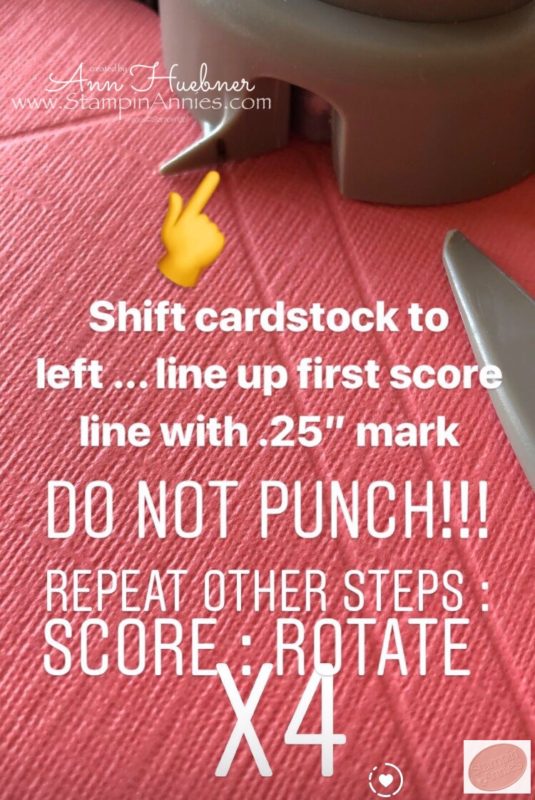
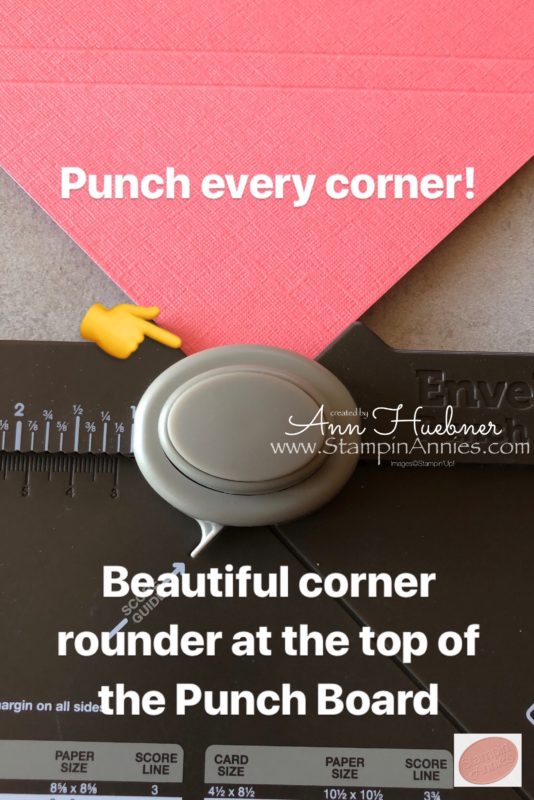
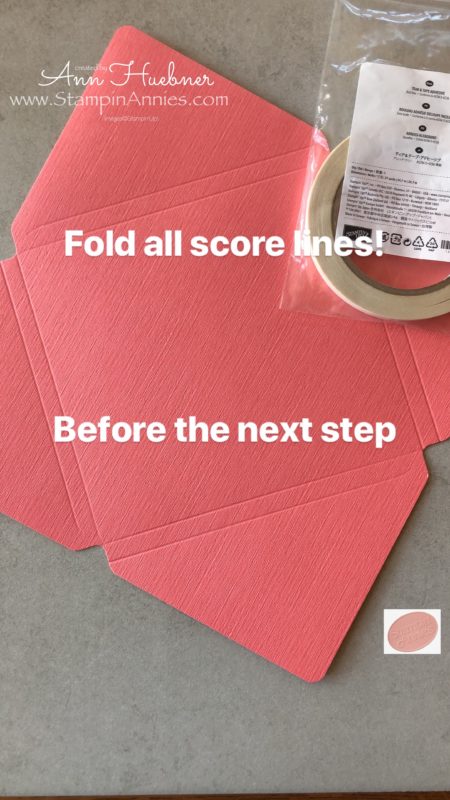

This is done on the bottom corner of the LONG side.
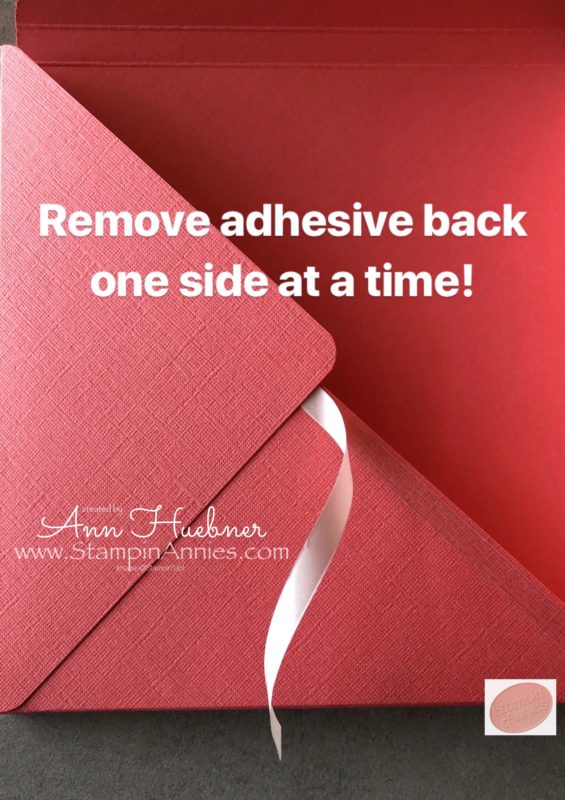
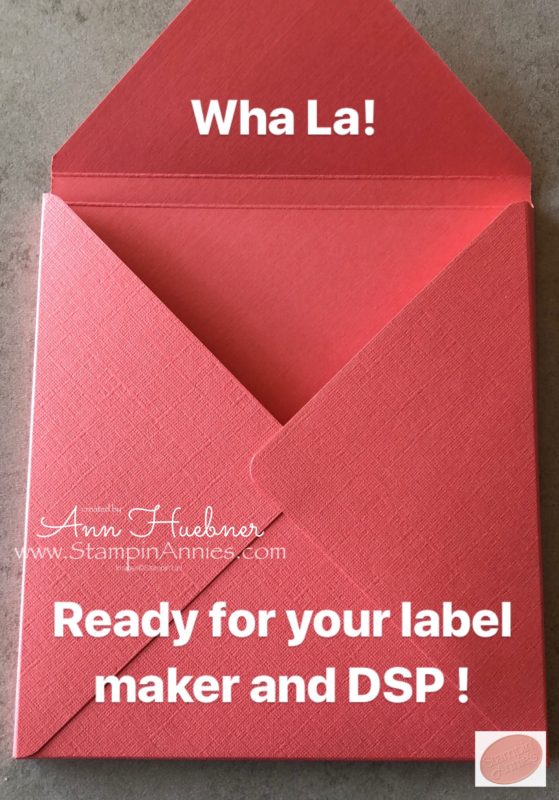
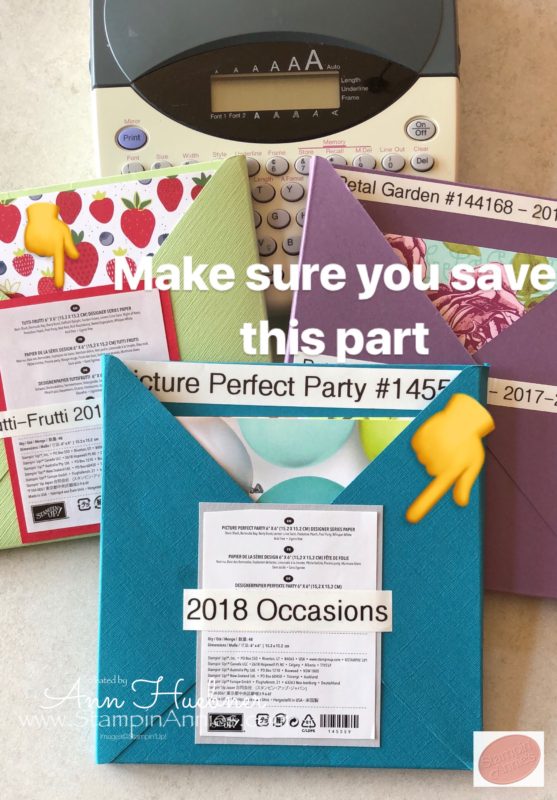
I made the mistake of throwing this product label away after I opened the first couple packs of DSP.
As you can see, on my label, I included the product name, item # and catalog the DSP was purchased from.
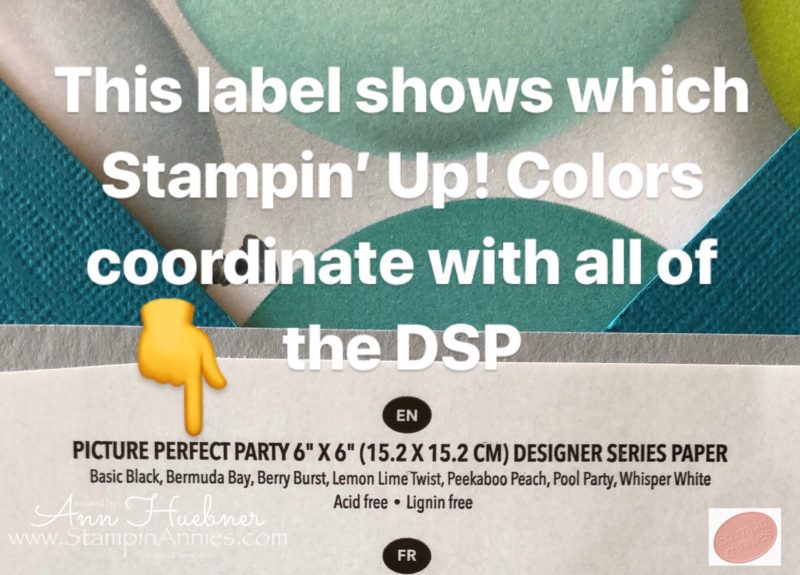
I attached this label to a piece of cardstock before I attached it to the envelope!
~~~~~~~~~~
Hope this was helpful.
I always love to receive feedback on my blog posts…
Leave a comment to let me know if you prefer instructions in pictures, like this, or if you prefer to watch a video…
~~~~~~~~~~~~~~~~
Check out the Envelope Punch Board and the Tear & Tape adhesive and order your’s today… Click on either item to get a closer look and/or to add it to your cart…
March Hostess Code: YSN63HFY
Thanks for visiting Stampin’ Annie’s and thanks for shopping with me❣
Hugs and Paper Inspirations 💌
Ann ❤
Shop Stampin’ Up!’s Current Promotions

Thank you! Can’t wait to do some!
Excellent idea!!! Thank you for taking the time to put this together. I bet the papers would get used so much more often this way.
Thank you! Excellent tutorial.
Love it! I’ve been considering the envelope punch board even before I saw this. It’s on my “wish list” now for sure!