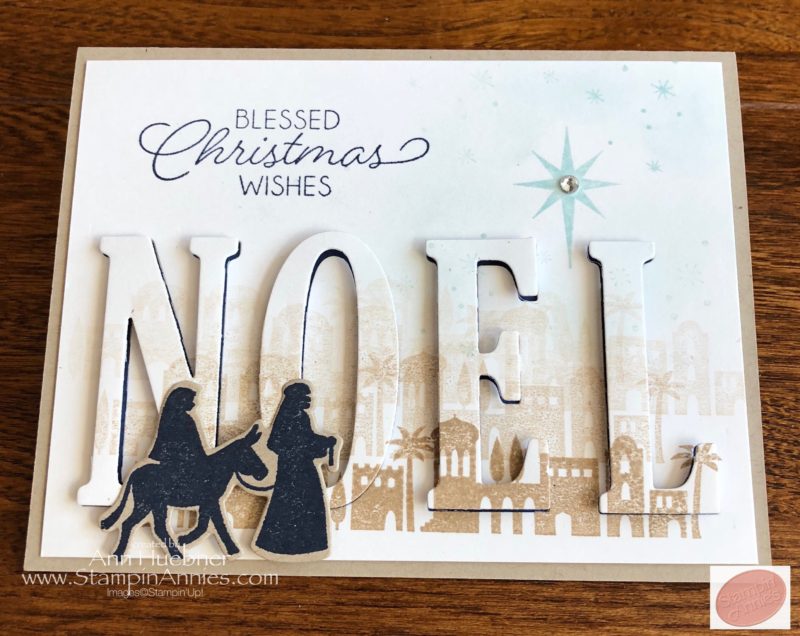
I love love love the new Eclipse cards that have been so popular after the actual ‘Eclipse’ that happened in August. To the clever crafter who came up with this technique … I thank you!
This is just one of the cards that we made in our November classes.
Hope you enjoy the step-by-step pictures here to help you create one:
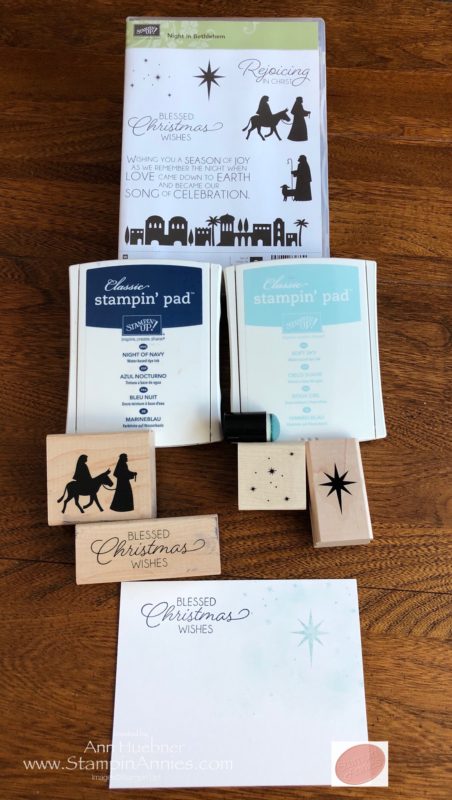
One of the elements of this stunning card is stamping on the Shimmery White cardstock. Pictures don’t show how stunning this paper really is. ( you really need to try some 😉 )
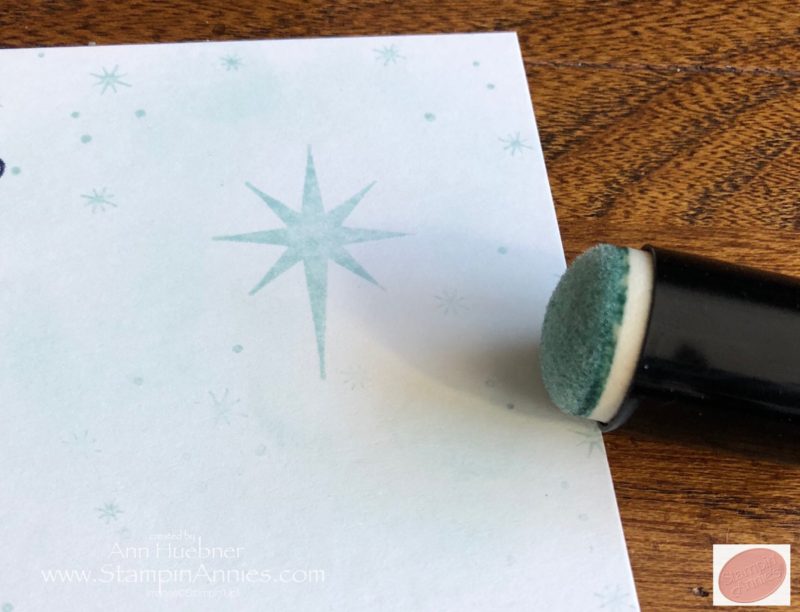
don’t miss this little step to create the blue sky… just swirl your dauber around with the Sky Blue ink.
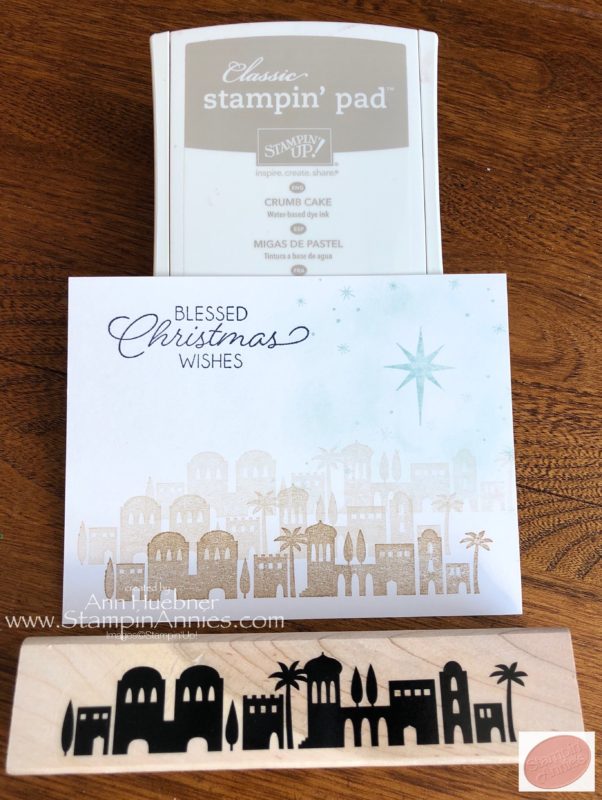
For this step, you only ink up your stamp once! Then stamp it off three times… And … Wha La… you have yourself a little village. Stamp at the bottom First… then shift up and to the left.. stamp… then shift up and to the right.. stamp… you could even go one more level, but I always do things in 3’s!
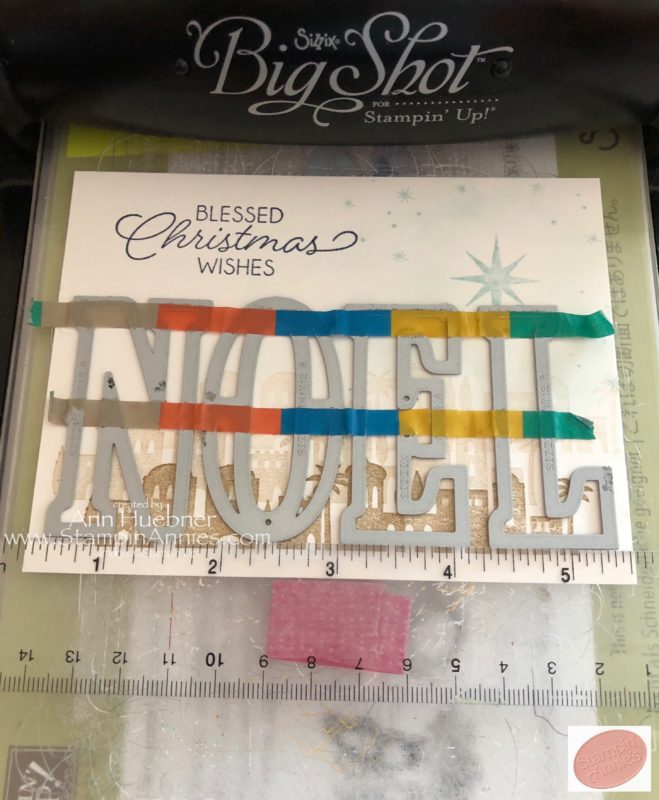
Couple tips you can see in this step… WASHI TAPE!!!! is the biggest one, because even if you are using a Magnetic Platform, the tape keeps the letters in place. Even if you think you have them straight… once you place the top plate on, the static of our dry season may shift them…. soooo… get out your Washi tape. 😊
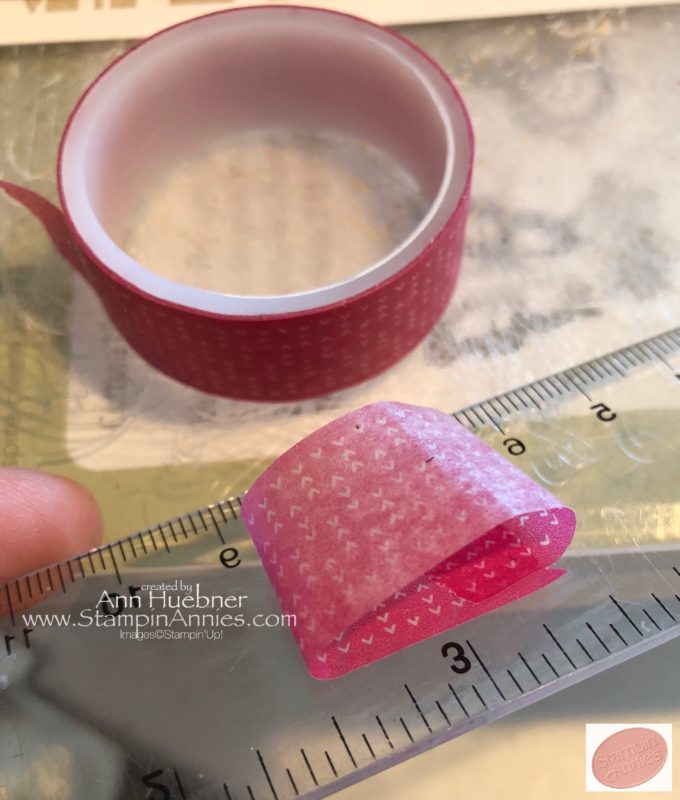
More WASHI TAPE ! This is super helpful… I use a clear ruler and this washi tape to keep it in place. Then you can actually push the letters up against the ruler to get them straight before you push on the washi tape to keep them in place.
WARNING!!!… Remove the ruler before rolling letters thru the Big Shot!!!
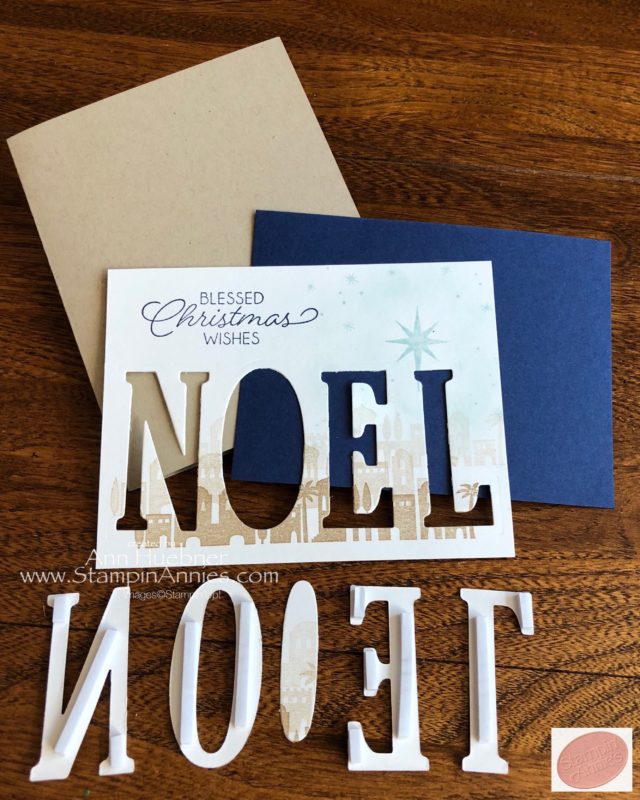
After you have gently peeled the letters out of the dies, add pieces of the Foam Adhesive Strips. … Love these! They are a must for this card because you need to Pop the letters off of the paper. Set the letters aside for the next step. Notice… do Not put foam strips on the center of the ‘O’.
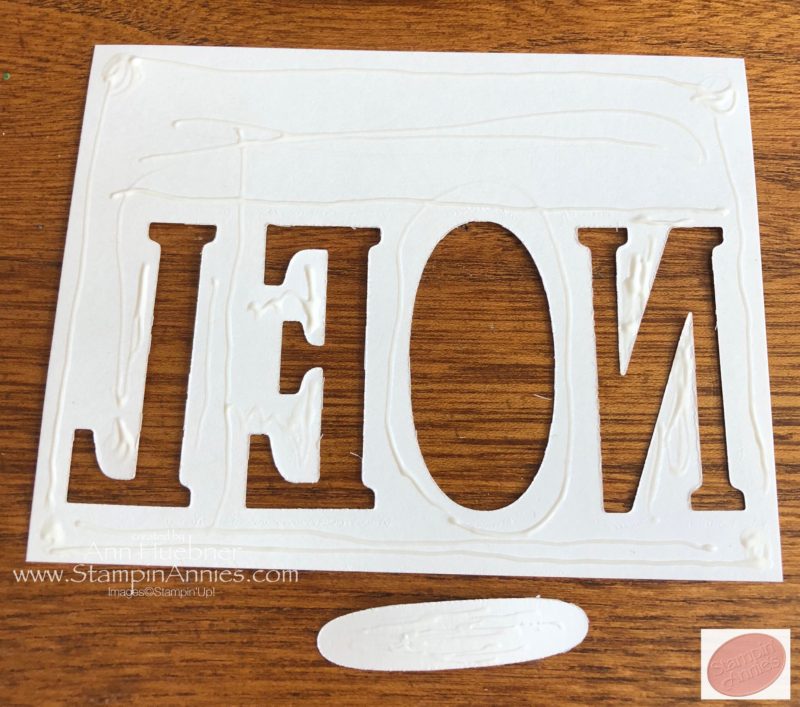
I needed to show this because you want to make sure you get the Multipurpose Glue in the small areas. Set aside to let the glue get tacky… this prevents the glue from oozing out onto your cardstock in places you don’t want it. Once it is tacky, place it on the Night of Navy cardstock.
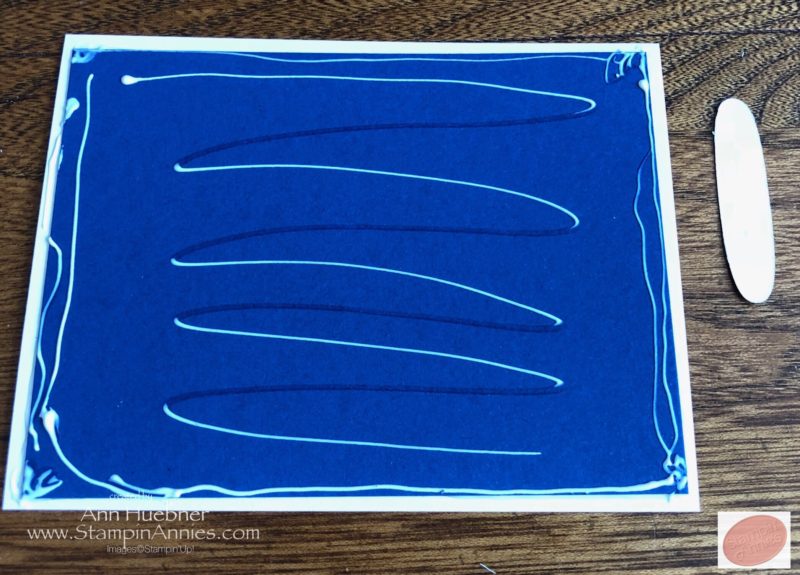 The Night of Navy cardstock is cut smaller than the Shimmery White, because we only want to see it under the letters. Make sure you get the the glue to the corners. When your glue is tacky, place it on the Crumb Cake base card.
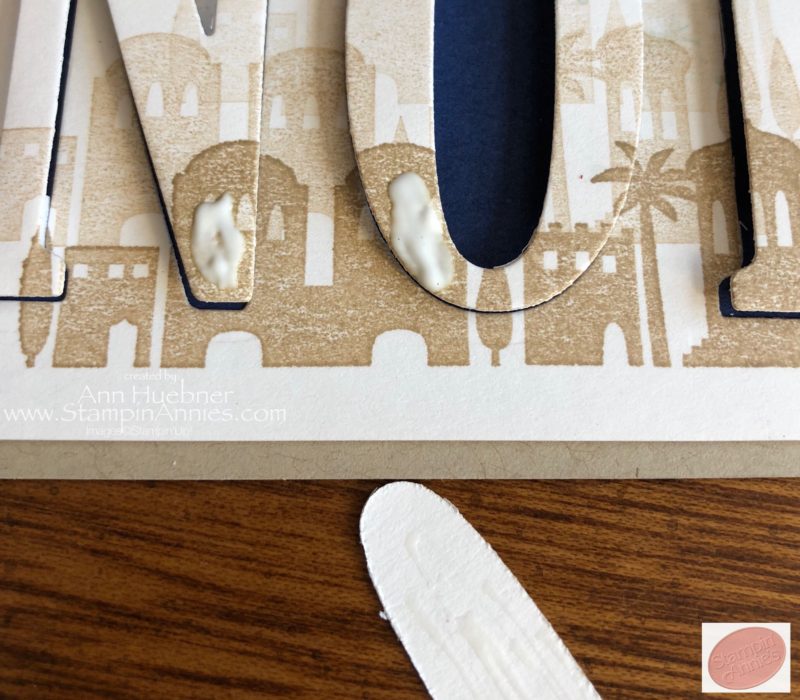
Peel your foam strips off and place your letters onto the card. Now it’s time to put the center of the ‘O’ back in place. Please notice this has Glue on the back… Not foam strips… just to give it nice dimension.
ALSO… look closely… you will see where to put the glue for Mary and Joseph… On top of the ‘N’ and ‘O’! Let this get tacky…
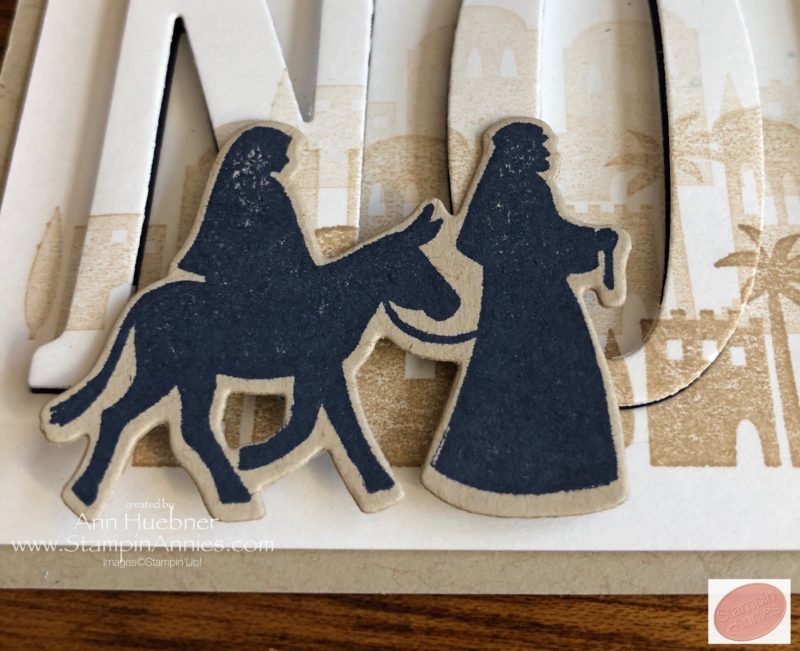
For Mary and Joseph, I used Night of Navy ink on Crumb Cake cardstock.
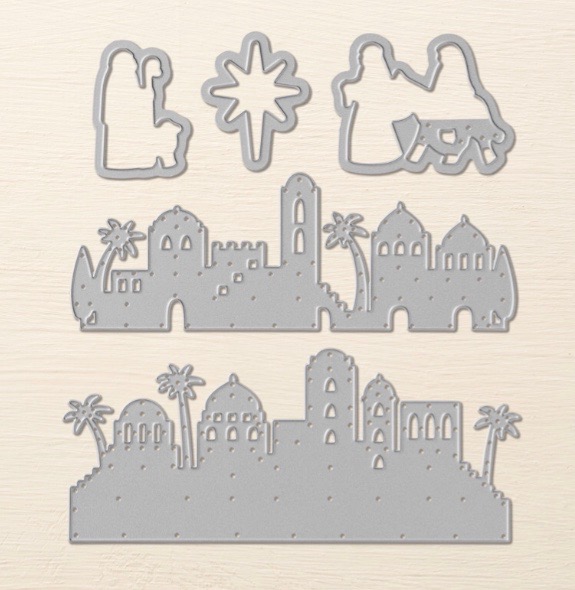
Use the die in the top right of this picture for Mary and Joseph. Those are actually donkey legs (4) not Mary’s. (lol)
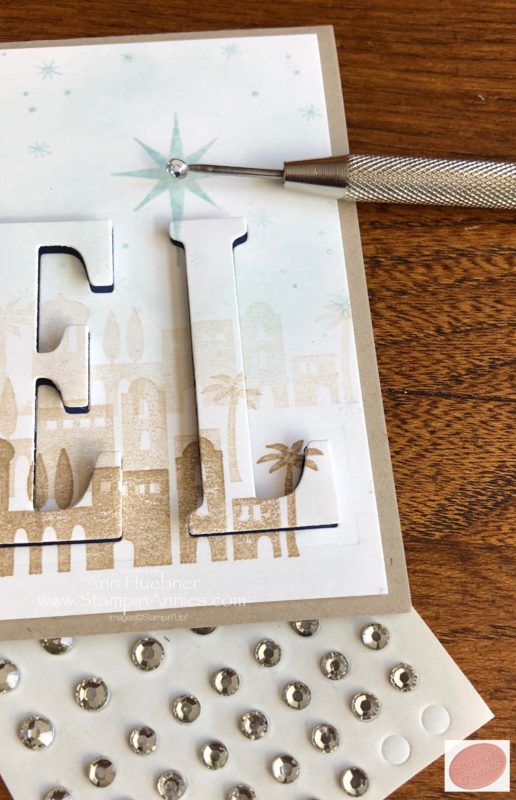
One last step… add a little sparkle to the star ❤️
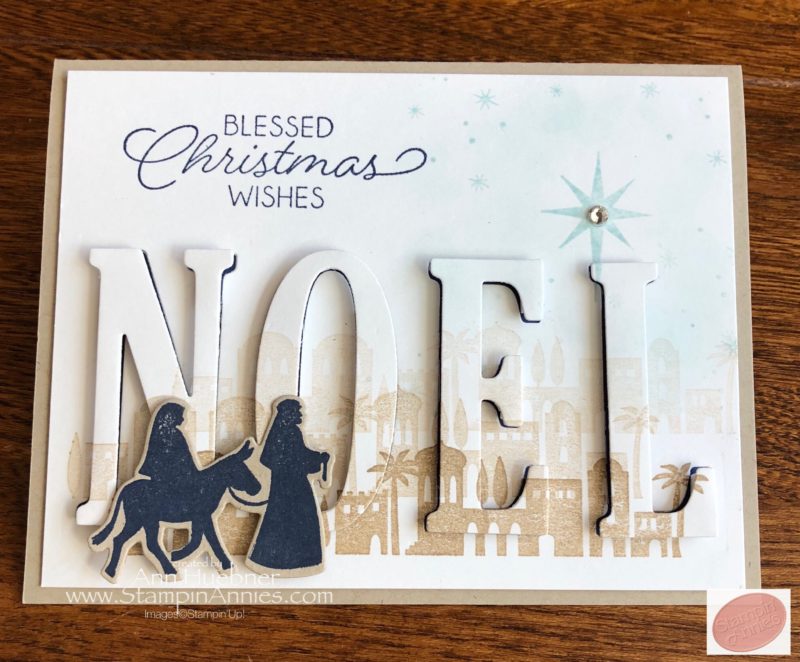
It really is easy… with just a few steps you have an amazing card to send 💌
Check out all the ingredients used to create todays card:
Thanks for visiting Stampin’ Annie’s
Lots of Hugs & Paper Inspirations 💌
Ann ❤️
~~~~~~~~~~~~~~
p.s. the Night in Bethlehem Bundle price is good only until Jan 2, 2018
p.s.s. Check out the Clearance Rack… new items added!
Current Stampin’ Up! Promotions
Thanks for shopping with me ❤️

