
I finally took time to experiment with the Watercolor Wash technique. I Love Love Love the way it turned out. After teaching my classes this technique with minimal mess, I am sure you will be able to do it, too.
Our Watercolor Paper is by far the best paper to use for this technique! It can handle excess water and dries flat for mounting on other cardstock.
Rather than showing a video of this, I decided to take pics of each step… Hope you will take the time to experiment with this, too!
Items you will need:
Watercolor Paper
Plastic sheet cut a bit bigger than your Watercolor Paper
Marina Mist Stamin’ Write Marker
Water Mist bottle
~~~~~~~~~~~~~~~~~~~~~~
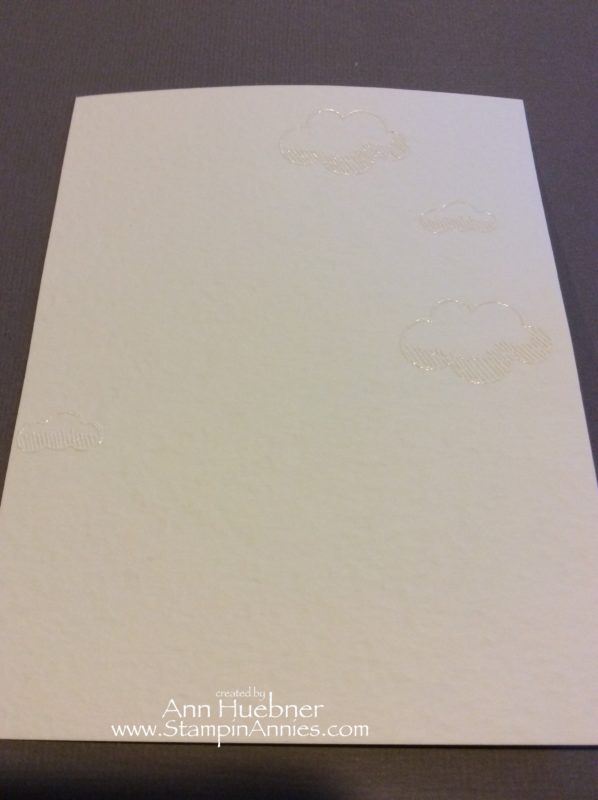
For this card I wanted clouds in the back ground, so I first stamped my clouds with White Pigment ink and heat embossed with White powder.
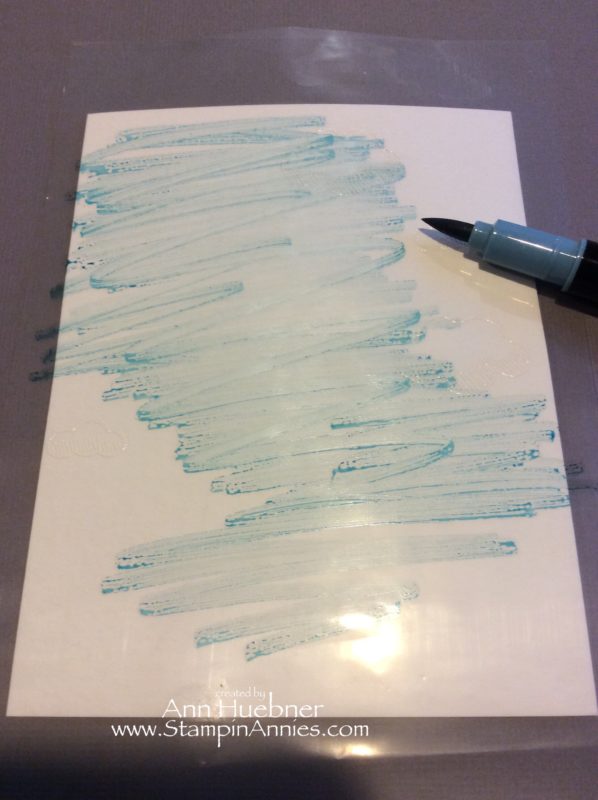
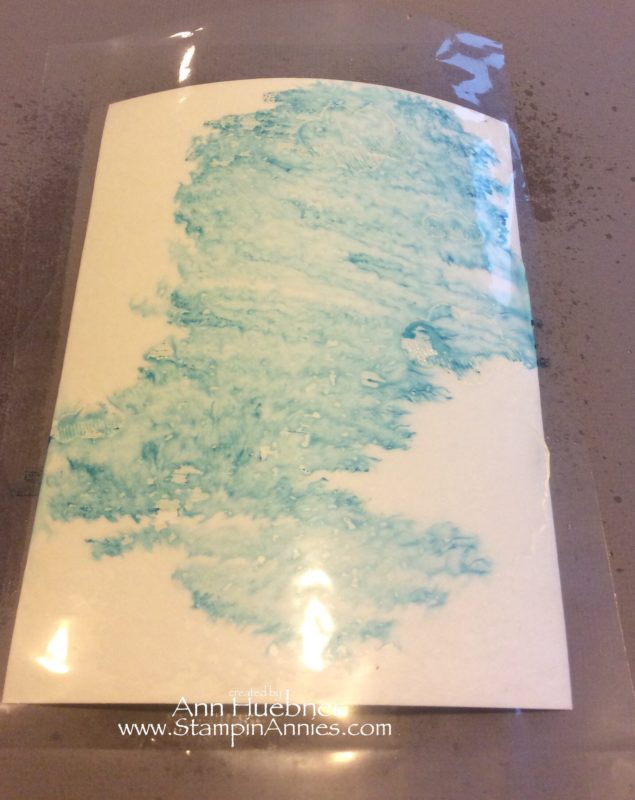
Lay your plastic sheet over the clouds and scribble marker opposite of the clouds… once you flip it over, it will be over the clouds…
Put the plastic sheet to the side and spritz the cardstock with water…
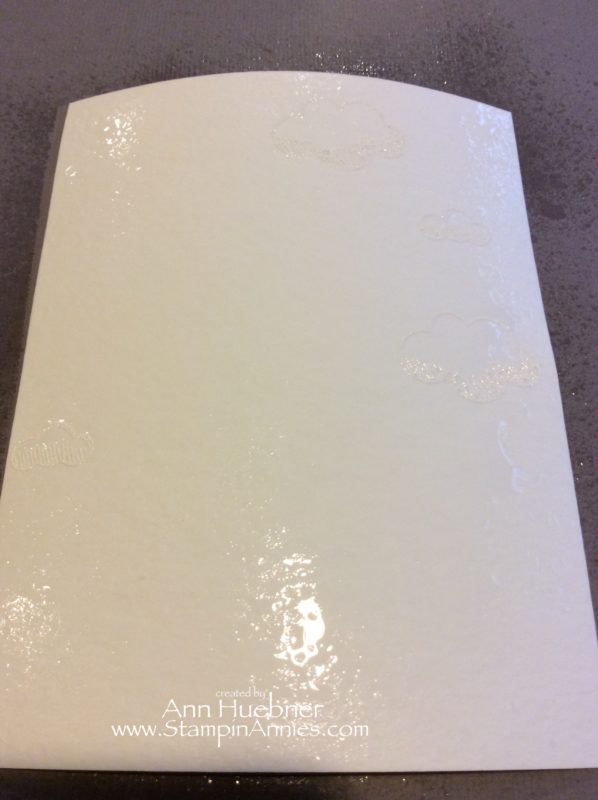
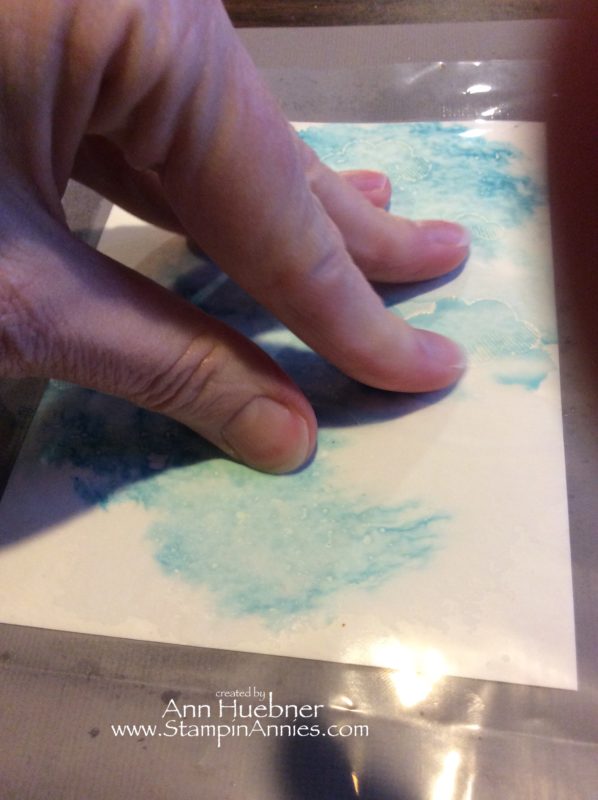
Flip over the plastic sheet onto your cardstock…
Now… move the plastic sheet to move the blue color around…
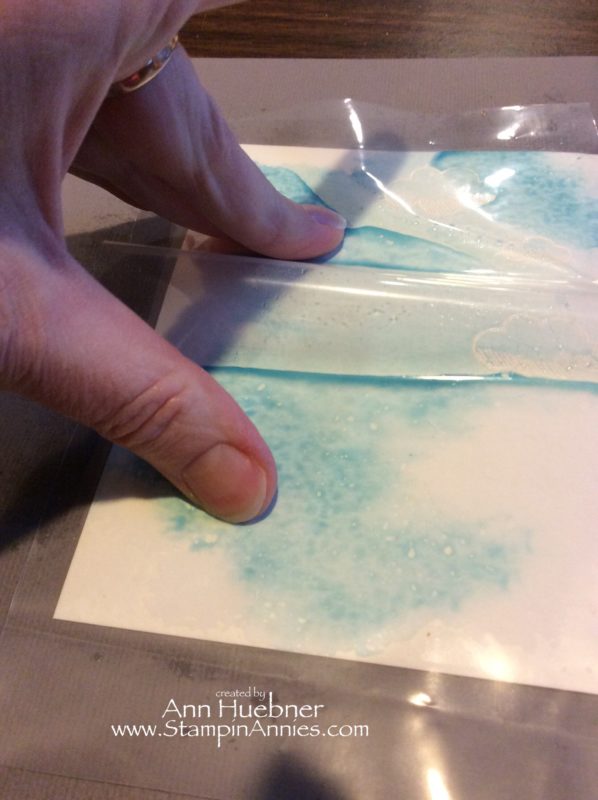
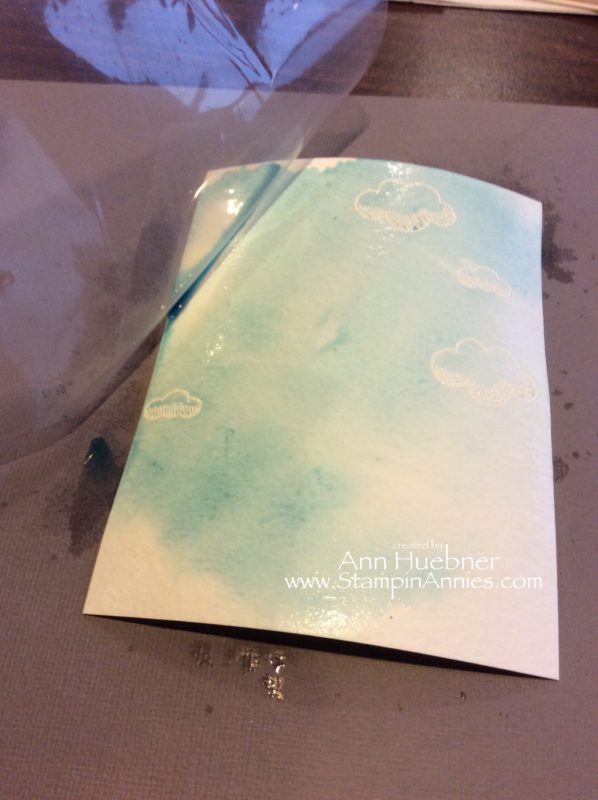
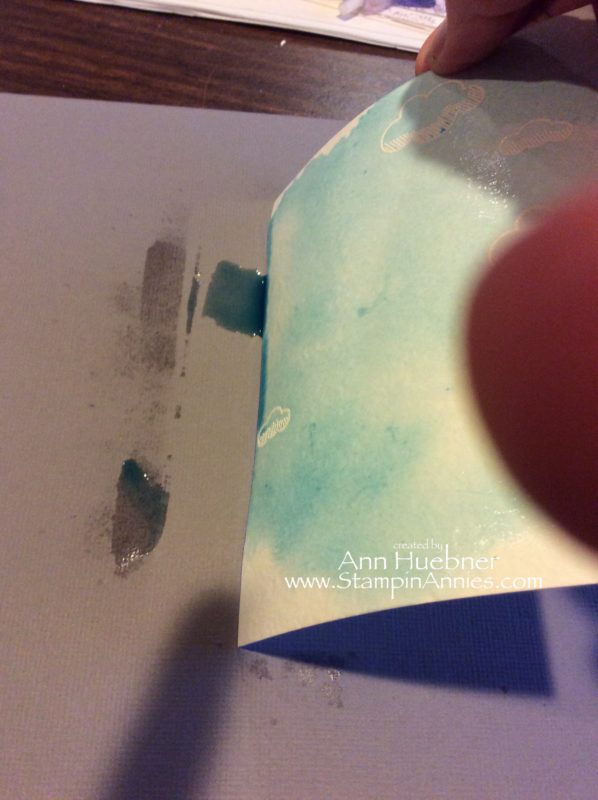

It takes at least 7 minutes to air dry. If you need it to dry faster, use a heat tool to lightly wave over it until it lays flat…
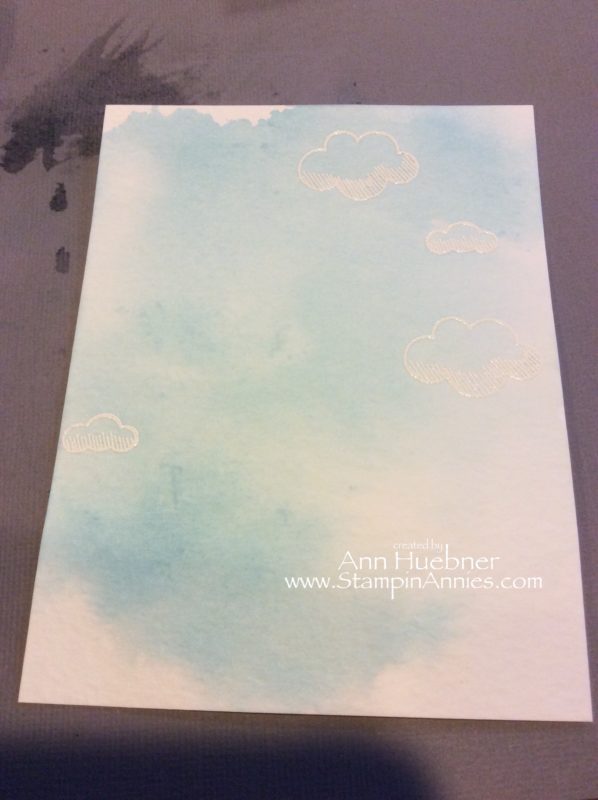
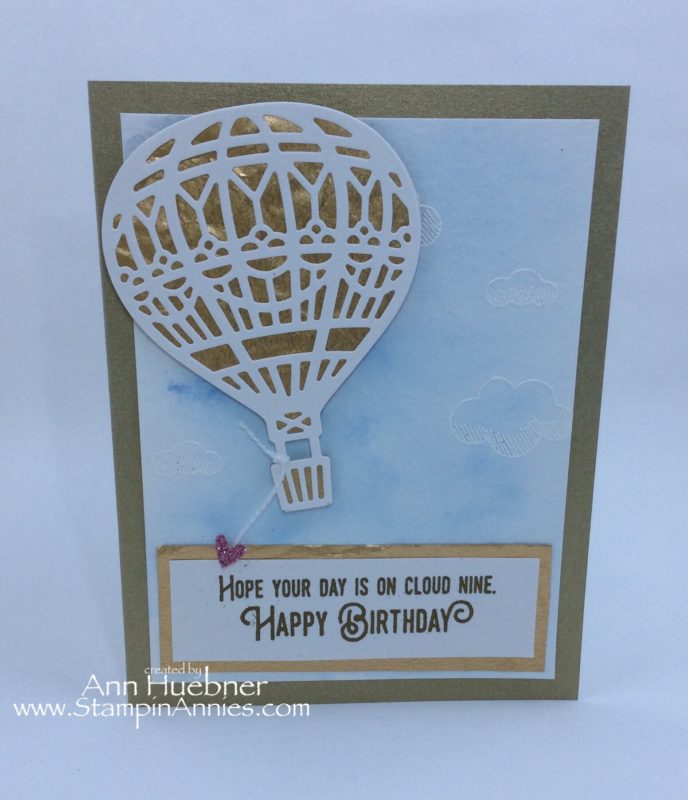
Bada Bing, Bada Boom!!! You can do this too!!!… Now for the rest of the card…
The Balloon is created with a die from Up & Away Thinlits Dies…
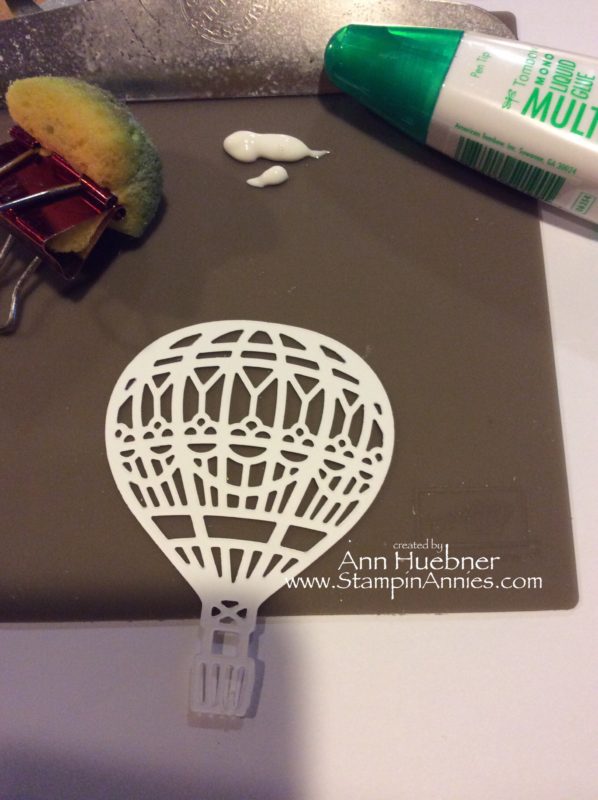
Another tip for the day… How to Add adhesive to a delicate die cut…

Using a Silicone Sheet (easy to clean up and re-use)… Use a 1/4 sponge in a large clip to hold on to… sponge glue onto balloon… it is important to keep the balloon in one spot so you don’t pick up glue on the front of it. Store glue covered sponge in a little, sealed, plastic container for future use.
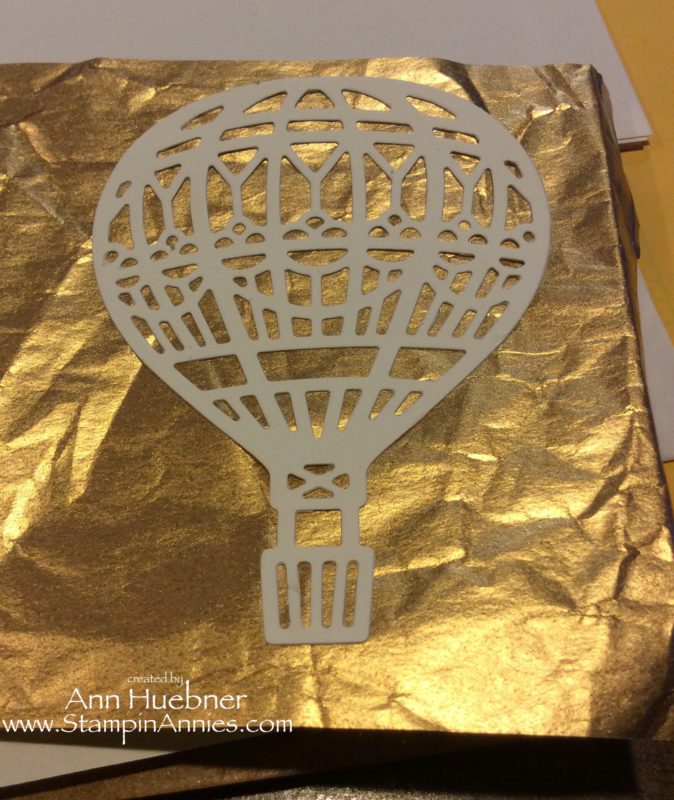
For the back of the balloon I used gold tissue paper. I Love the look of the tissue … almost like the fabric used on the real ones. I simply trimmed the tissue away from the cut image.
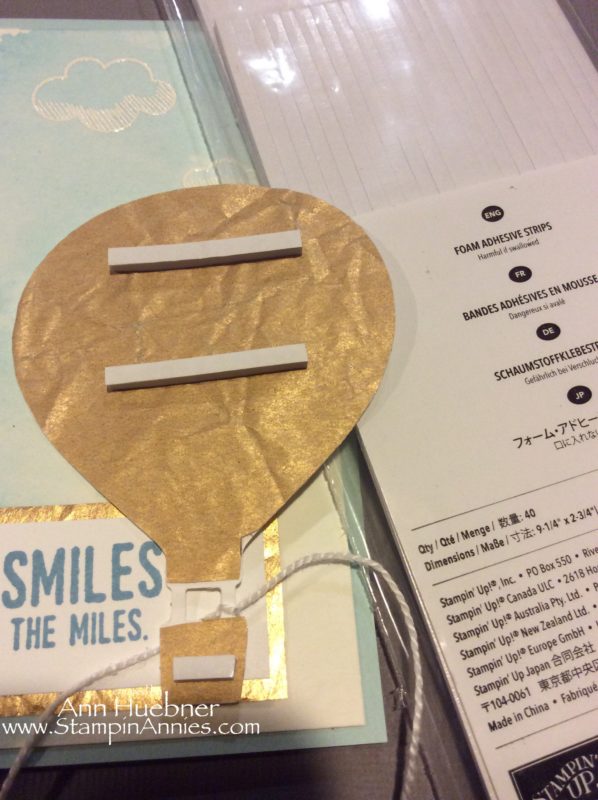
The Foam strips are perfect for giving the balloon a lift off the top of the card.

How stinkin’ cute is this little embellishment??? I used the heart from the Owl Builder Punch with the Blushing Bride Glimmer Paper. I am going to miss that little heart!
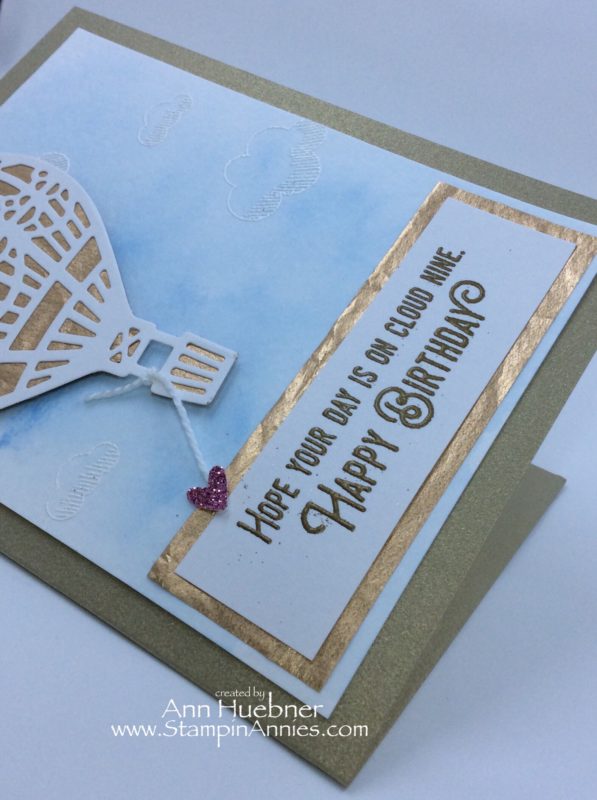
Yes, these are two different cards in this post… I wanted to show the Gold Embossed sentiment and a simple stamped one in Marina Mist Ink.
~~~~~~~~~~~~~~~~~~
Here’s a big question: Do you prefer step-by-step in pictures, like these? OR do you prefer to watch a video? Leave a comment below. I would love to hear your thoughts.
~~~~~~~~~~~~~~~~~~~~~~
Check out tons of ideas using the Lift Me Up stamp set with the Up & Away Thinlits Dies… Click on the name of the Suite here:
Lift Me Up Suite
~~~~~~~~~~~~~~~~~~~~~~~~~~~~~
Ingredients used to create today’s projects:
Thanks for visiting Stampin’ Annie’s 💖
I like the step by step pictures because then I can refer back to a particular screen if needed. With videos it’s a bit harder to pause and such.
Hi Julie. Thanks for the comment. I agree. So often the videos are great, but I always seem to miss a step.