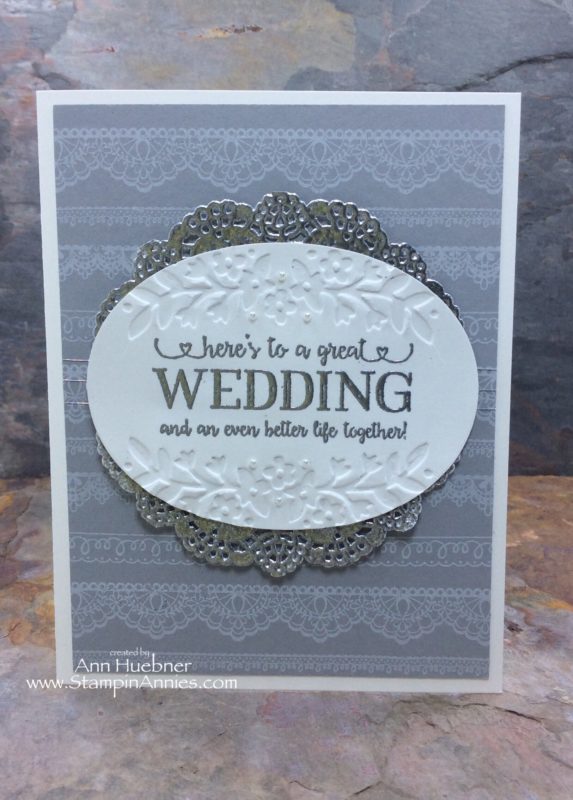
I have to confess… 22 years ago I was in a little shop, in Eagle River, Wisconsin, where I watched someone heat emboss for the very first time. I had never stamped before, but this little demonstration of such a neat technique of melting powder to create a beautiful design, caught my attention, and at that moment, I was hooked!!!
One of the important things you need for heat embossing is an ink that allows the embossing powder to stick. Read on to see how versatile the Craft ink pad can be.
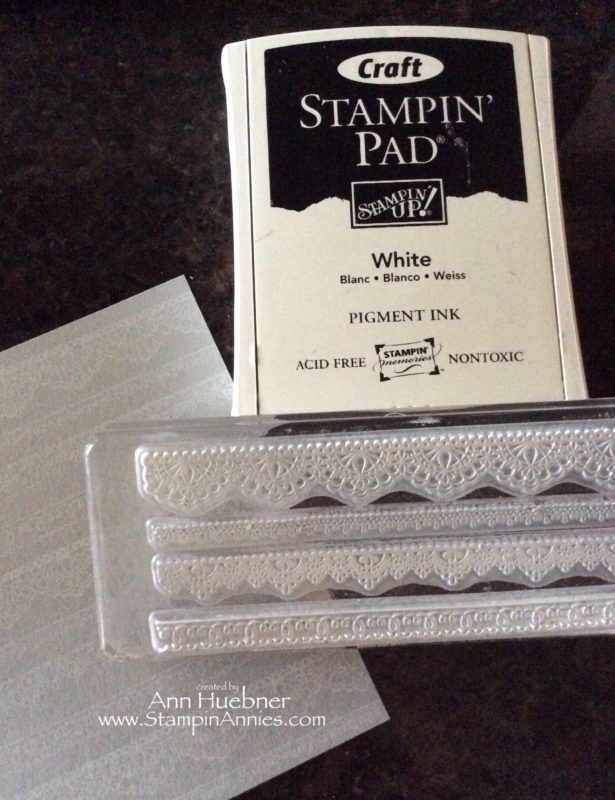
For this card I used the White Craft ink pad for three different techniques. The first technique is simply using it to stamp an image on your card. I am using the new Delicate Details (unfortunately this set is no longer available) with the Clear Block I (#118488) to create a subtle lace background on our Smokey Slate cardstock. You can let this air dry, but I like to heat set my ink with the heat tool to prevent any smearing. Once this ink is heat set, it will give you a chalk like appearance. The lace stamps are individual photopolymer stamps. You can use one or all five designs together by using an x-large clear block. Plus they curve! for extra fun.
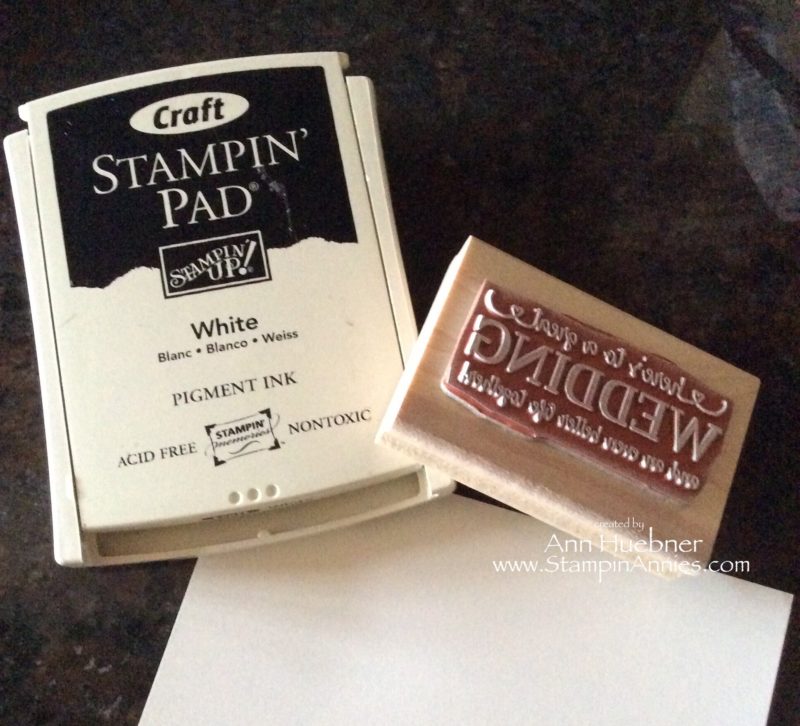
The second technique I used with this pad, is to simply use it to stamp and apply embossing powder to heat and melt! I am using the saying from Better Together stamp set, which is full of wonderful, different sayings for any occasion.
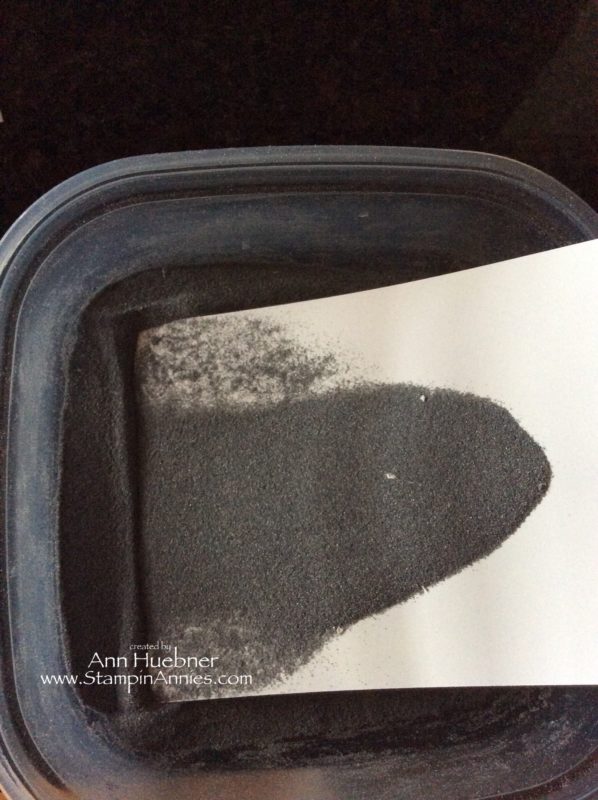
I put my embossing powders in containers big enough to dip a standard size card into. This allows me to dip and then tap the left over powder right back into the container for other projects. This picture shows the 5 1/2″ x 4 1/4″ I am using for the wedding verse. Once you have the powder on your saying, use heat tool until all powder is melted.
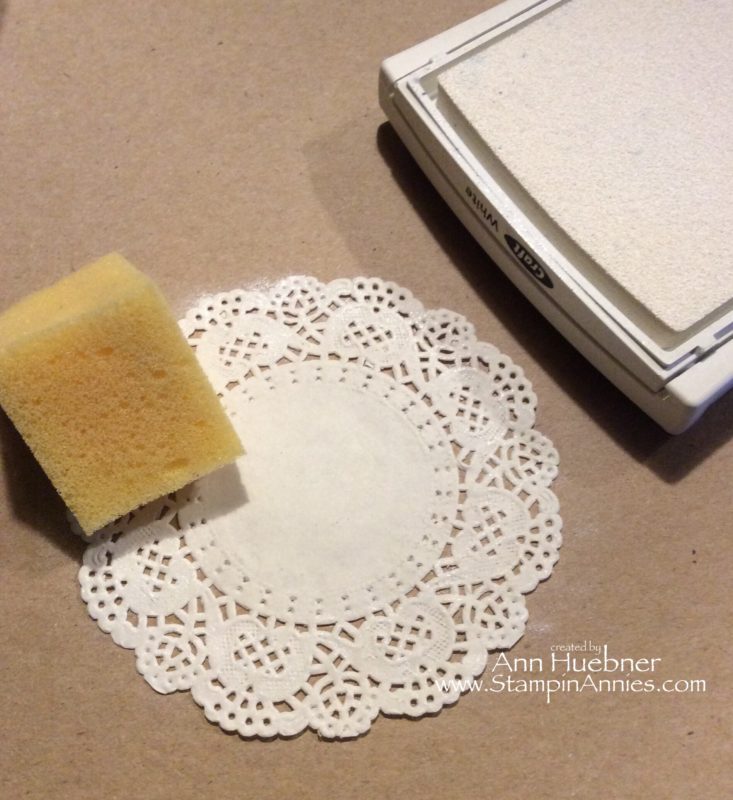
The third technique with this Craft Pad is to use a Stampin’ Sponge and apply the ink to this doily.
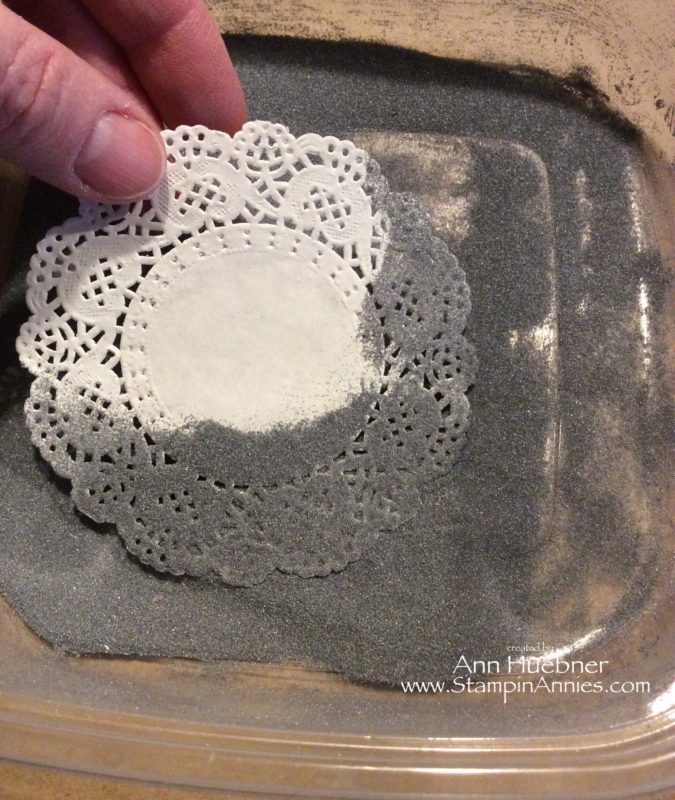
After sponging the doily, dip it into the embossing powder! Then, heat to melt. I used a paperclip, placed in the middle of the doily, as a little weight… Check this out: Little Embossing Video

These next two steps are important… you want to Cut out the saying First! Here I used the largest oval found in our Layering Oval Dies Set (#141706).
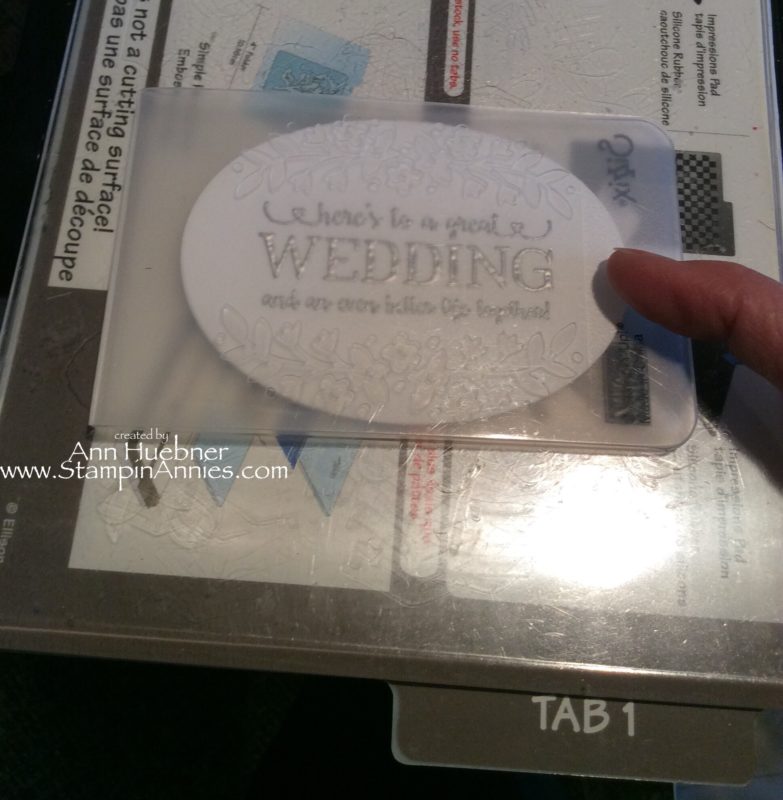
The next step is to dry emboss the saying with the beautiful floral embossing folder found in the Floral Affection Embossing folder set (#141713). Notice that I have the Stampin’ Up! Logo down! This will give me a debossed image. Also notice that I have ‘Tab 1’ down on my platform. This will give me a nice, deep floral image.
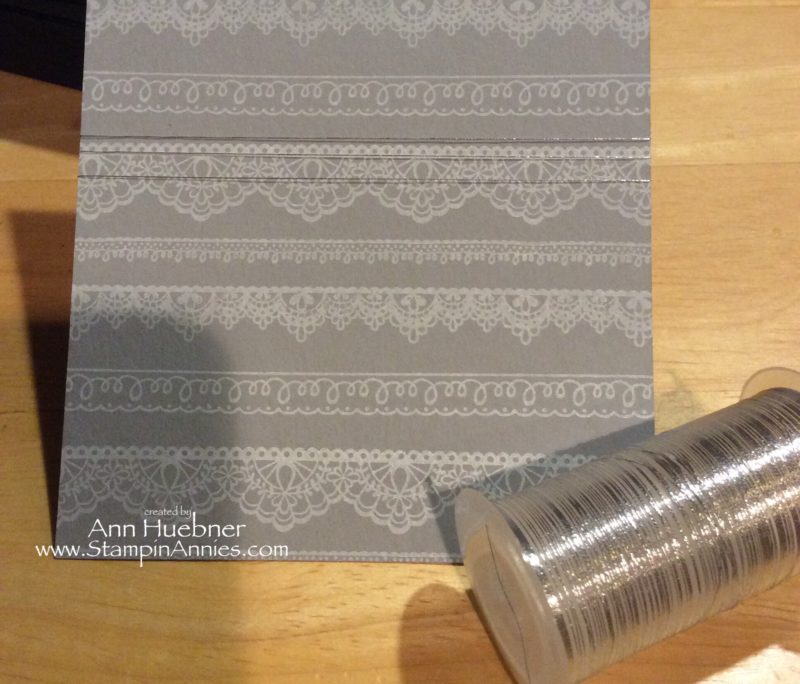
One last little detail that you can add to any card is a little Silver Metallic Thread wrapped around your card. (3 times is always good)
Put it all together… and Wha La….

After the card is all layered, add tiny pearls as a last embellishment. These are the smallest of our Pearl Basic Jewels. Simply use a Paper Piercing Tool to move them to any project from their packaged sheet.
I thought it would be fun to share a couple different pages of ideas with you using the Delicate Details Stamp set and the Better Together Stamp set… just click on these links to see tons of ideas:
Delicate Details Stamp Set (only available FREE thru March 31, 2017)
Check out all the ingredients used to create today’s card:
Thanks for visiting Stampin’ Annie’s today💖
Thank you for your interest in my projects. I appreciate your business ❣️
Check out my Facebook Page thru the little icon on the side or below to see a fun video of the embossing powder melting on the doily.

Very nice Ann! I think I need to place an order to earn the Delicate Doilies
Thanks Renee.
Beautiful card! I’m going to try embossing a doily! Really like the embossing on your oval too – really frames the sentiment beautifully 🙂
Thank You Holly. Happy Stampin’